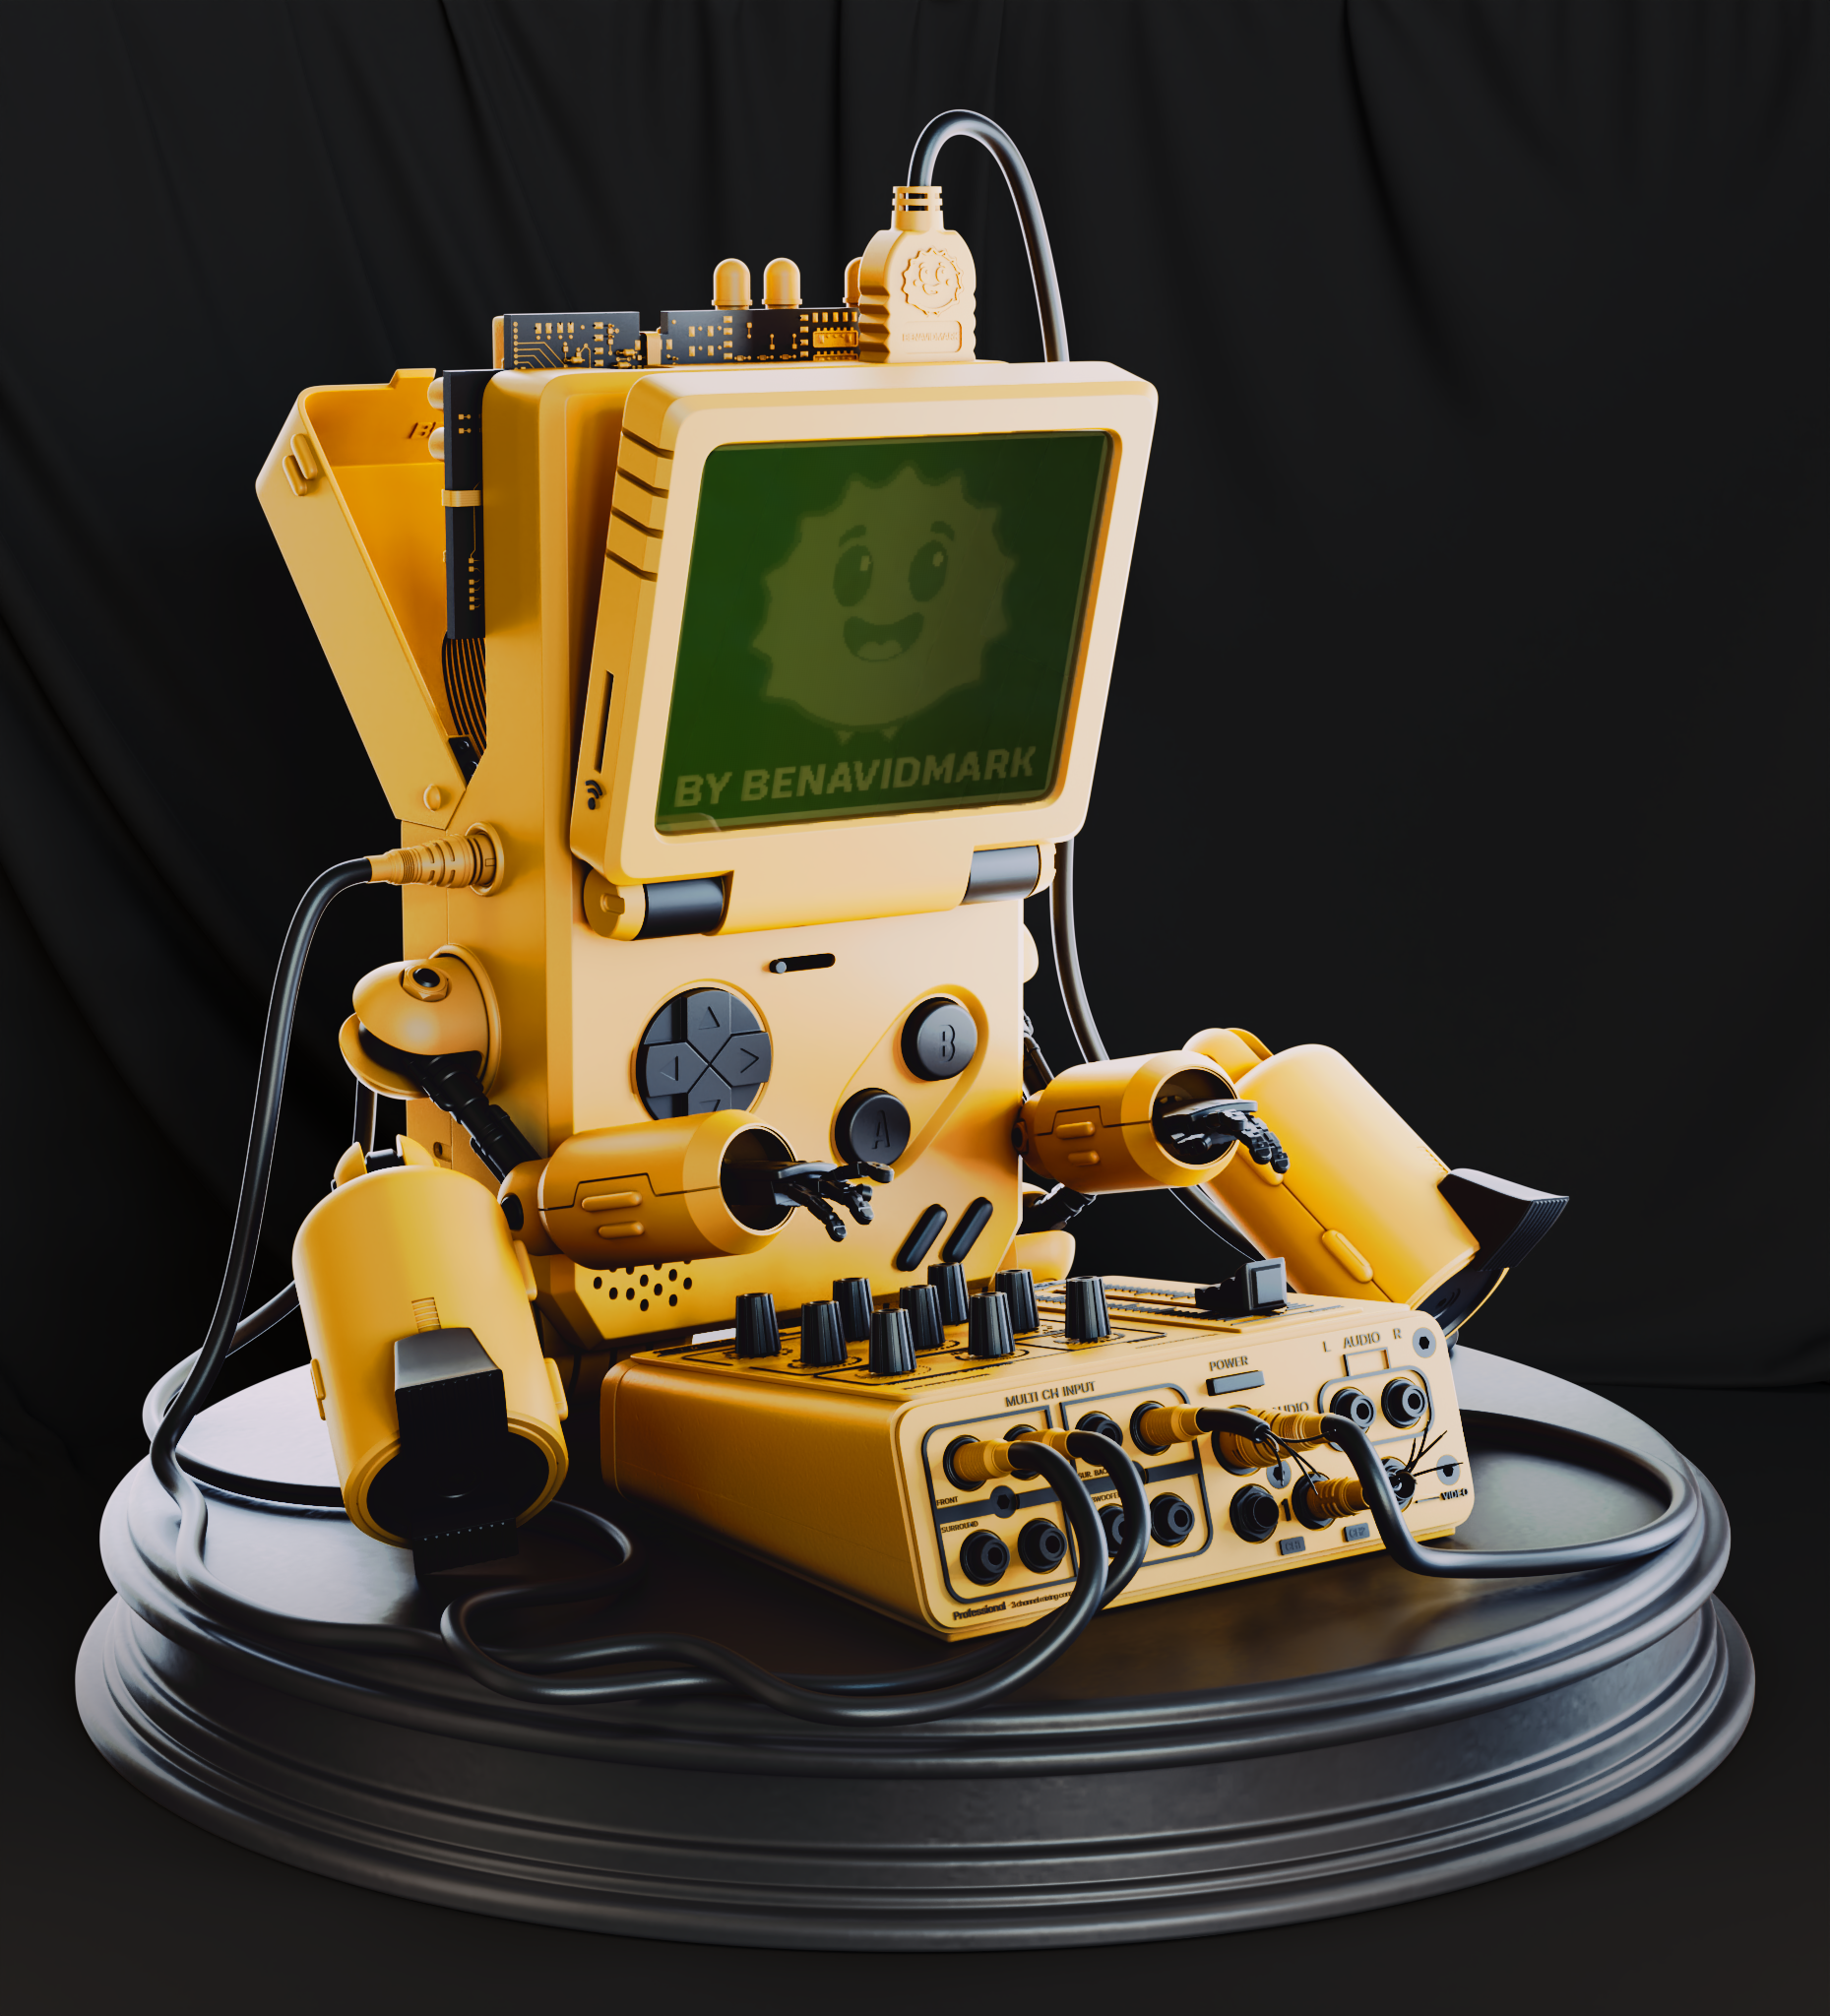
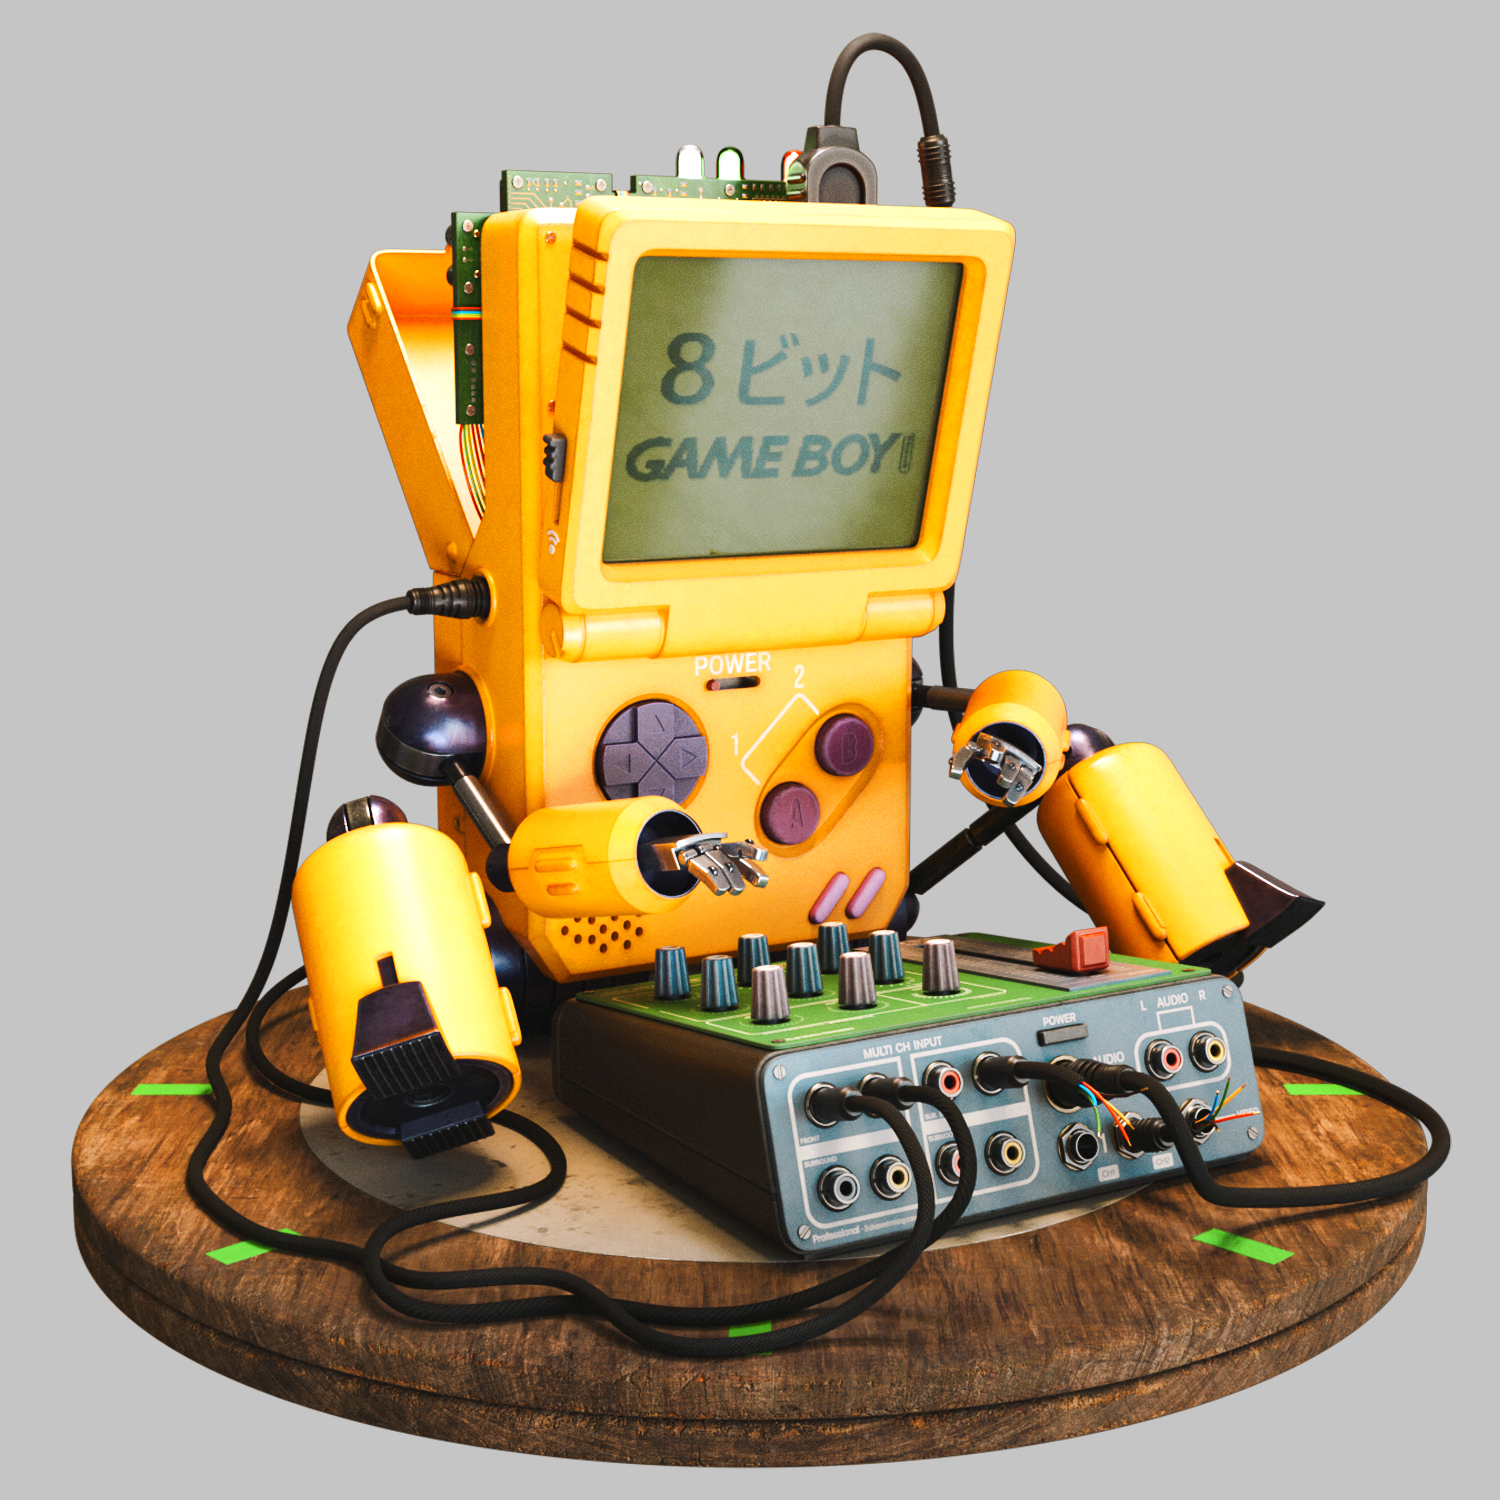
Gameboy 3D Model 8 bit
ベナヴィドマーク
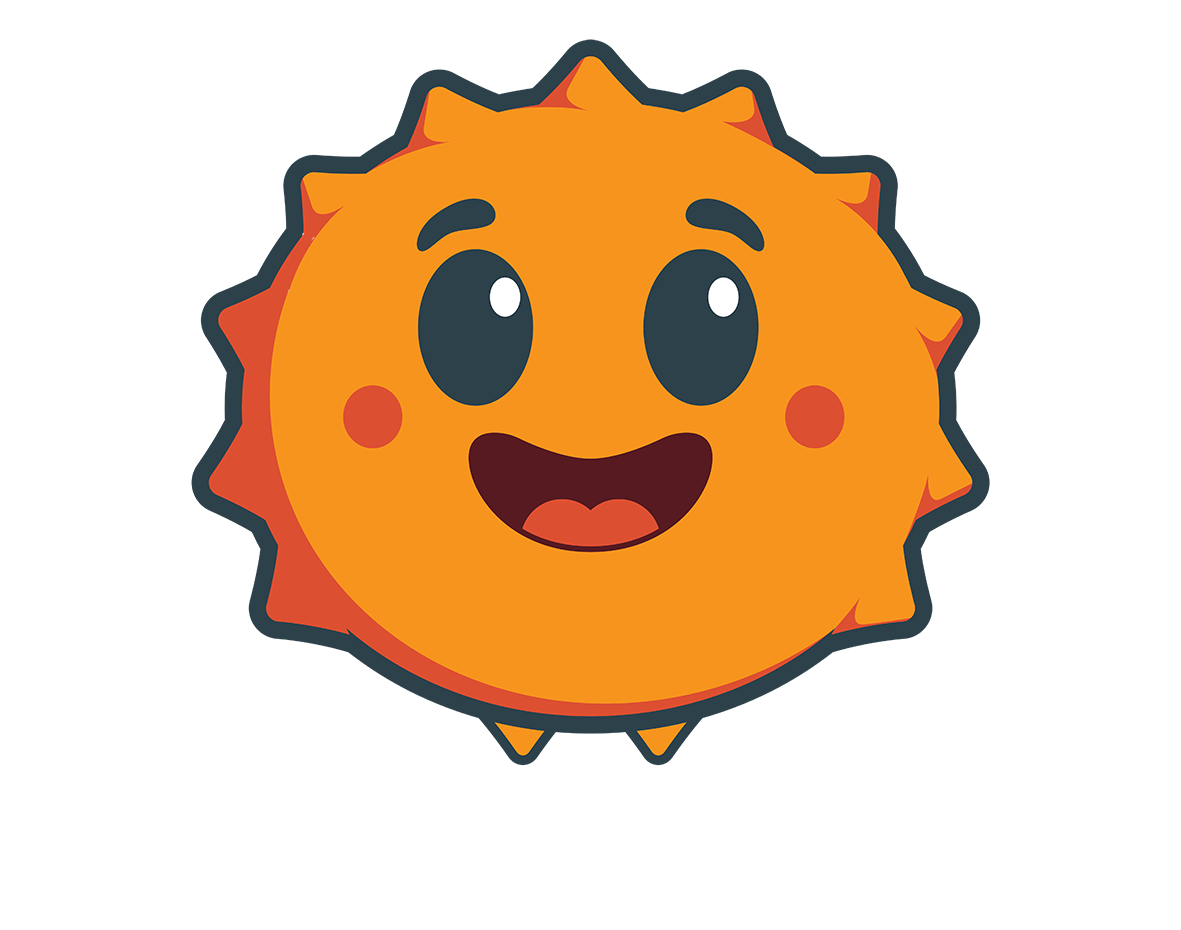
I wanted to honor the deep emotional connection many of us have with devices like the Game Boy.
By transforming it into a character that feels alive, nostalgic, expressive, and technically intricate, I aim to evoke the cherished memories of childhood. This is not just a tribute to a beloved gadget, but also to the craftsmanship that brought it to life and the joy it provided to so many of us.
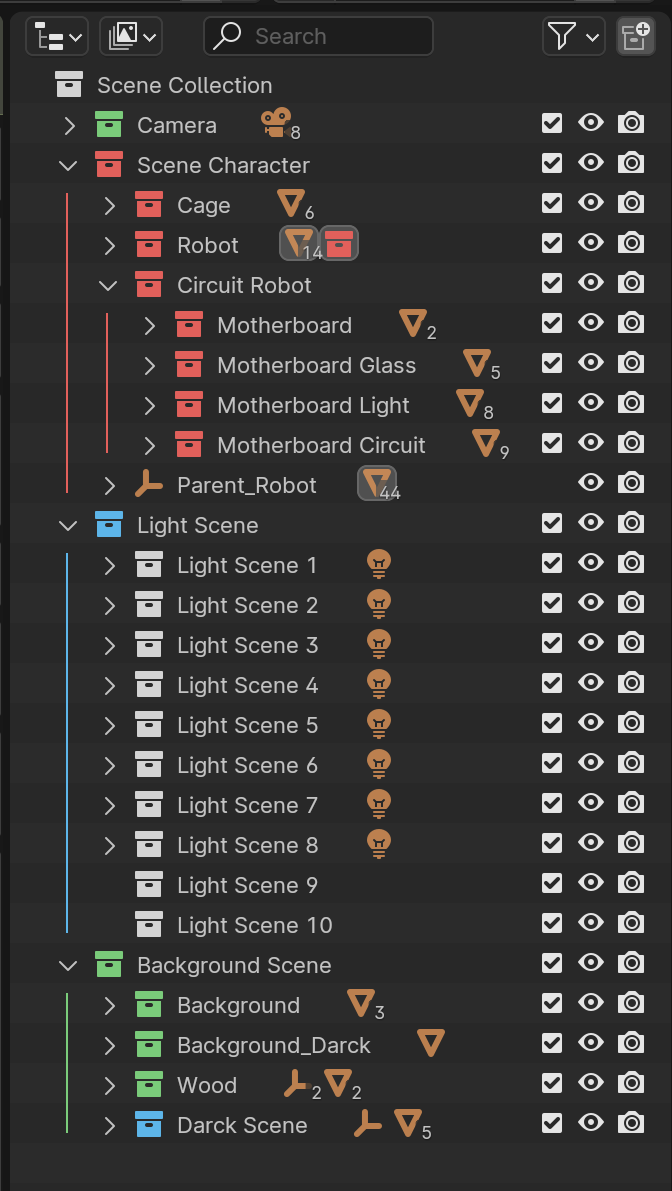
Breakdown
3d model for animation and 3d printing.
References
For the references, the best way to work is using Pureref, is a friendly and easy software for work with a hight volume of references.
The images in the background are part of the references I used to create this project.
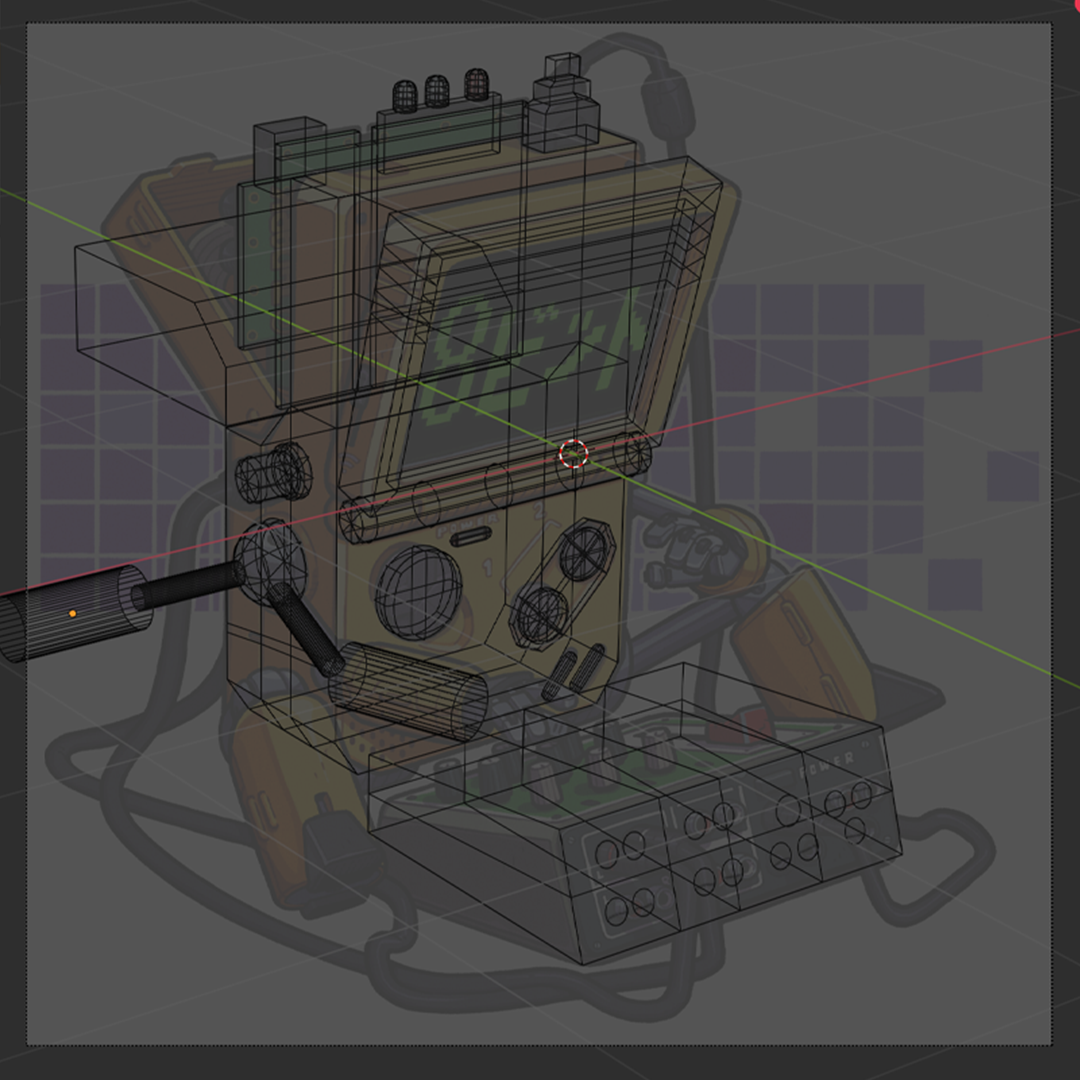
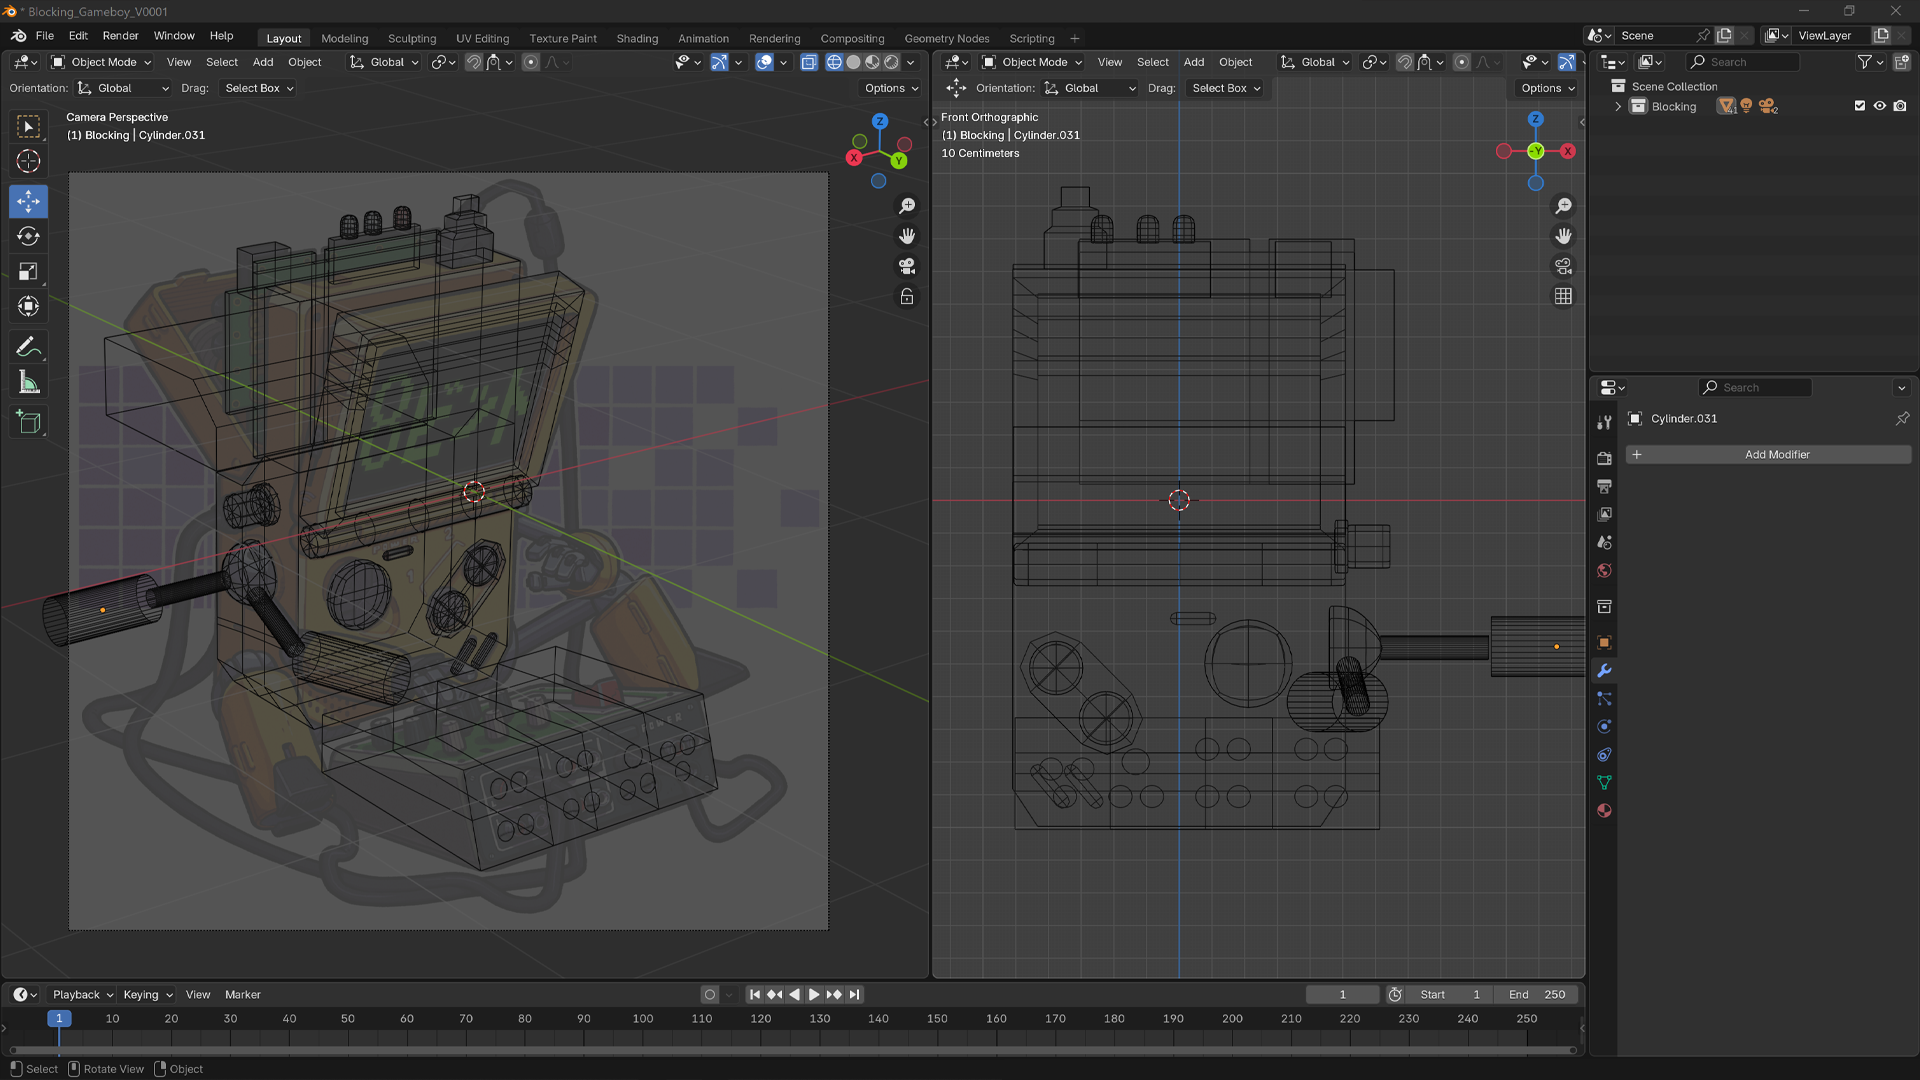
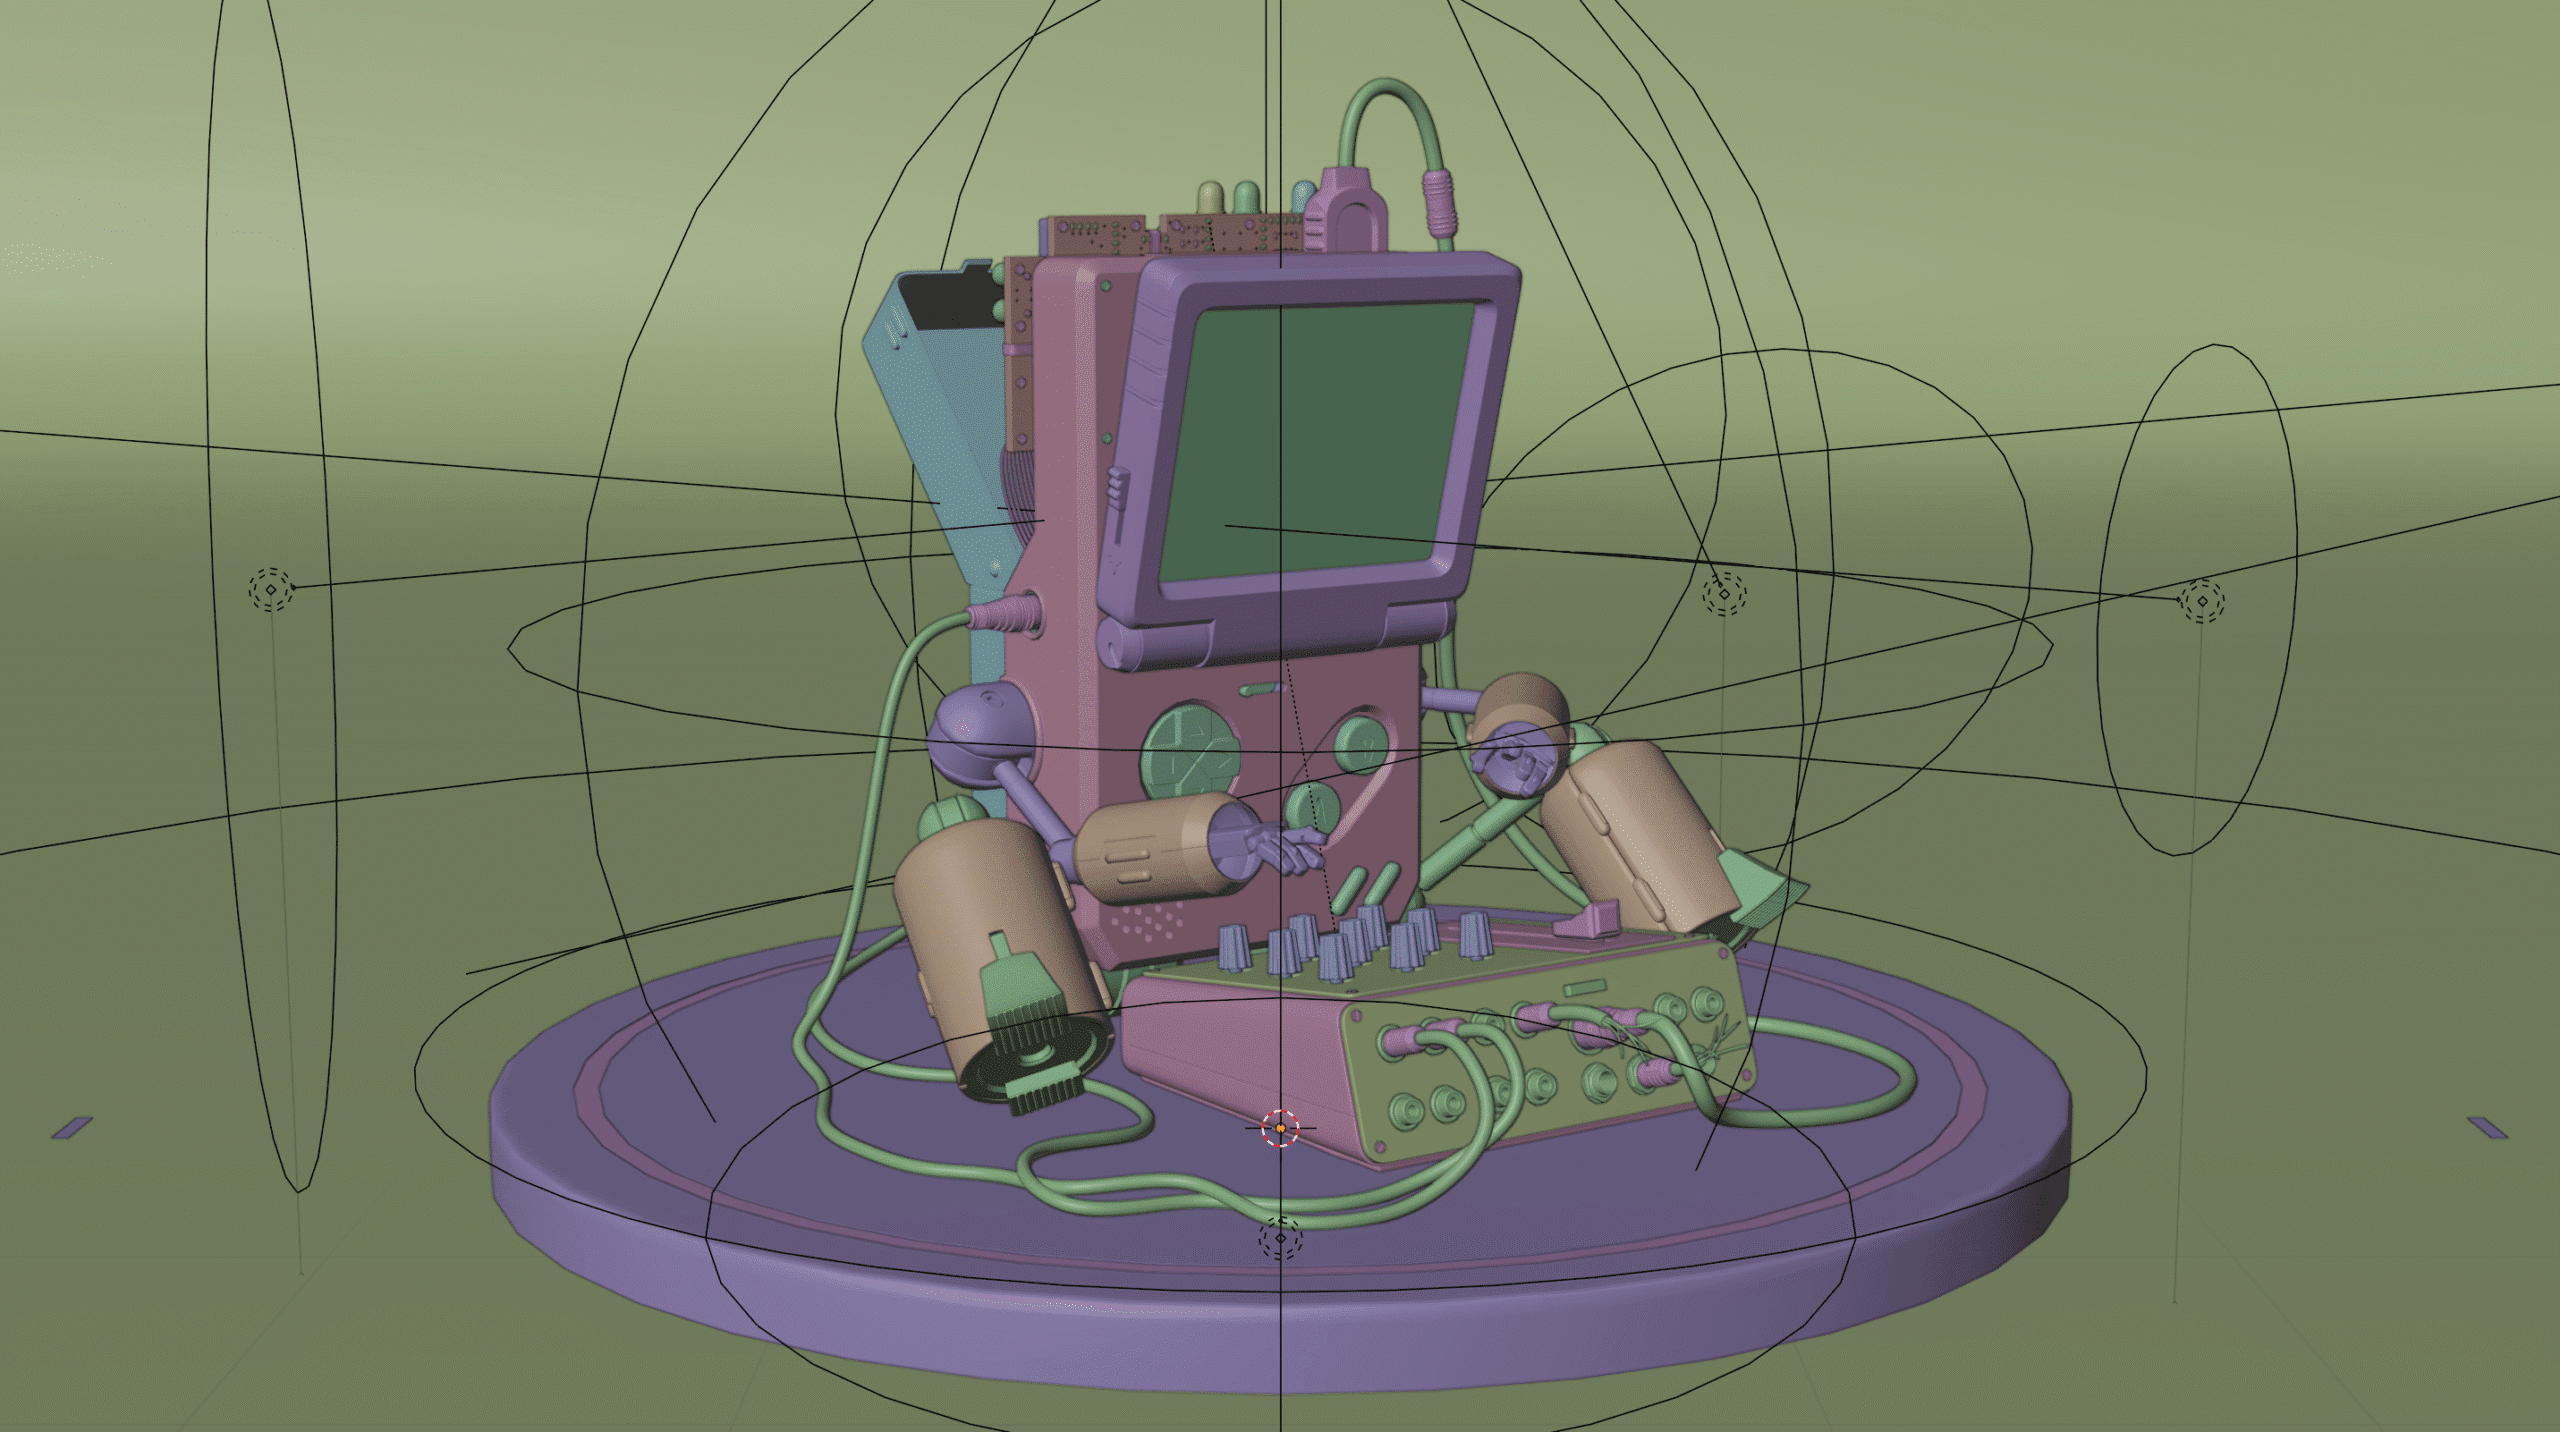
Blocking Scene / Fspy – Blender 4.2
For blocking, I use Fspy, a software that allows you to calculate the position, orientation, and focal length of a camera from a still image. The camera parameters can be used in other applications, such as 3D modeling programs like Blender.
Once the image was loaded, I generated an approximation of the image to model it as closely as possible to the image, then this camera was exported to Blender.
For Blender users, there is an official fSpy importer add-on that sets the parameters of the Blender camera and optionally sets the camera background image.
After importing the camera, load the image and resize the camera to fit the image. Then, you can begin the character blocking.
3D Modeling / Autodesk Maya
In this section, we will explore a part of the 3D modeling process.
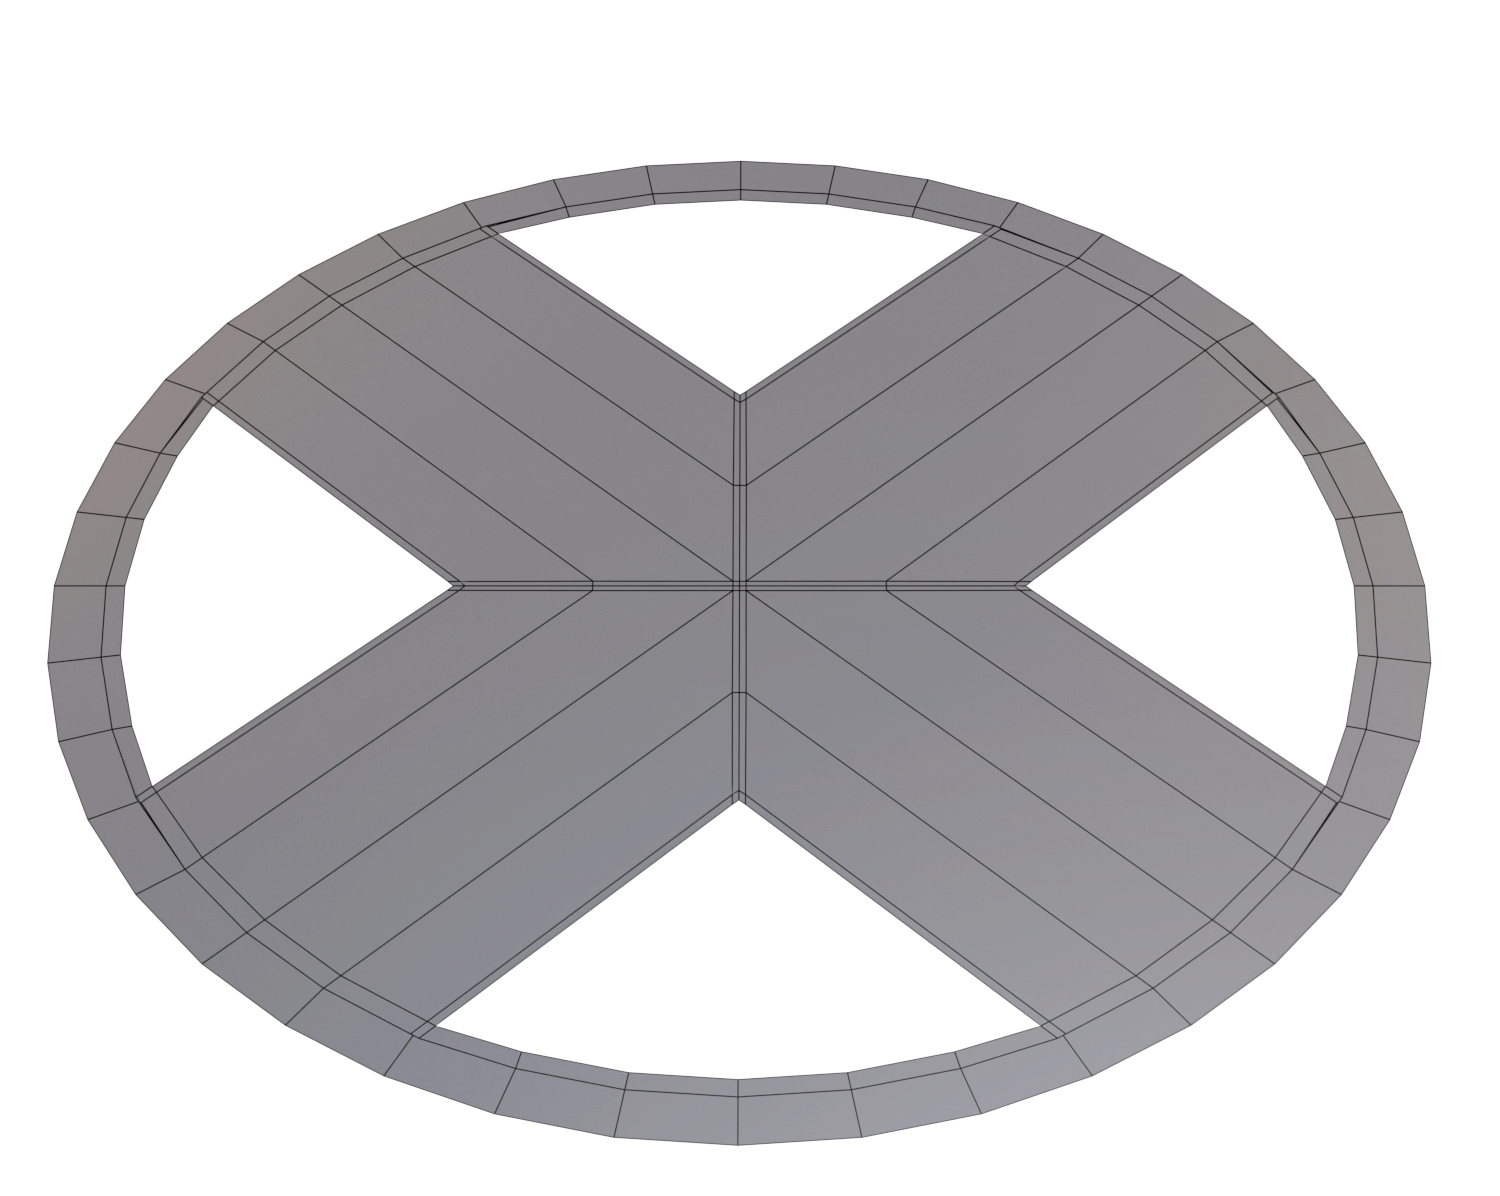
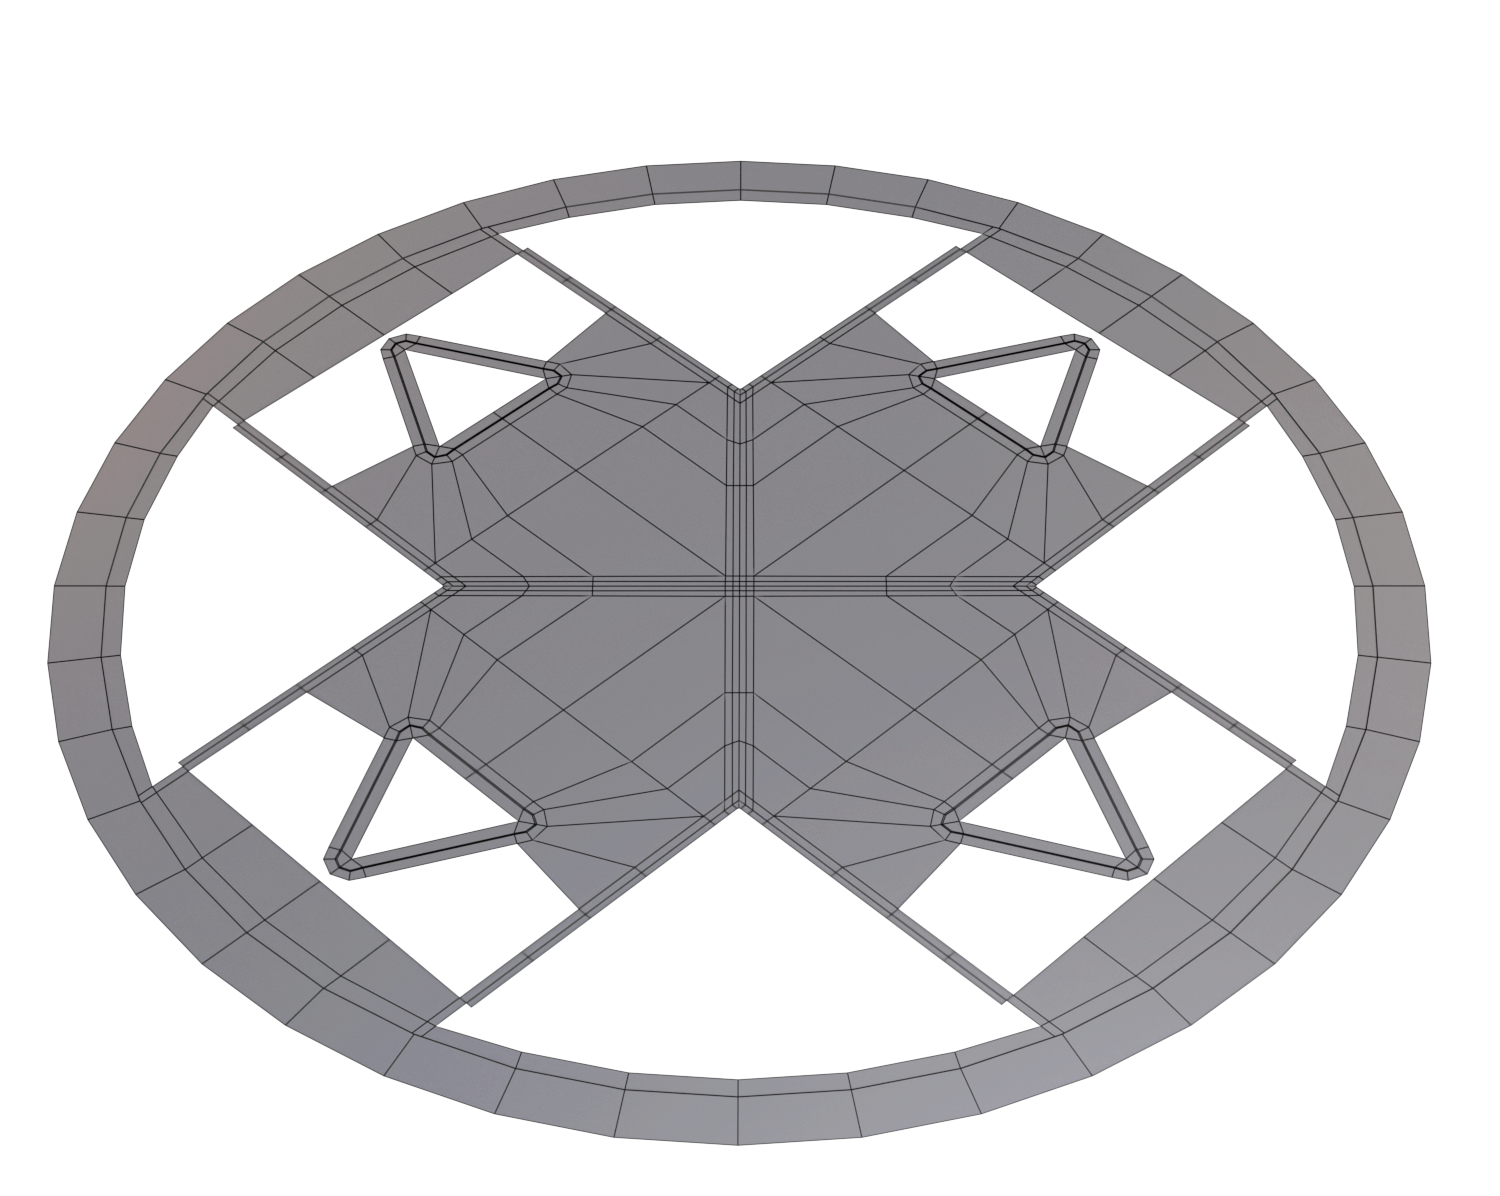
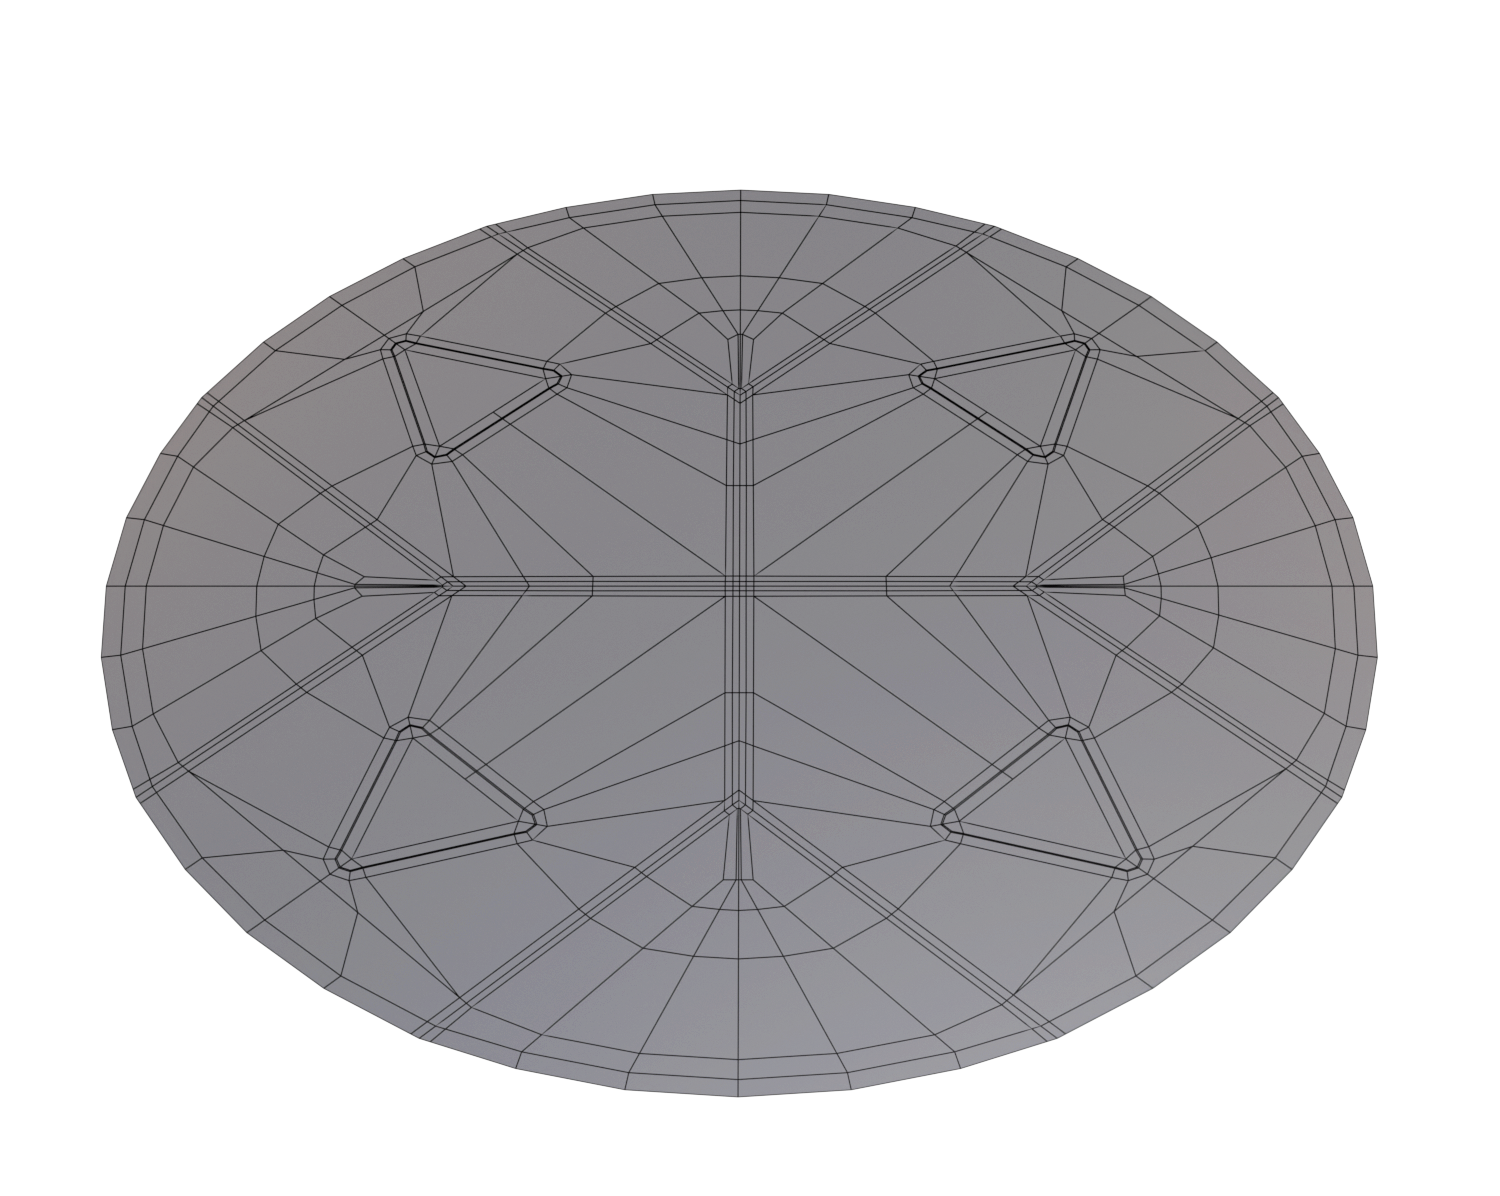
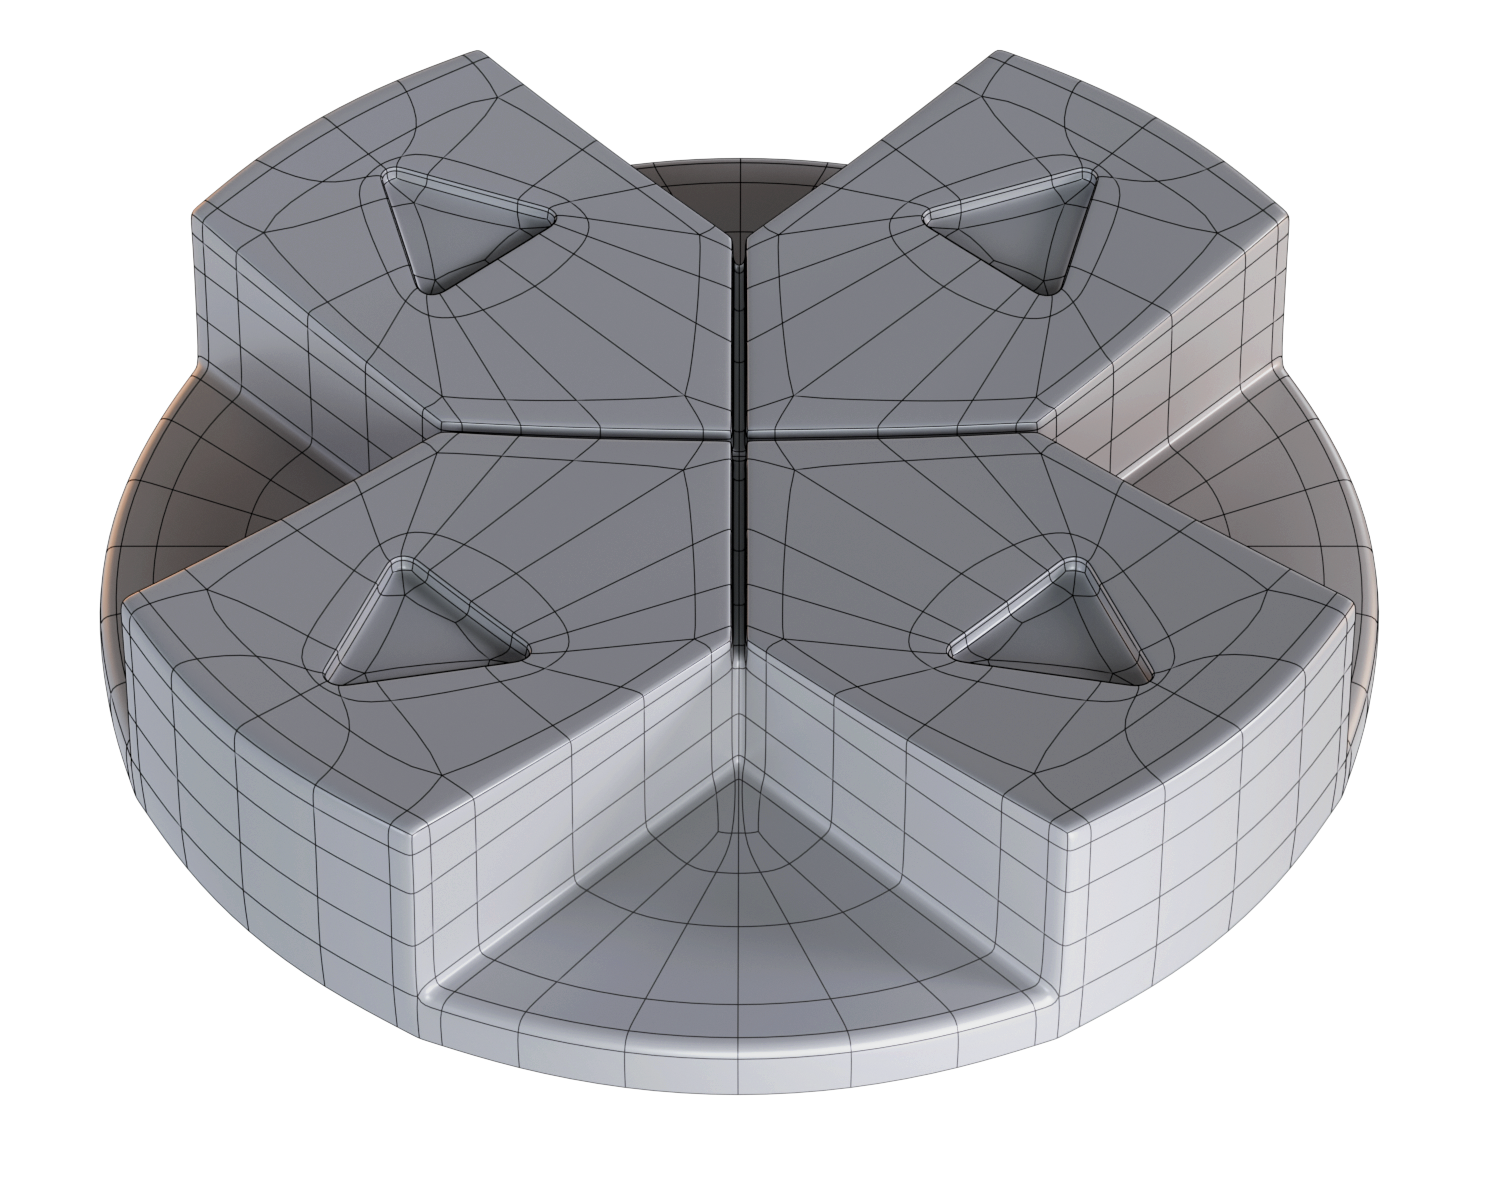
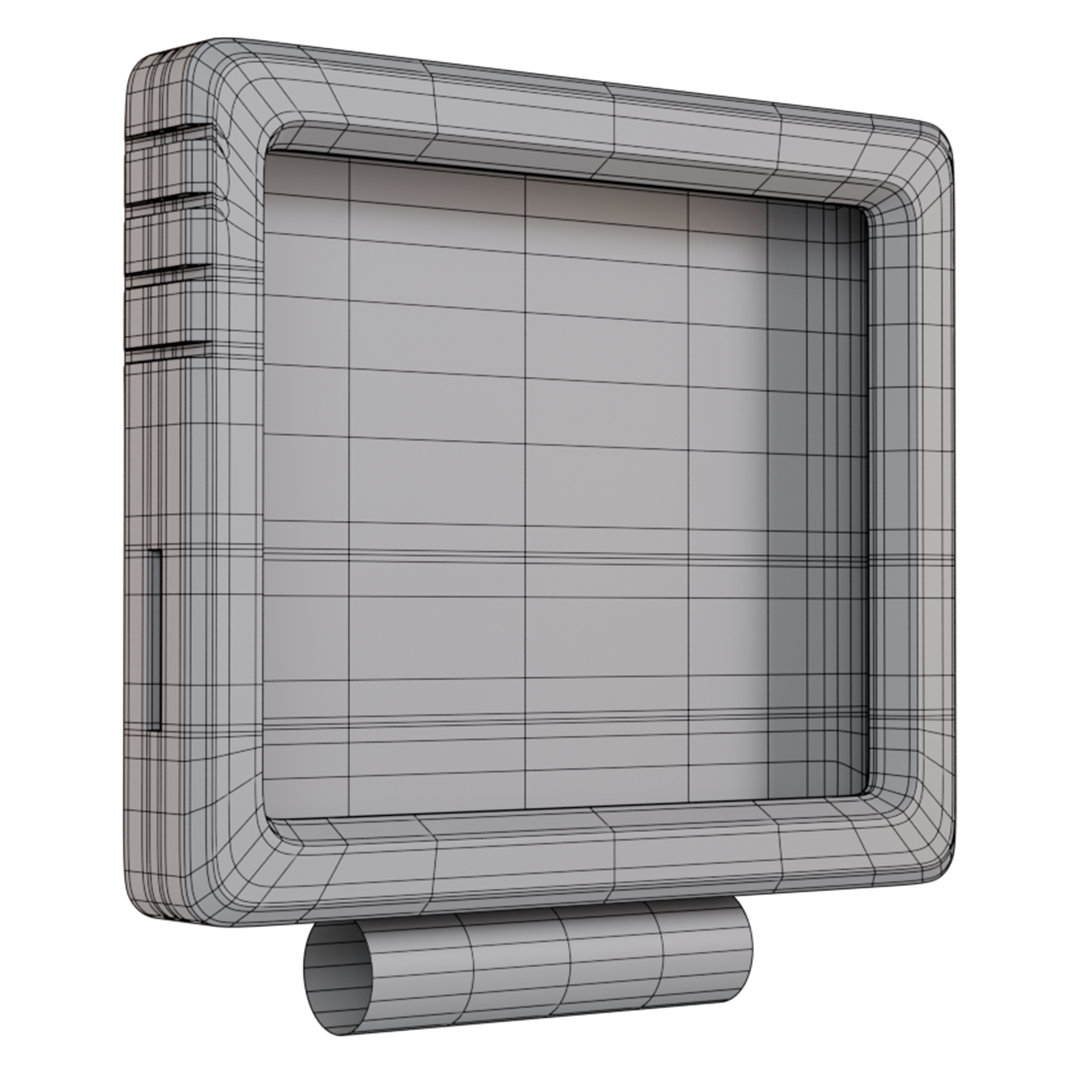
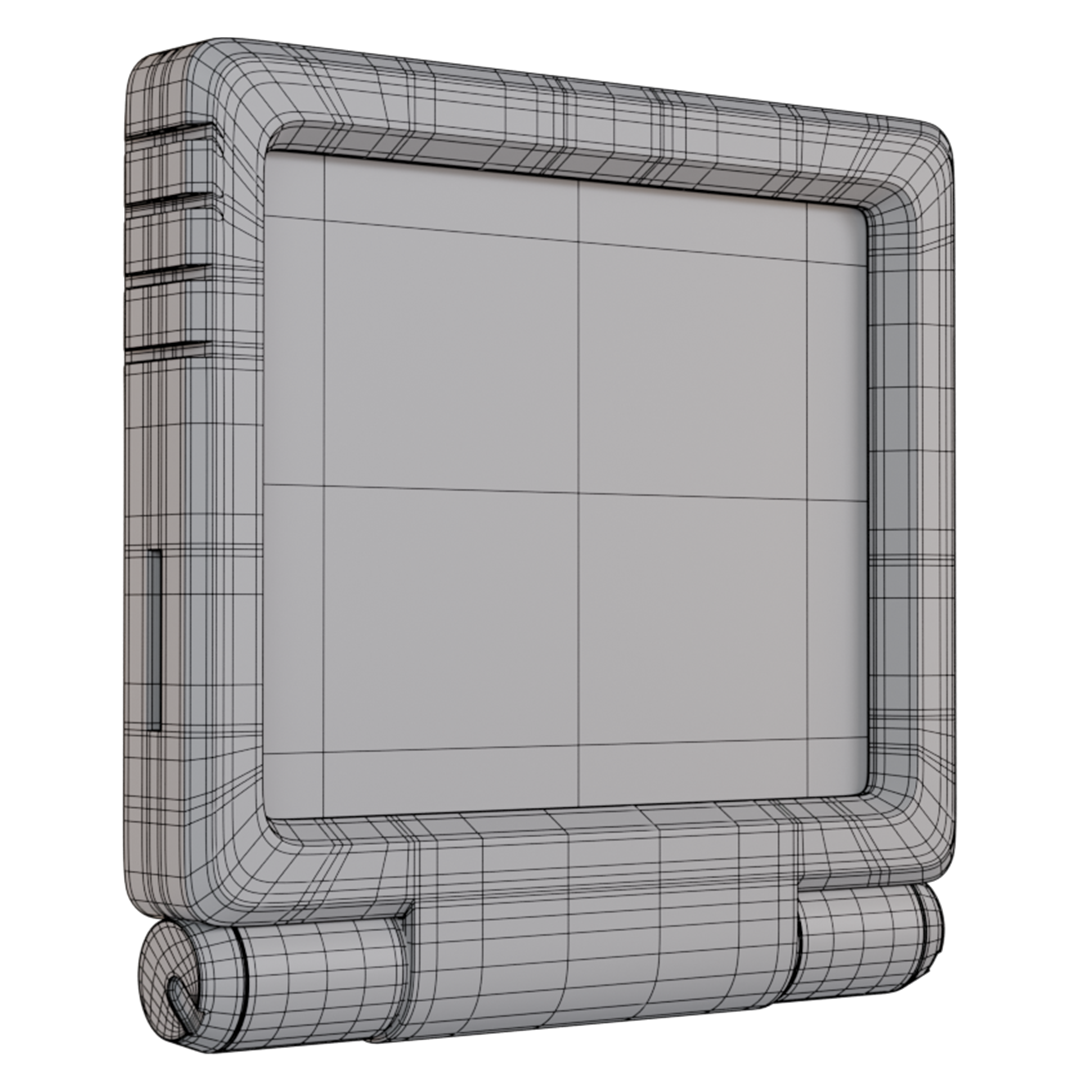
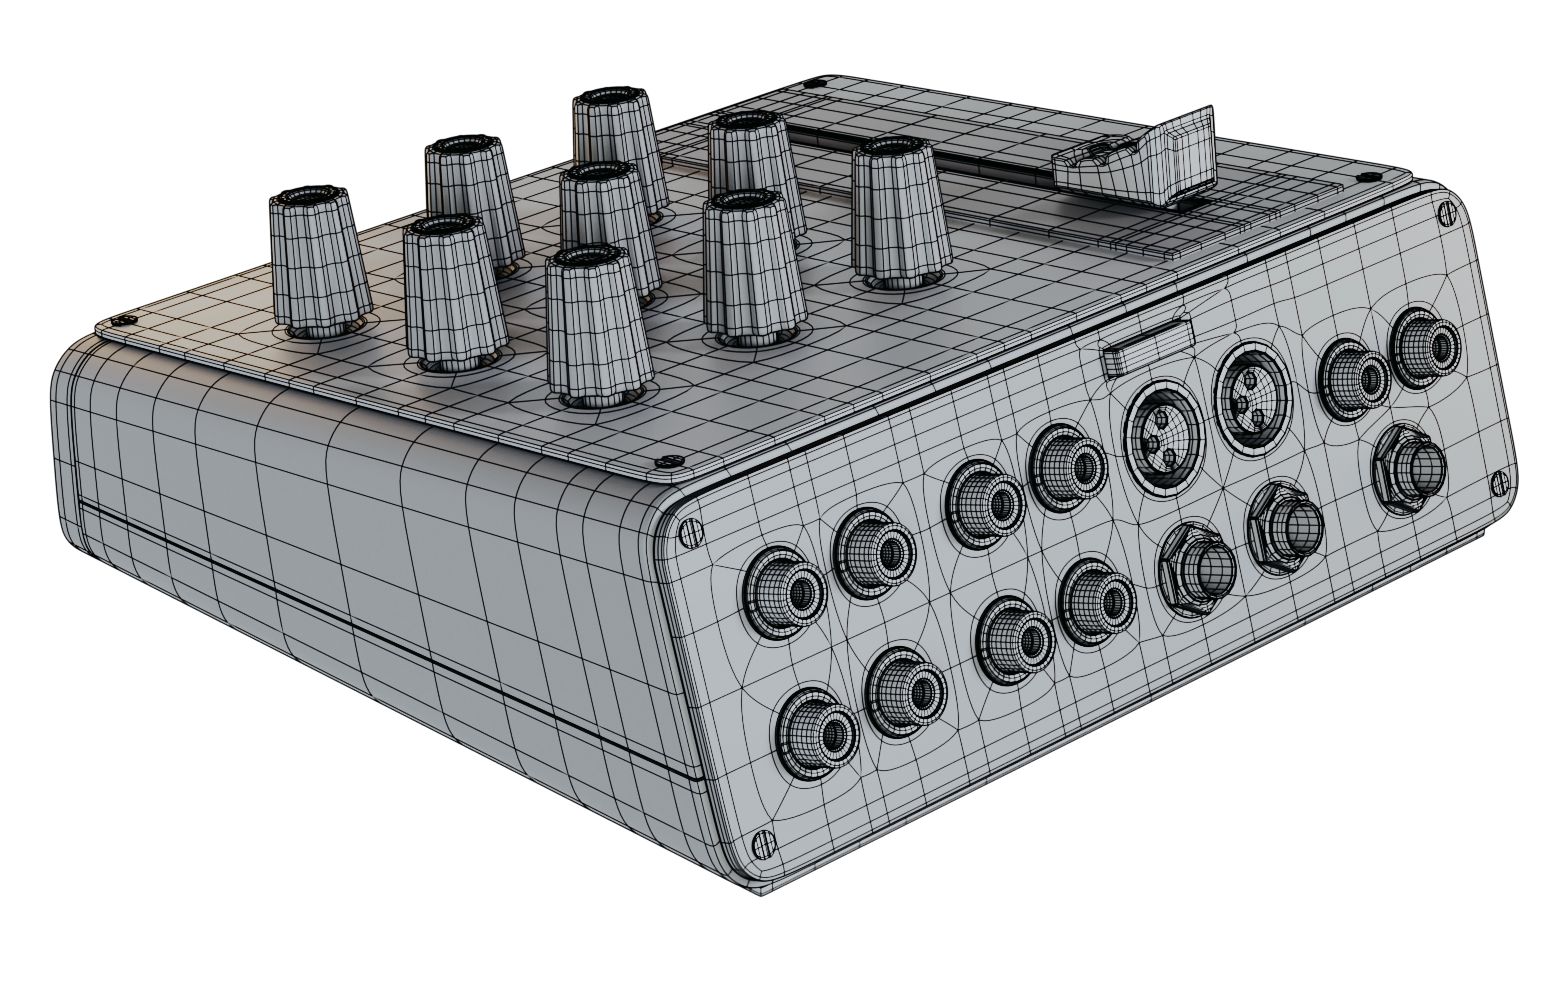
When you are modeling in Autodesk Maya, maintaining a clean quad-based topology is crucial for creating high-quality, production-ready assets. Quads/polygons with four sides are the standard geometry type in most 3D workflows because they deform more predictably during animation and provide a smoother result when subdivided.
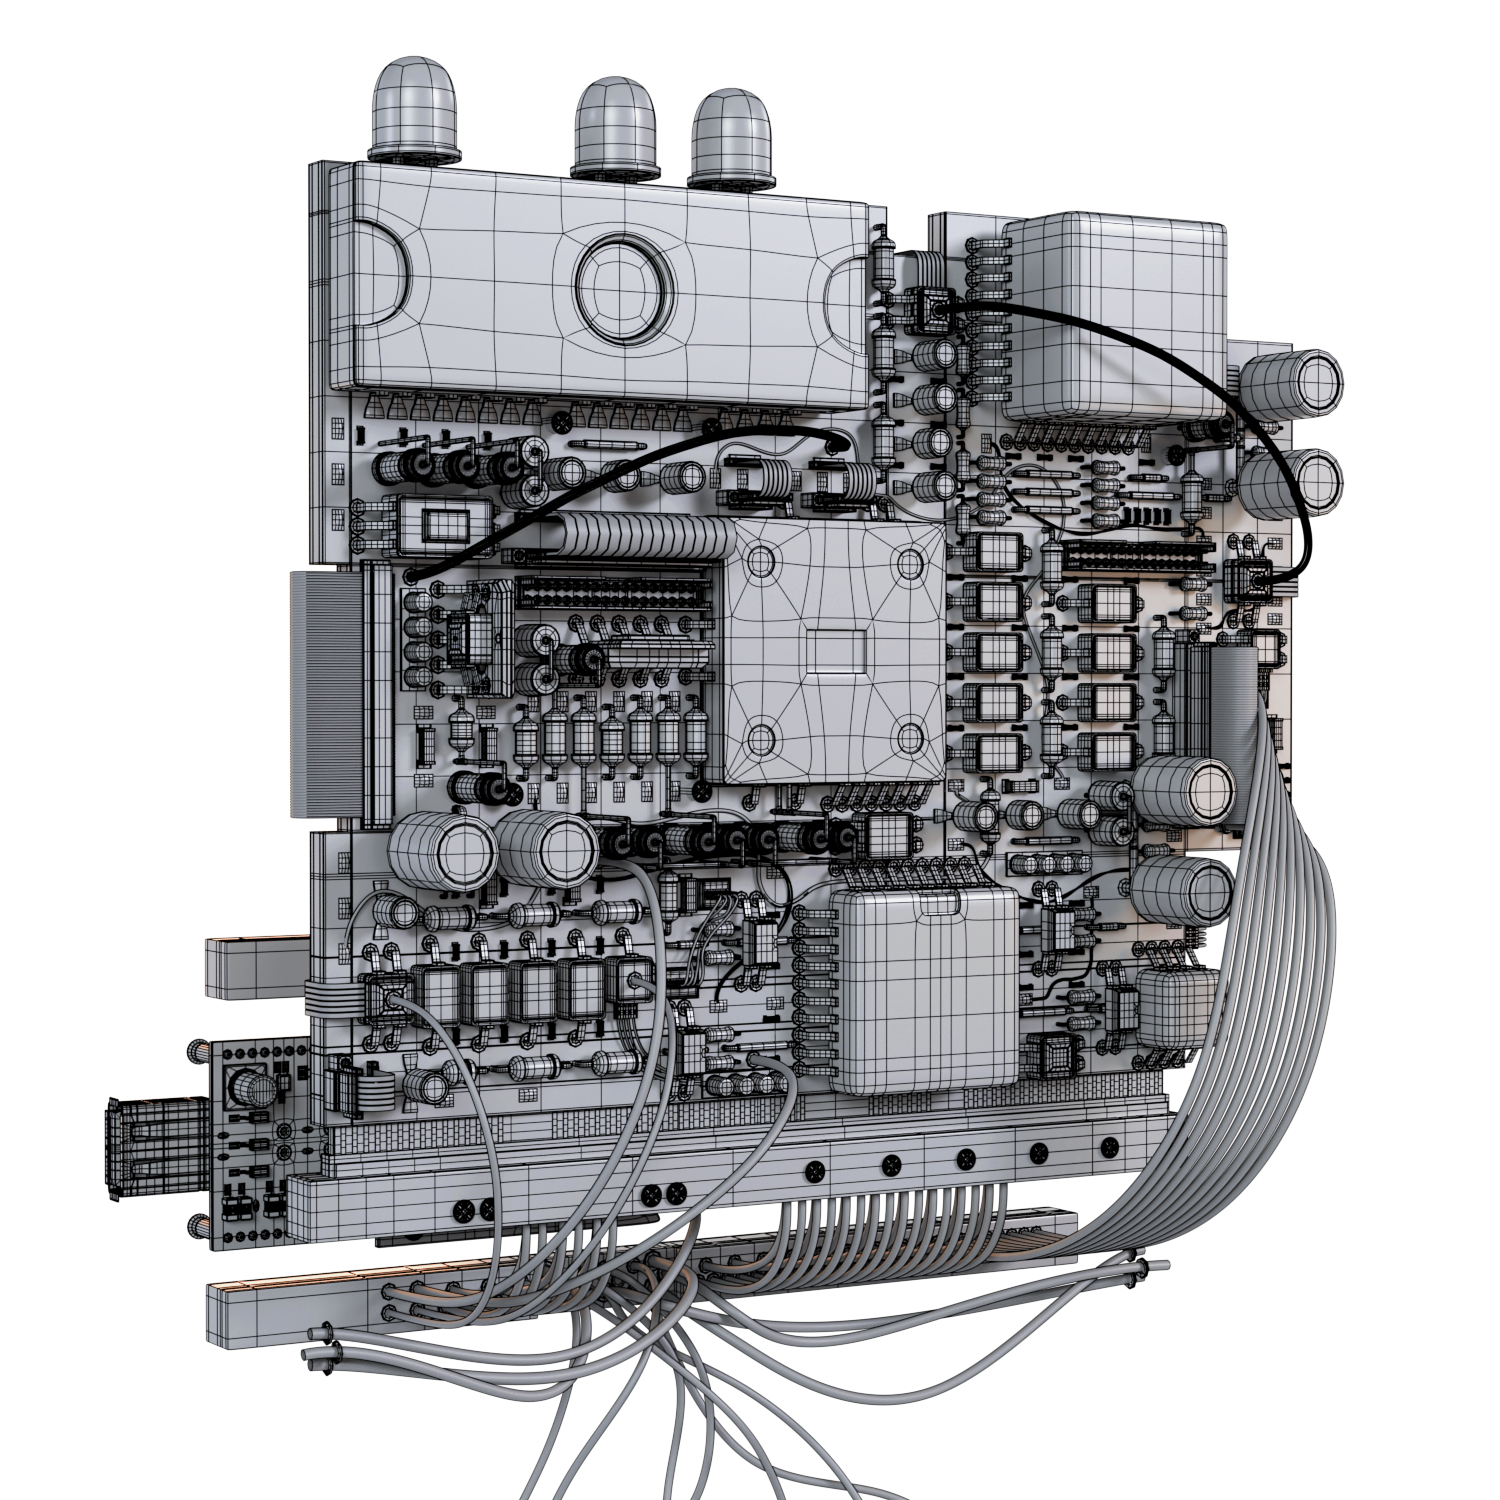
Topology Optimization
Modeling with quads improves edge flow and surface control, which is crucial for animation and subdivision. It keeps the base mesh light and editable, and ensures clean, smooth surfaces when using algorithms like Catmull-Clark, avoiding artifacts.
3D Modeling / Autodesk Maya
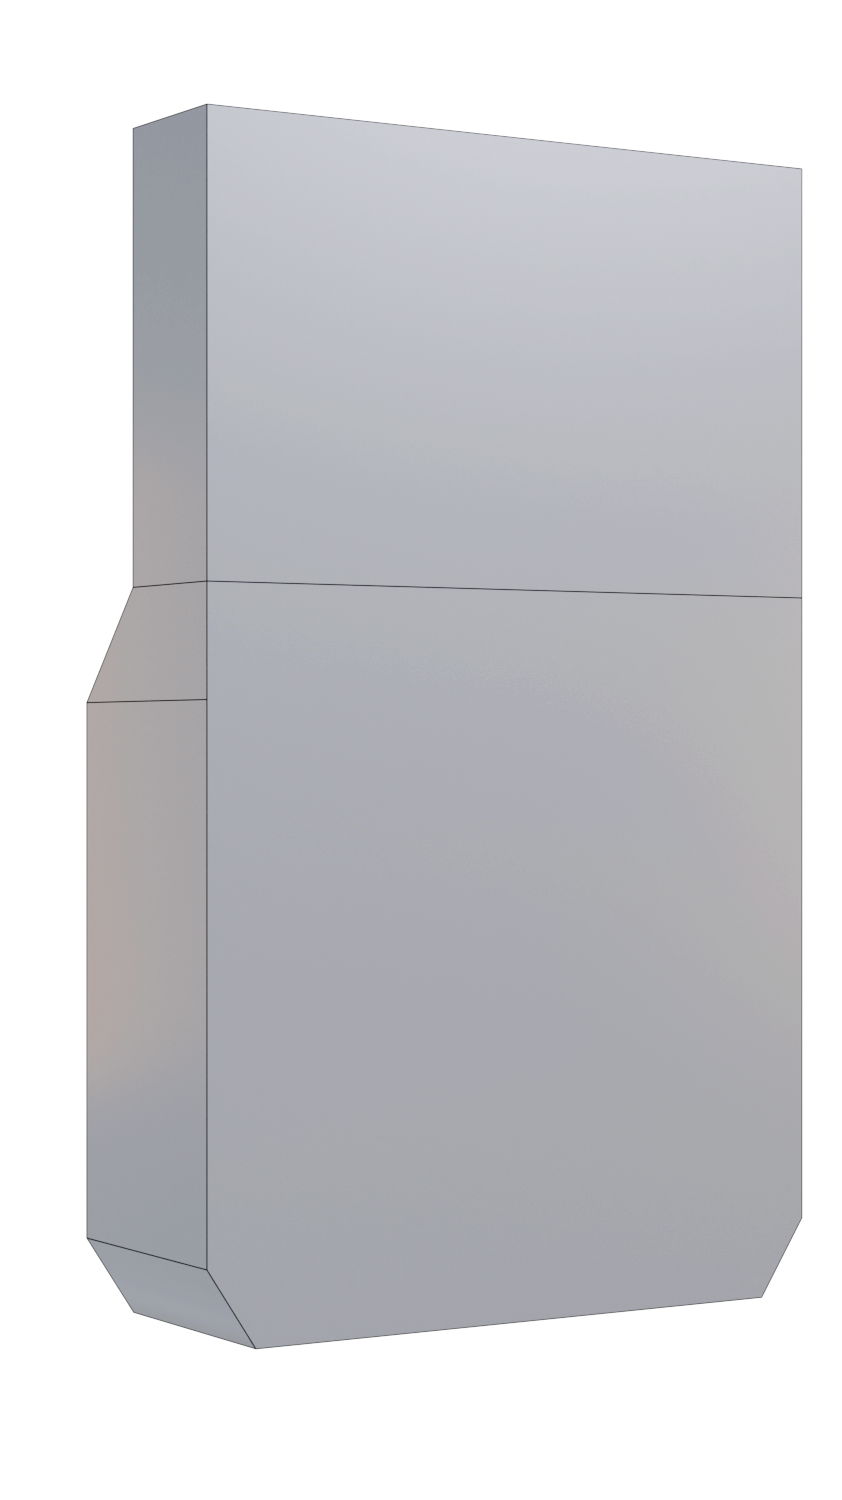
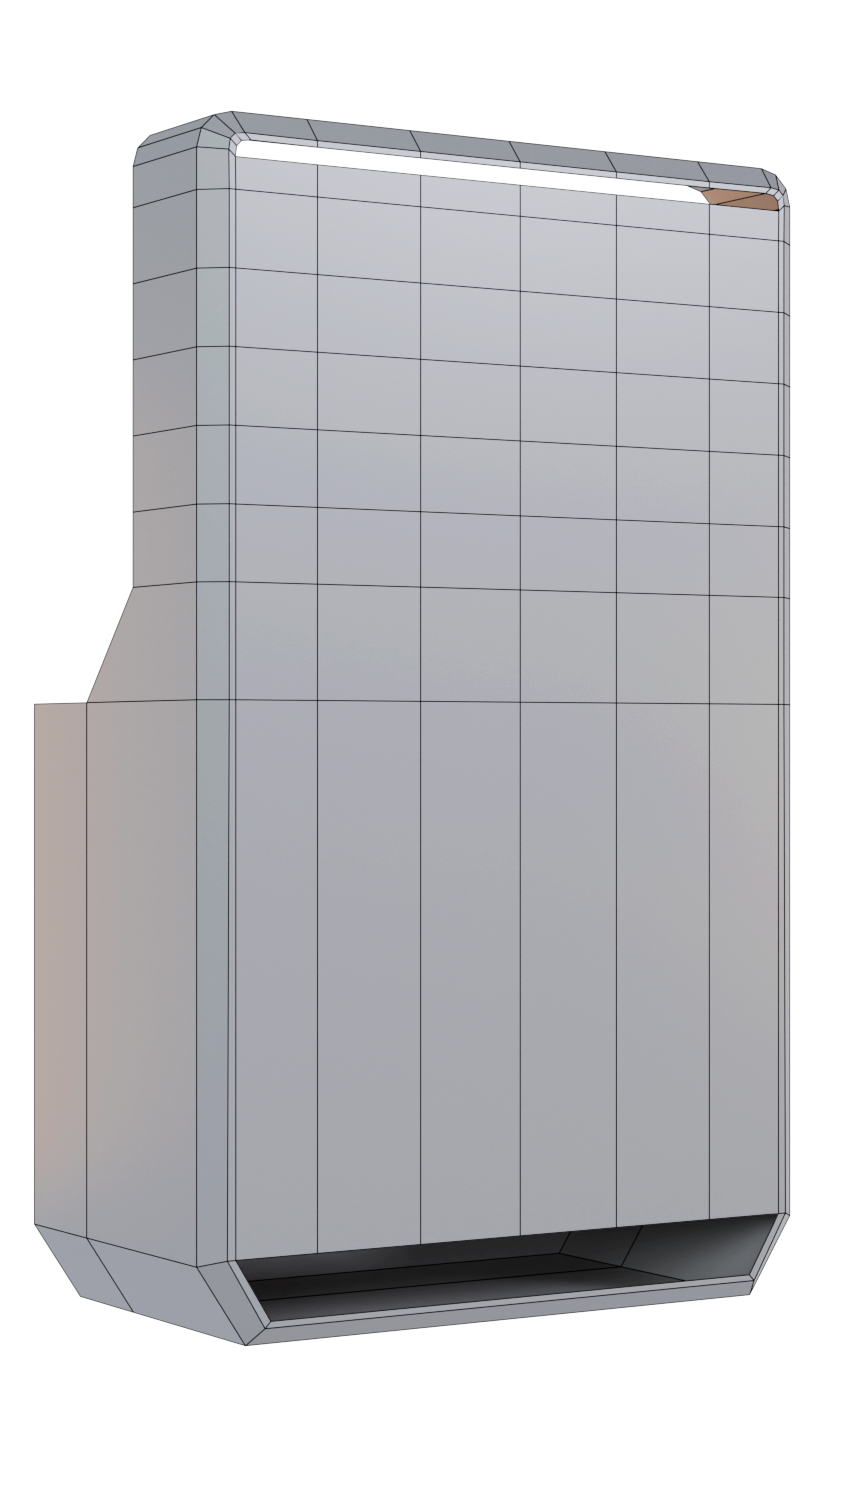
1. The main thing is to generate the blocking or basic shape, from which we start modeling and generating the final shape.
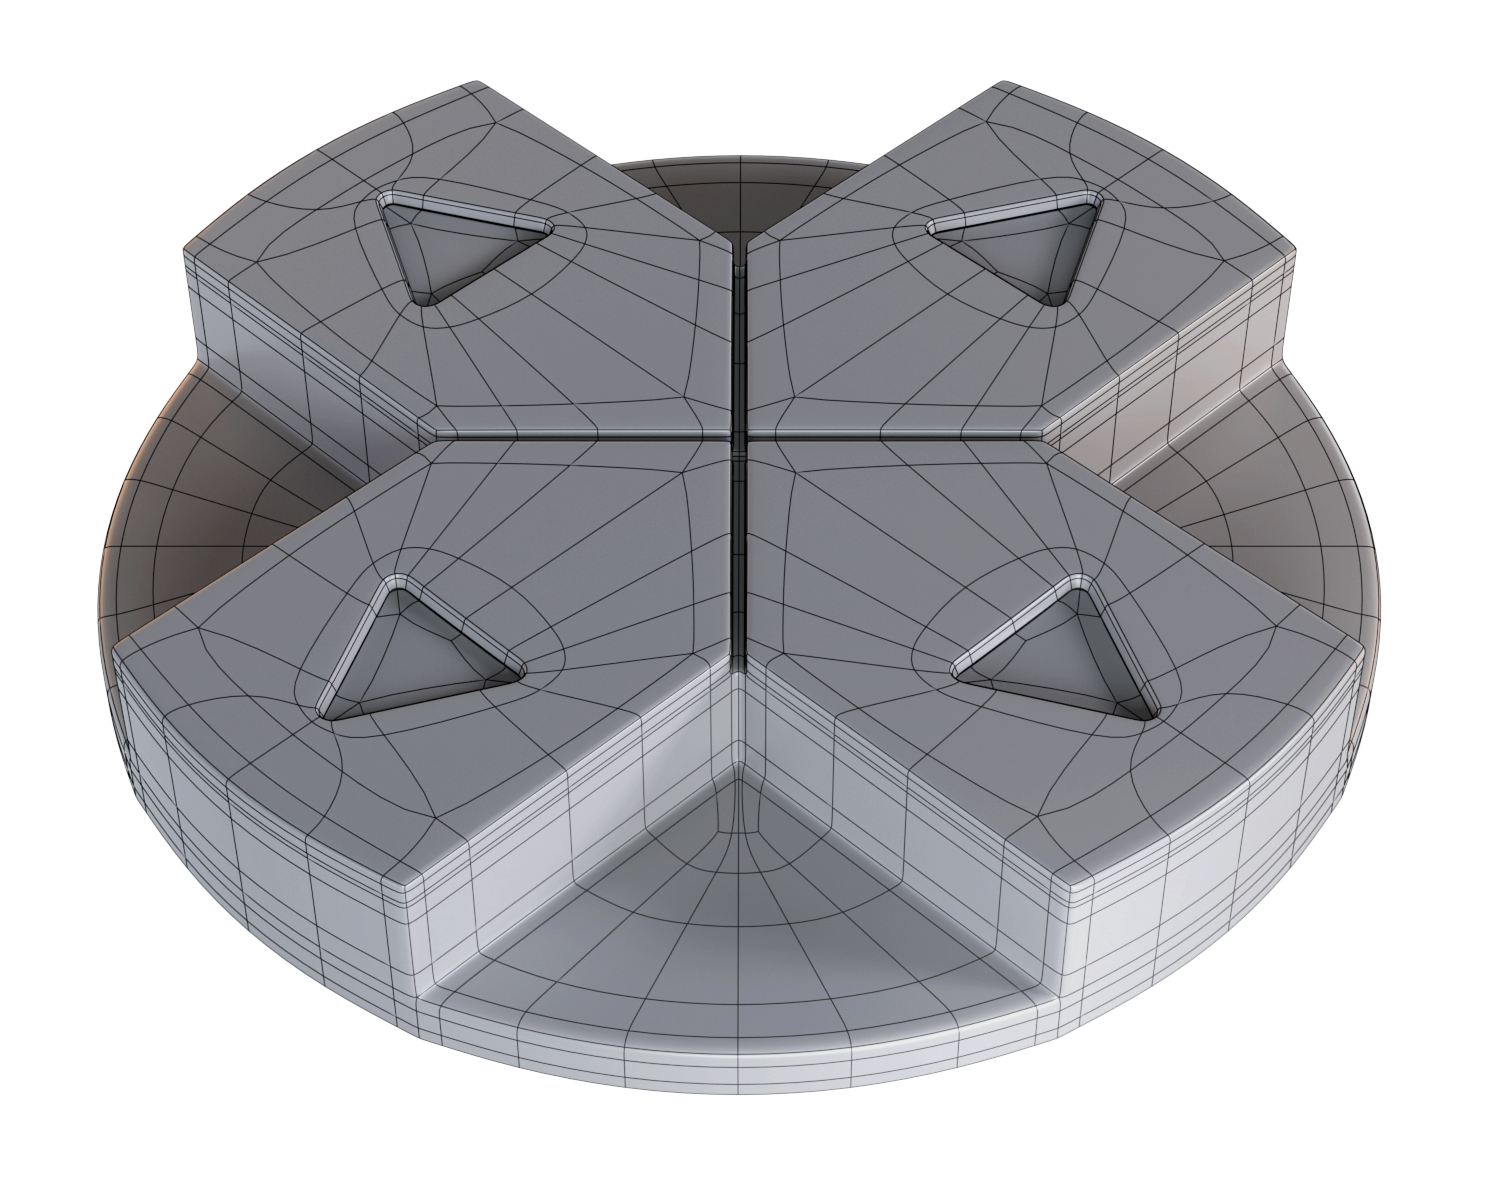
2. Following the same steps, the main shape is created, and then little by little the details are added until this final result is obtained
3. This being the main part of the character, after blocking, I generated specific parts to then join them to the model, trying to have everything in quads to have a model suitable for subdivisions.


The difference
Why quads and not triangles
Quads are preferred over triangles because they provide better edge flow and deformation, which is crucial for animation. Quads also subdivide more predictably using algorithms like Catmull-Clark, resulting in smoother, cleaner surfaces. While triangles can cause pinching or artifacts during subdivision or deformation, quads maintain a more uniform topology that’s easier to edit and animate.
Quads
Use quads when building models for animation, sculpting, or subdivision. They allow clean loops, smooth deformations, and predictable results. Quads make the mesh more flexible and editing-friendly throughout the 3D pipeline.
Triangles
Use triangles for real-time assets or optimized game models. They’re ideal for static parts or final meshes where subdivision isn’t needed. Triangles reduce polycount and are great for background elements or hard surface detail.
Quality is what matters most
Good topology leads to better UVs and clean edge flow. It also gives you a solid low-poly base ready for subdivision and detailing.
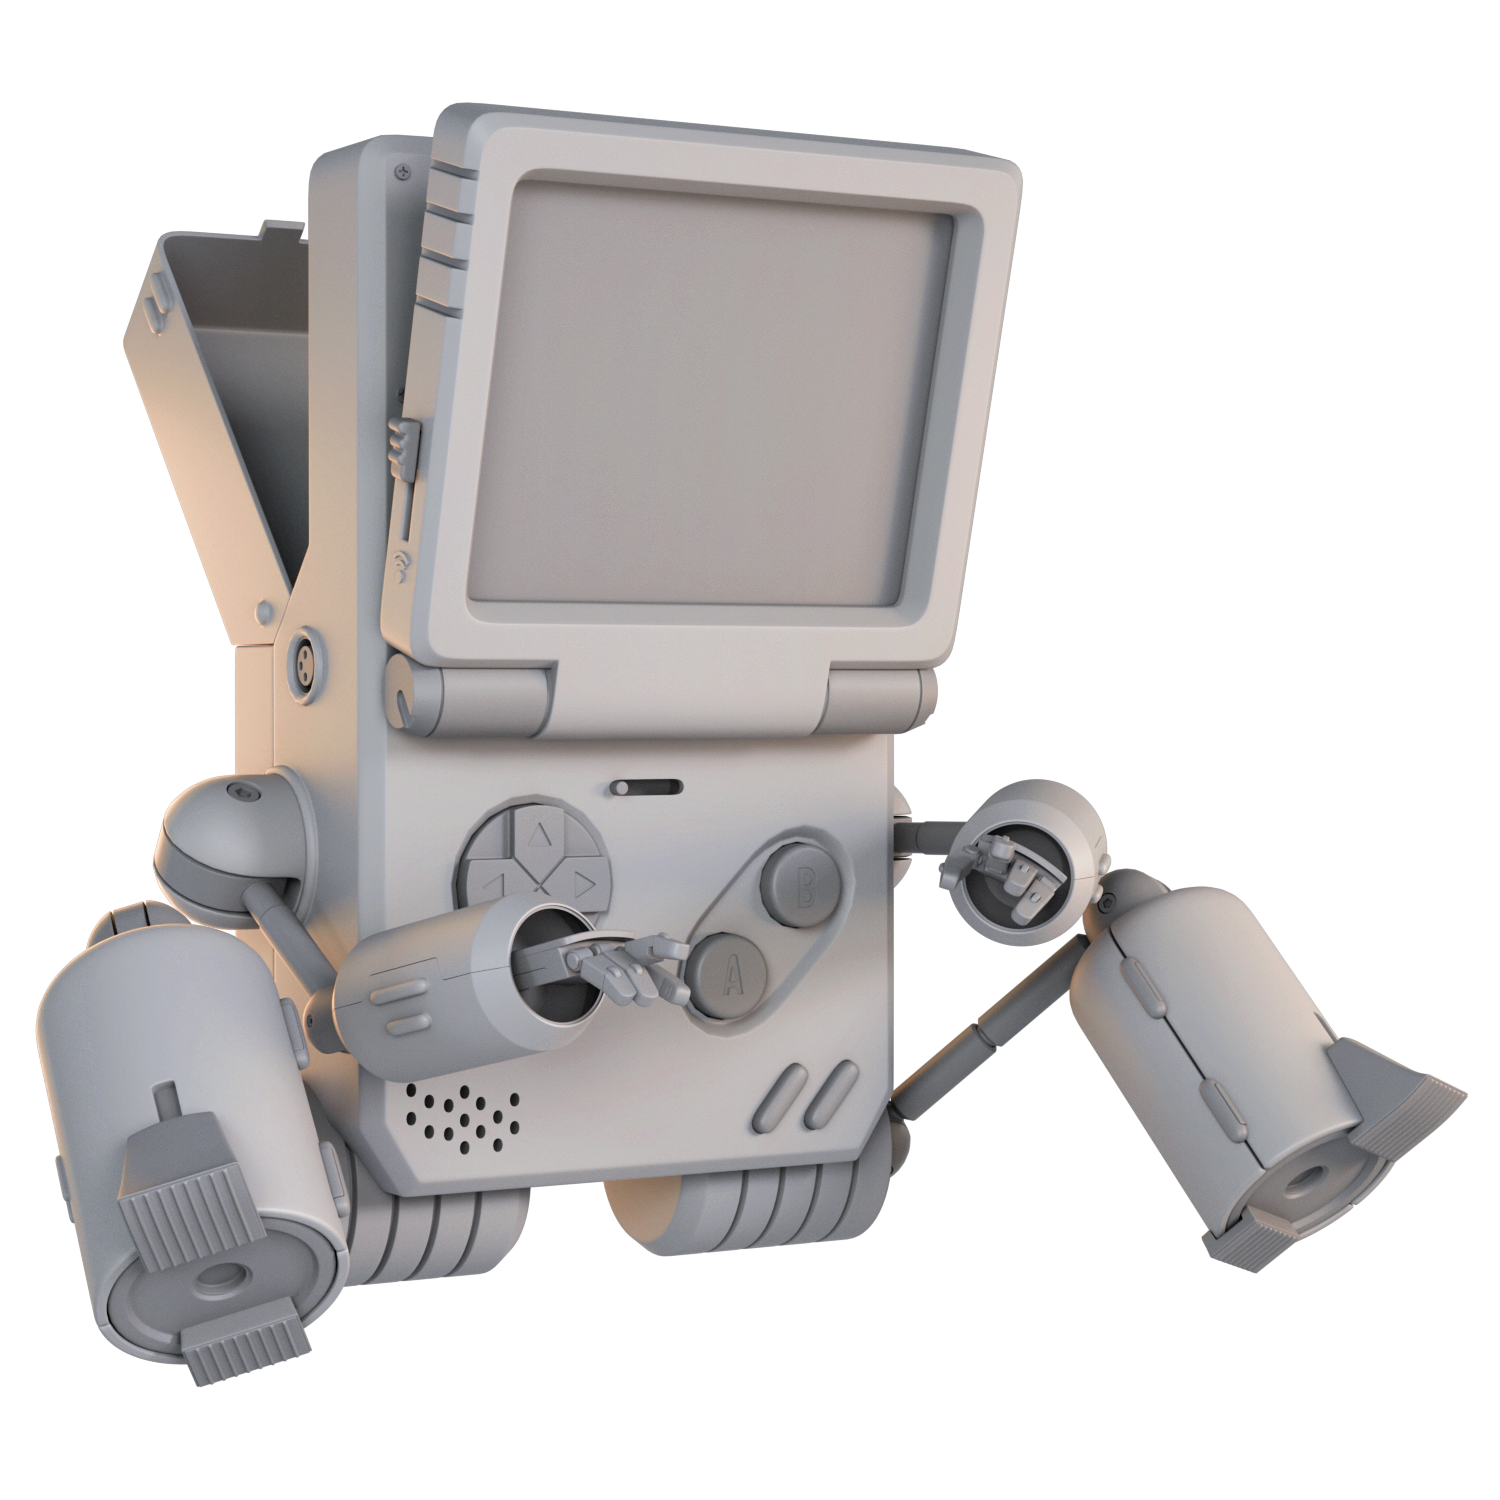
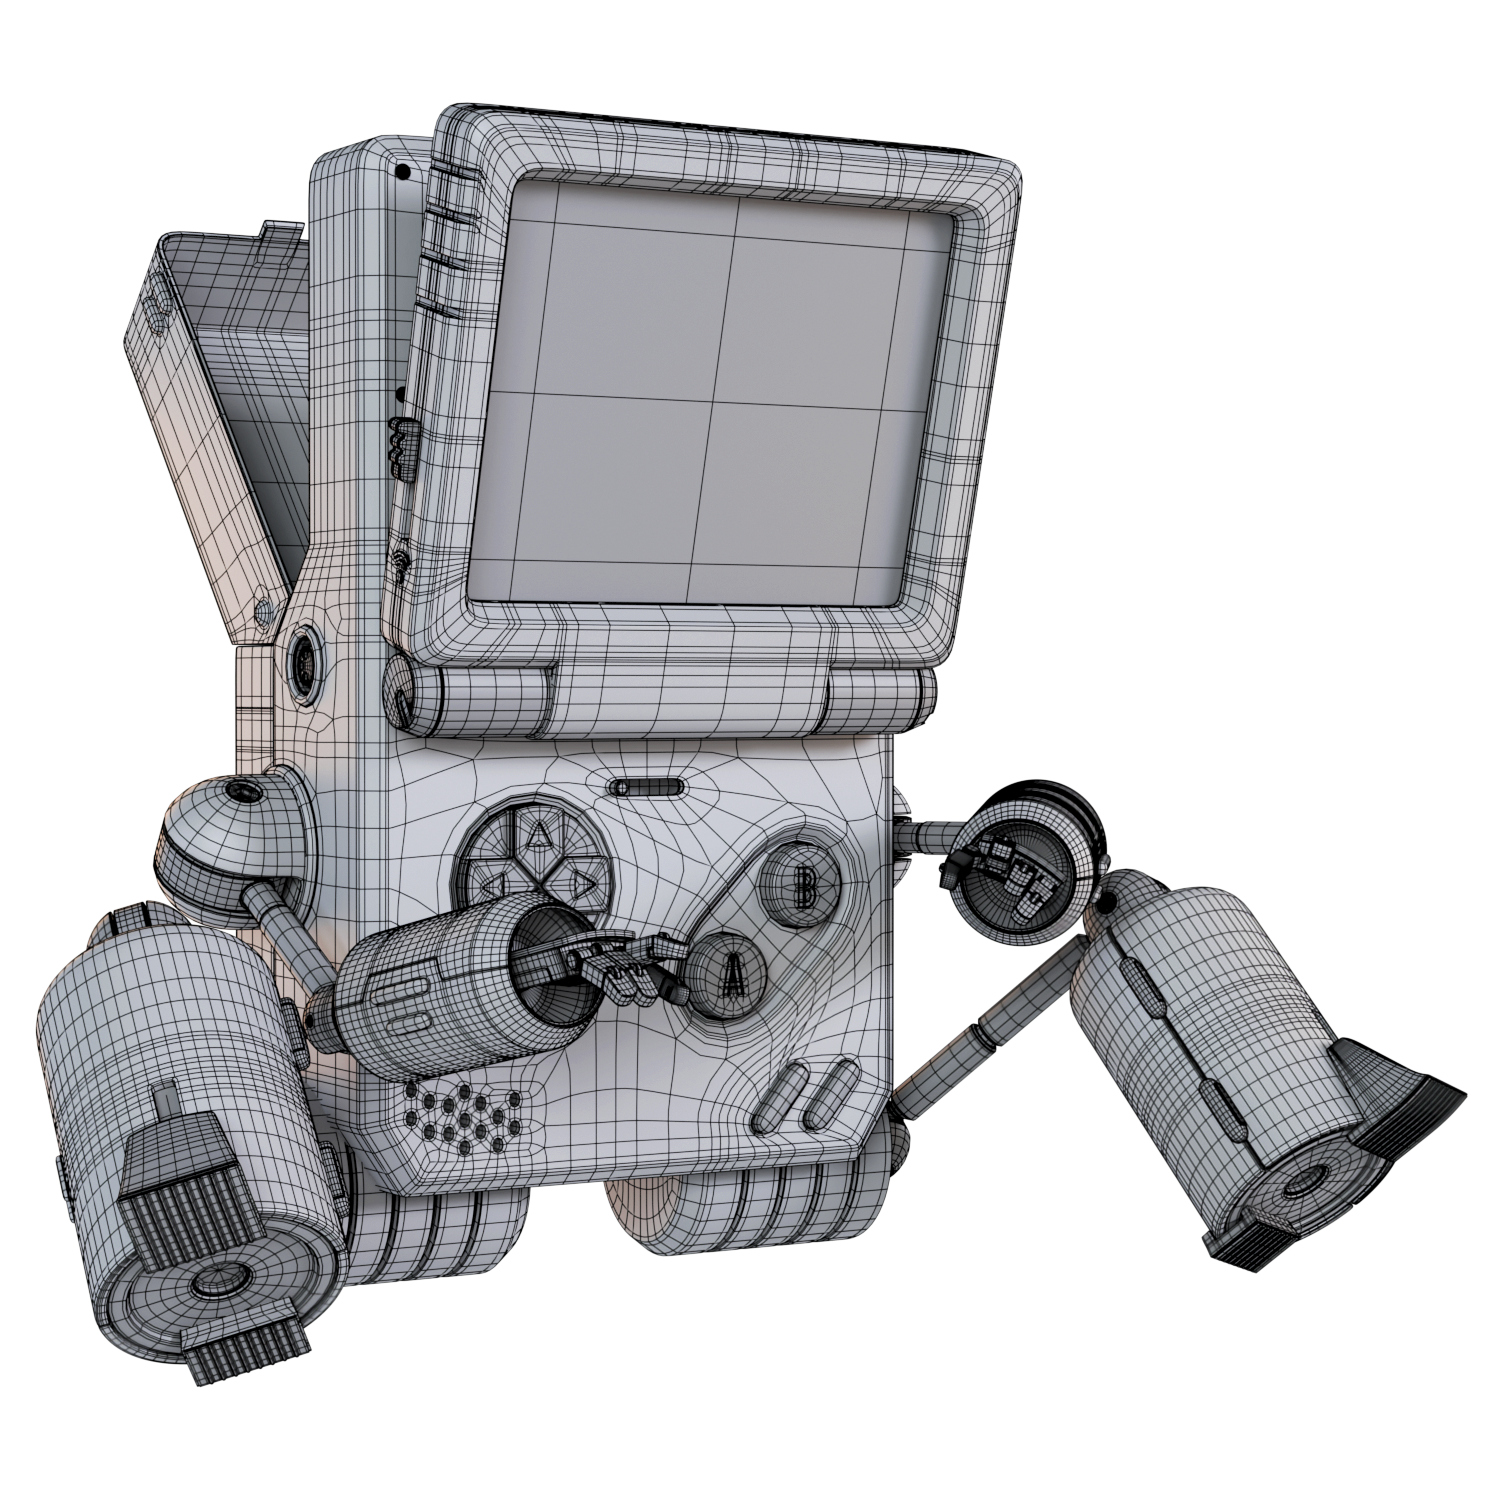
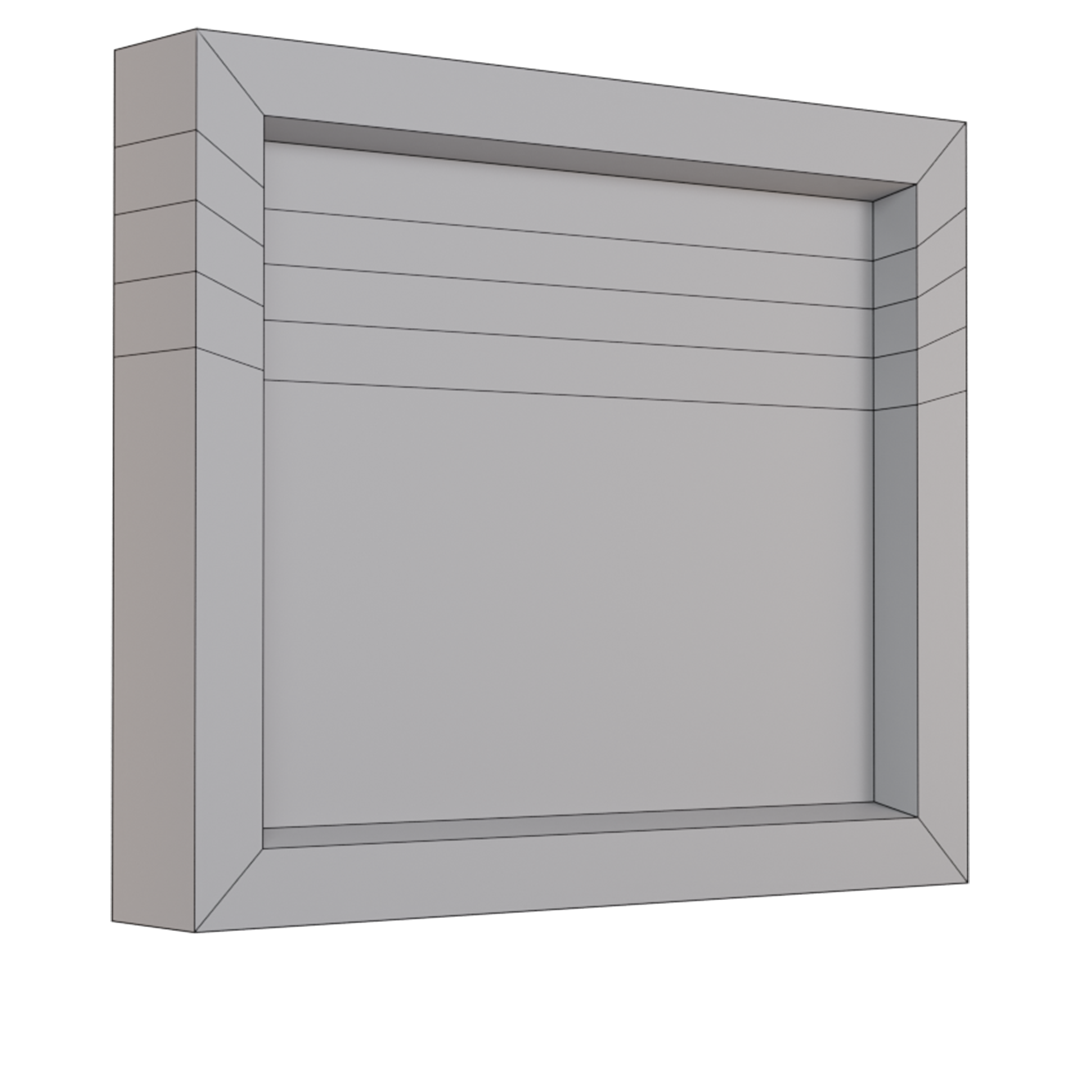
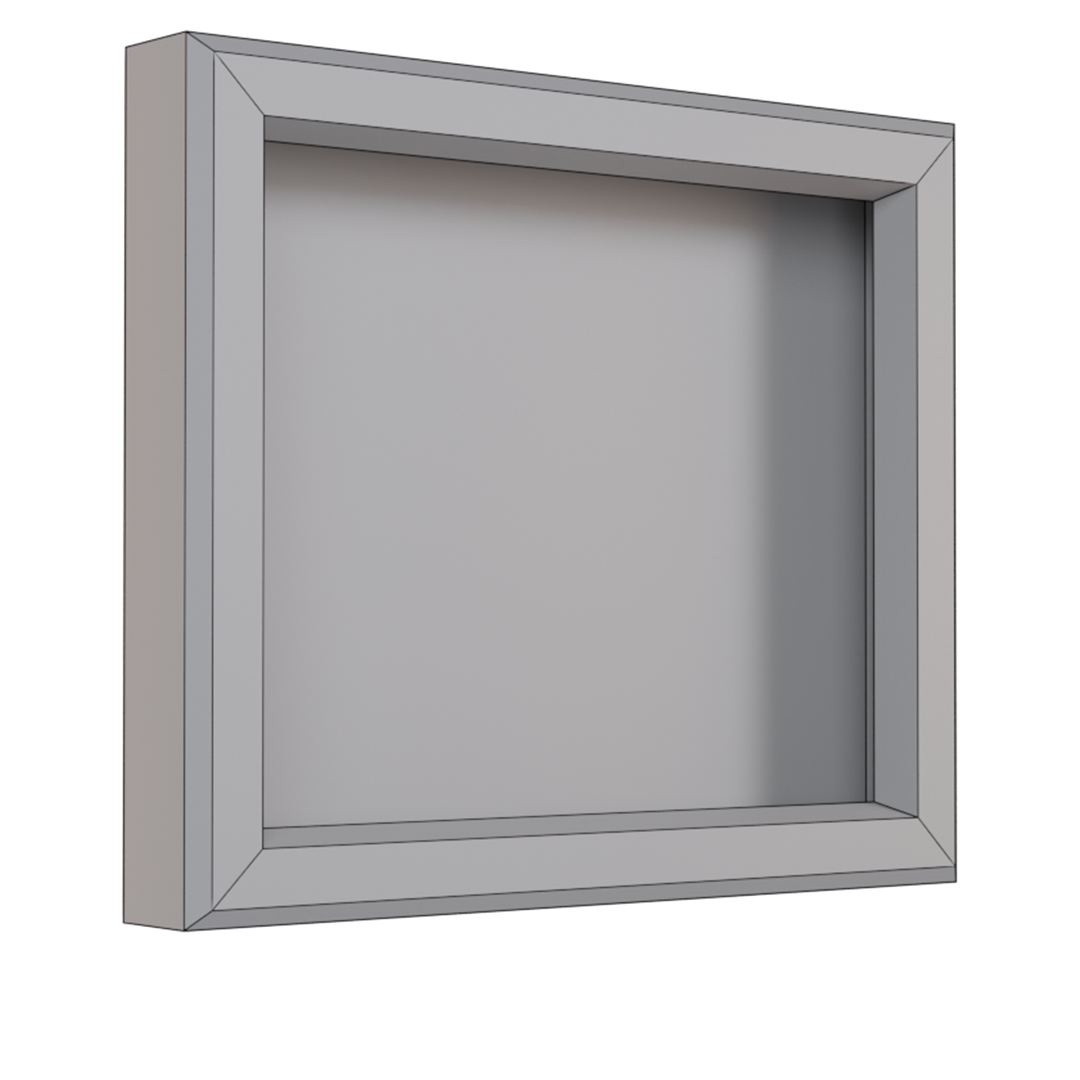
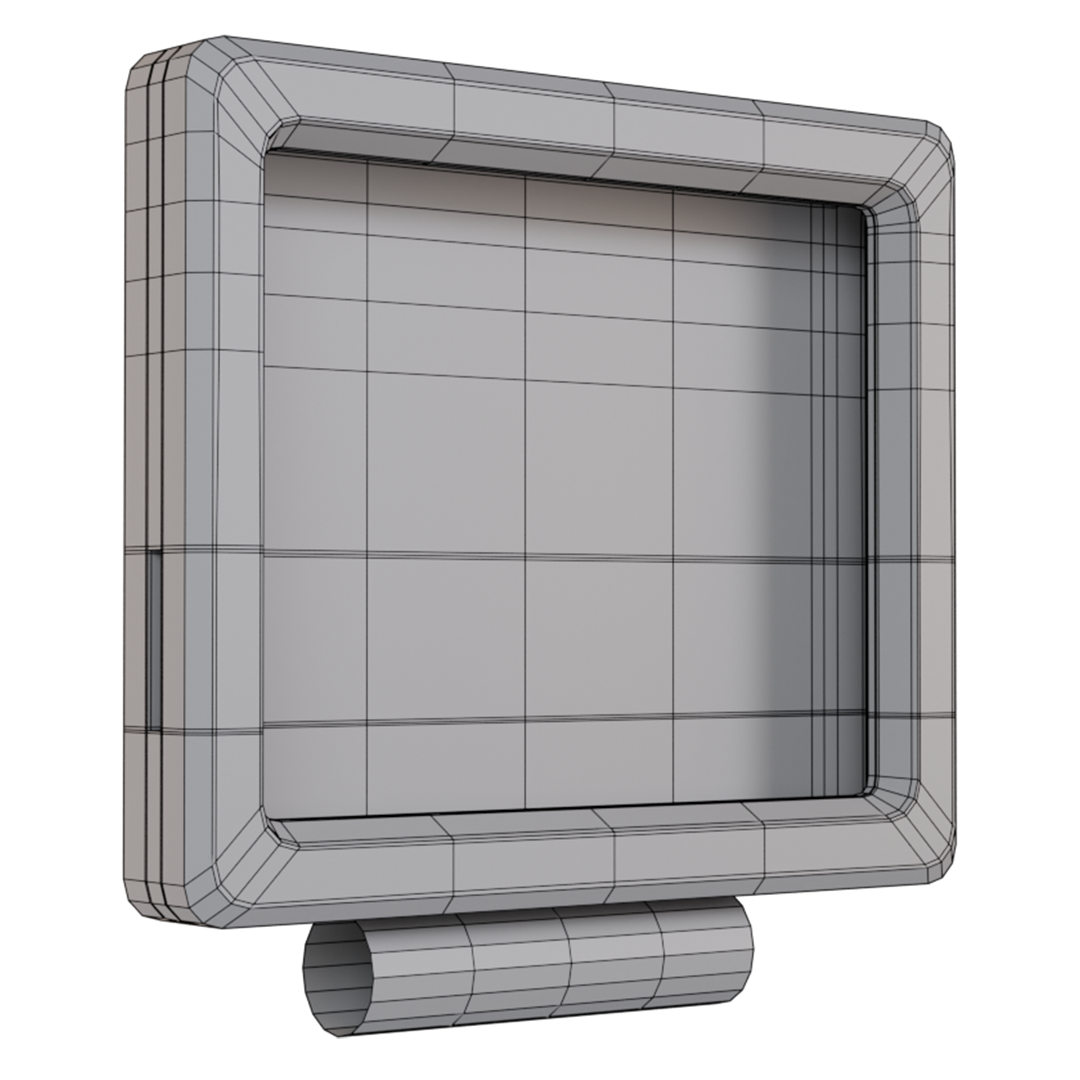
Final 3D Model
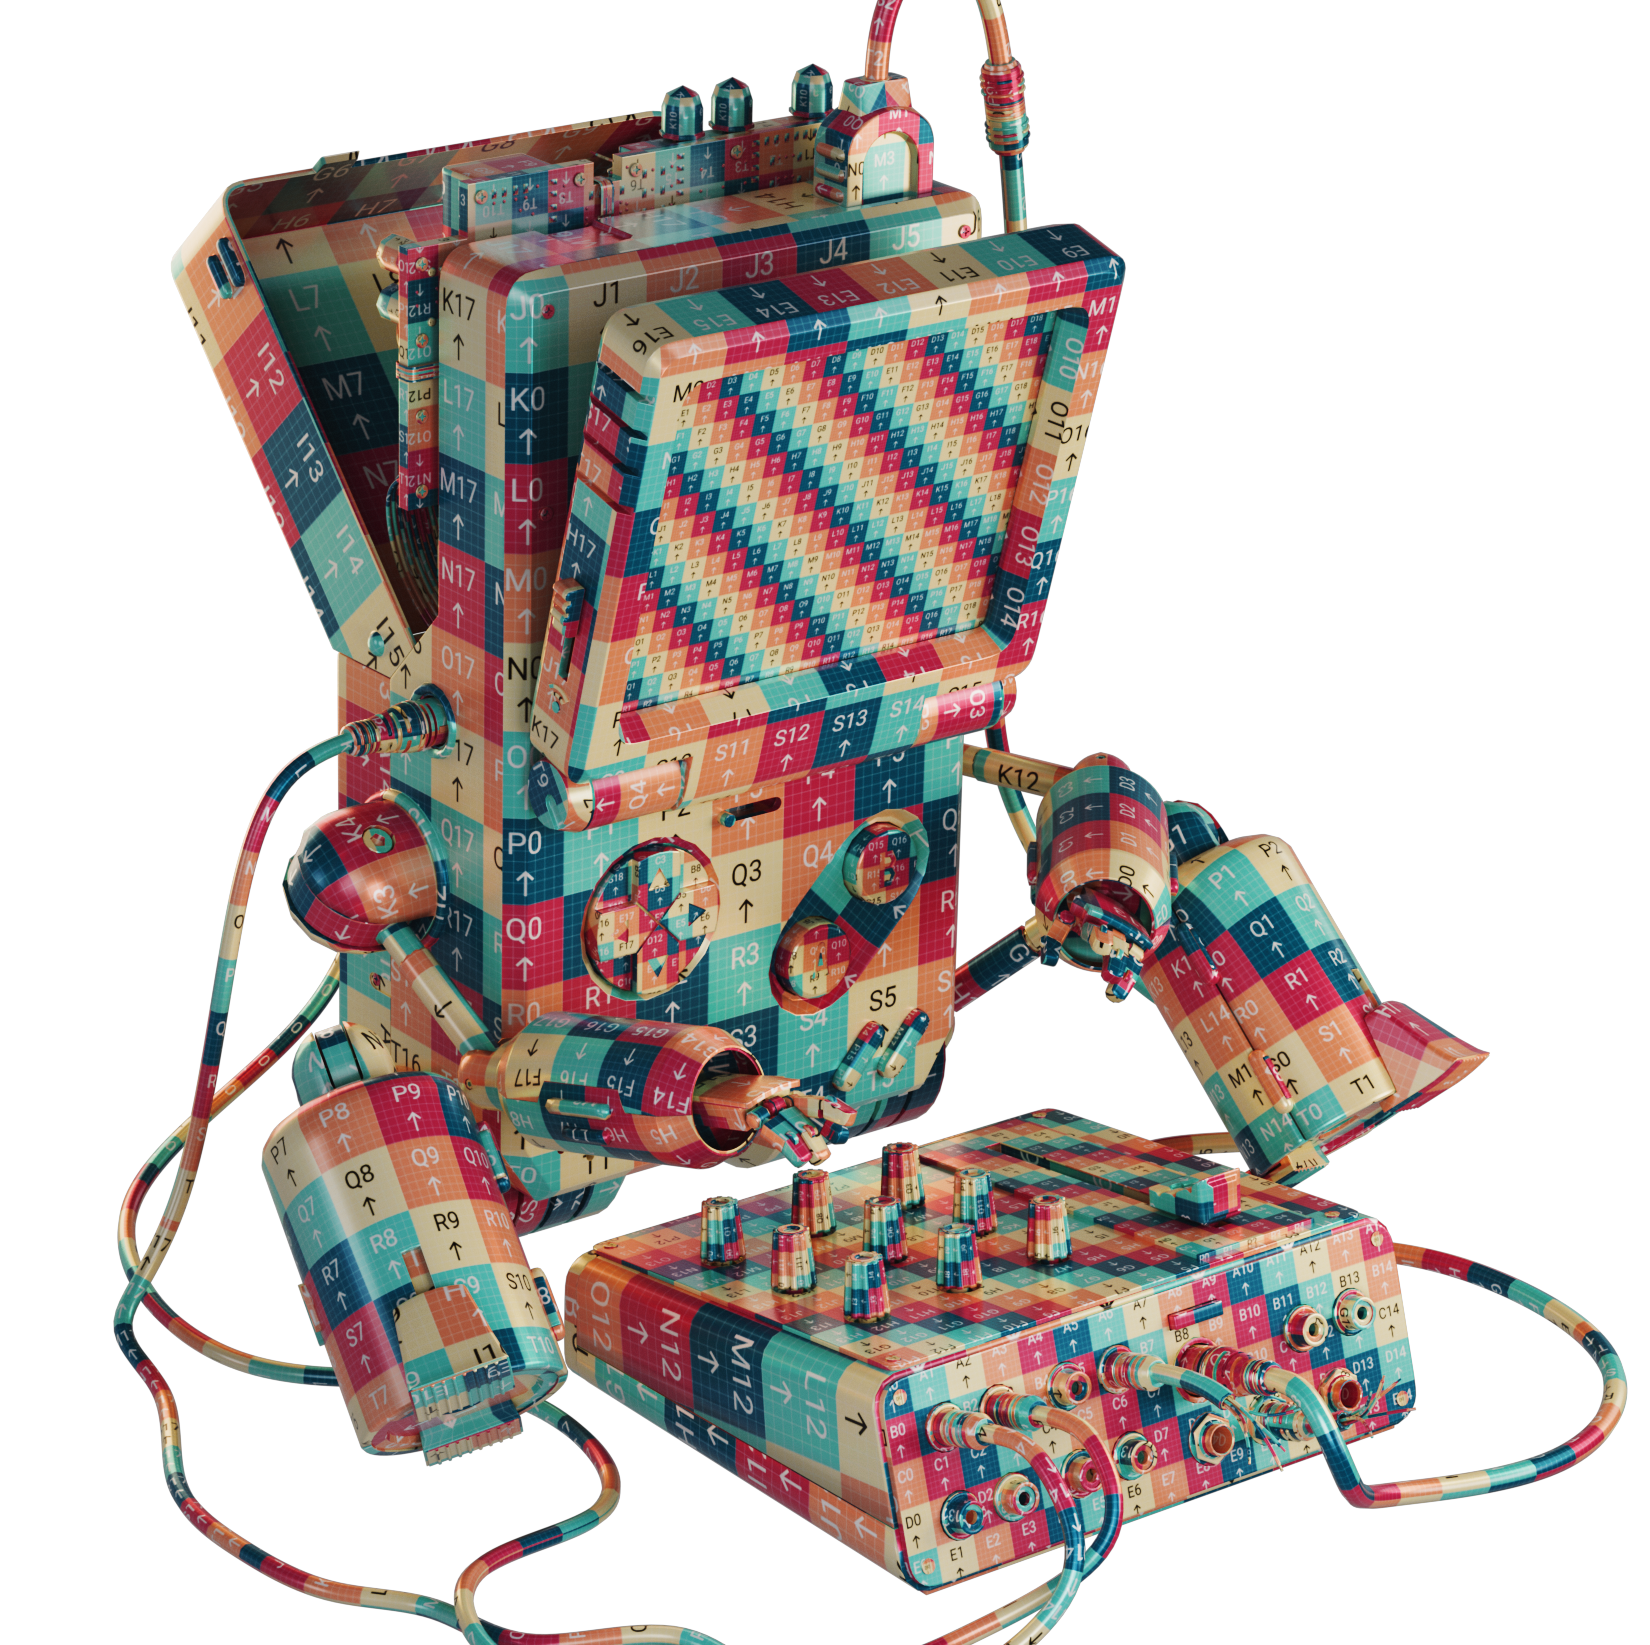
This is the result of the final model with UVs.
UVs are used to map 2D textures onto a 3D model. They act like a flat blueprint of your model’s surface, allowing you to paint or apply details such as colors, patterns, and materials accurately. Good UVs ensure textures look clean and distortion-free.

Texturing
Substance Painter
One of the most enjoyable parts is giving color to your 3D models.
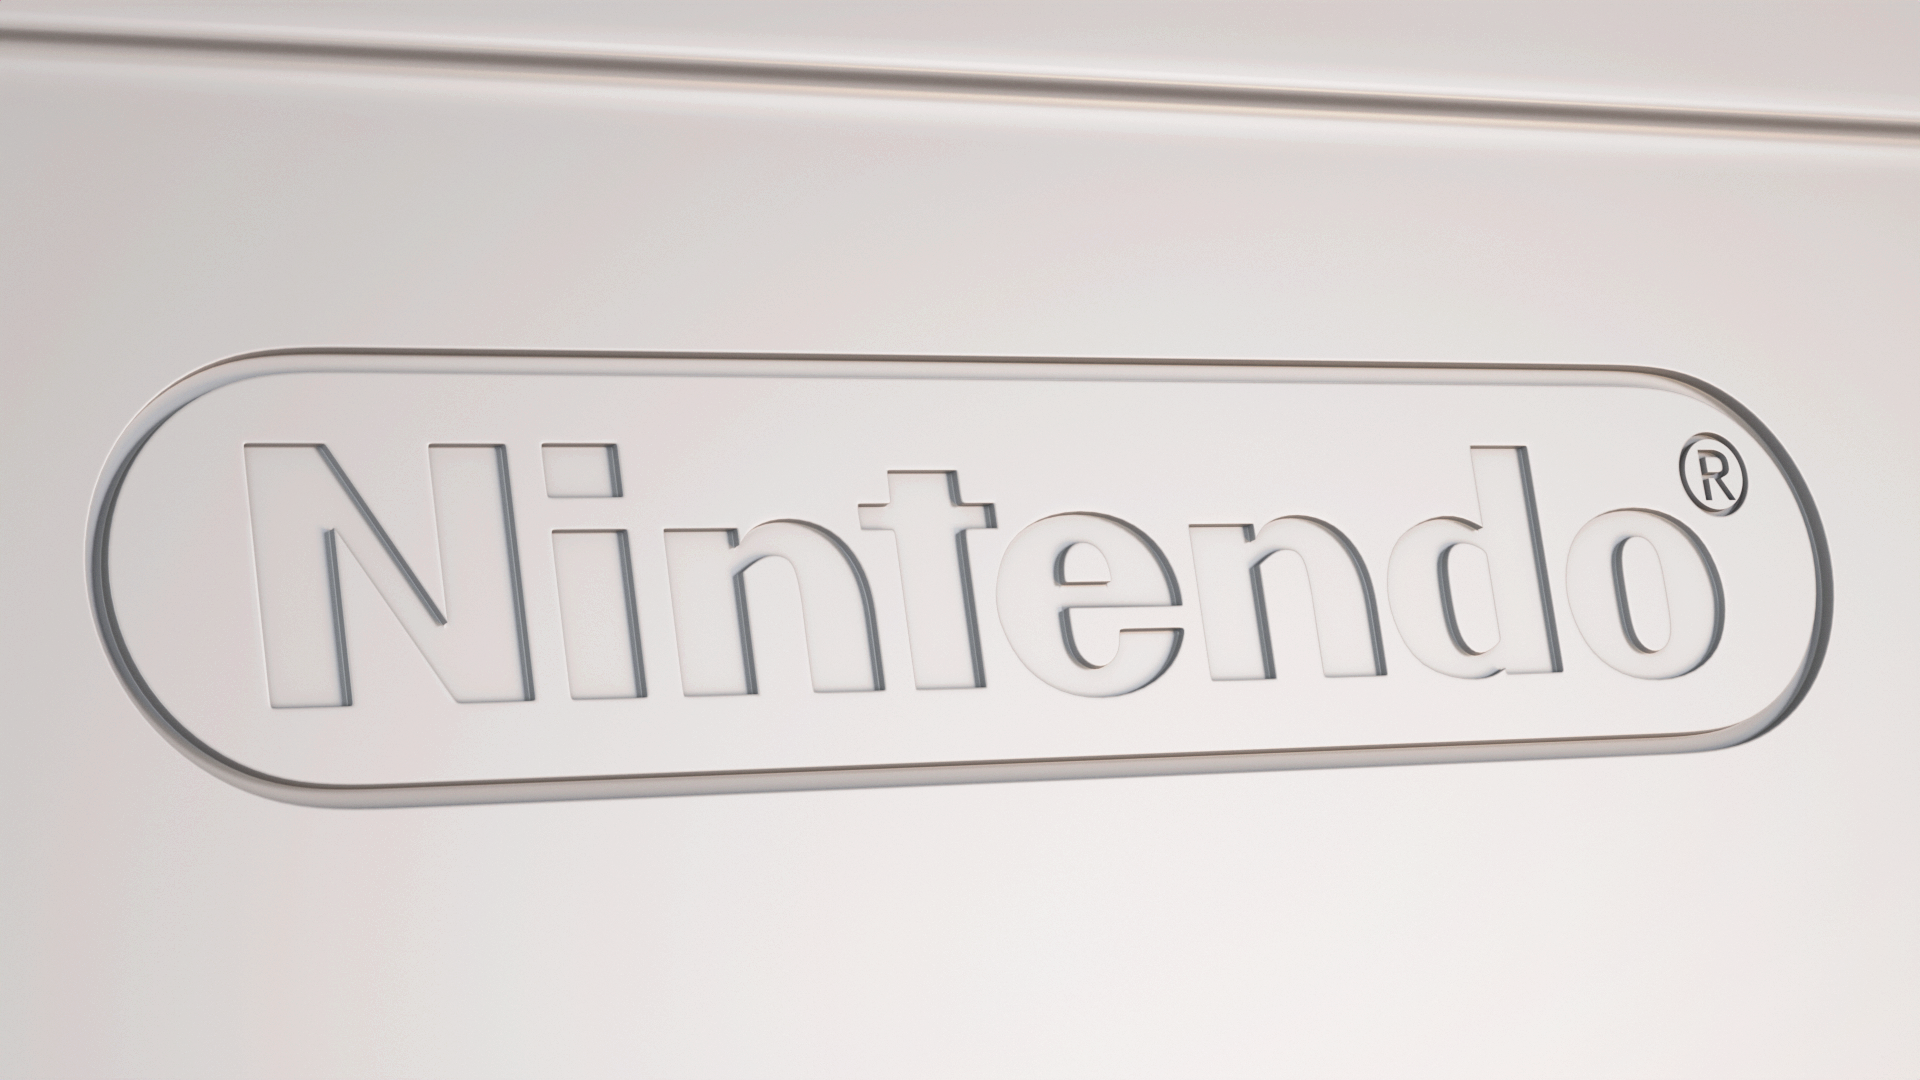
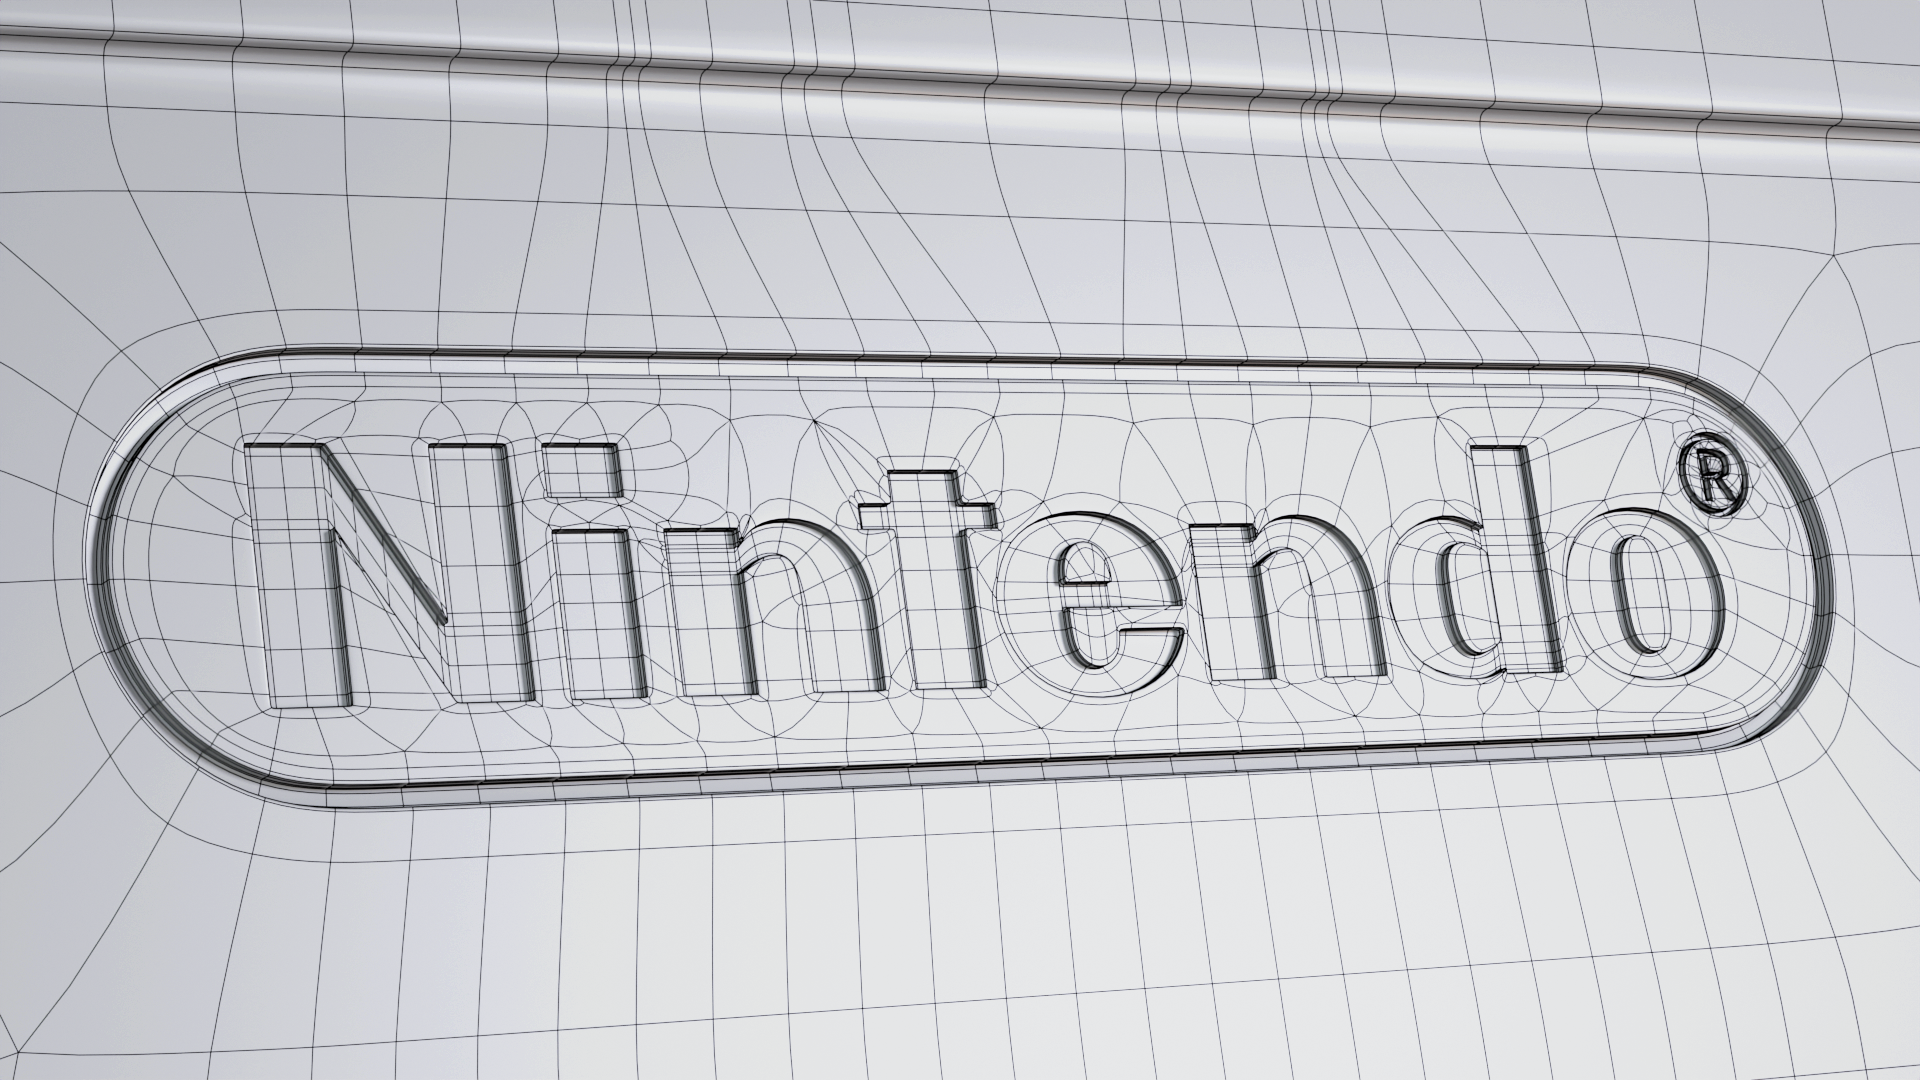
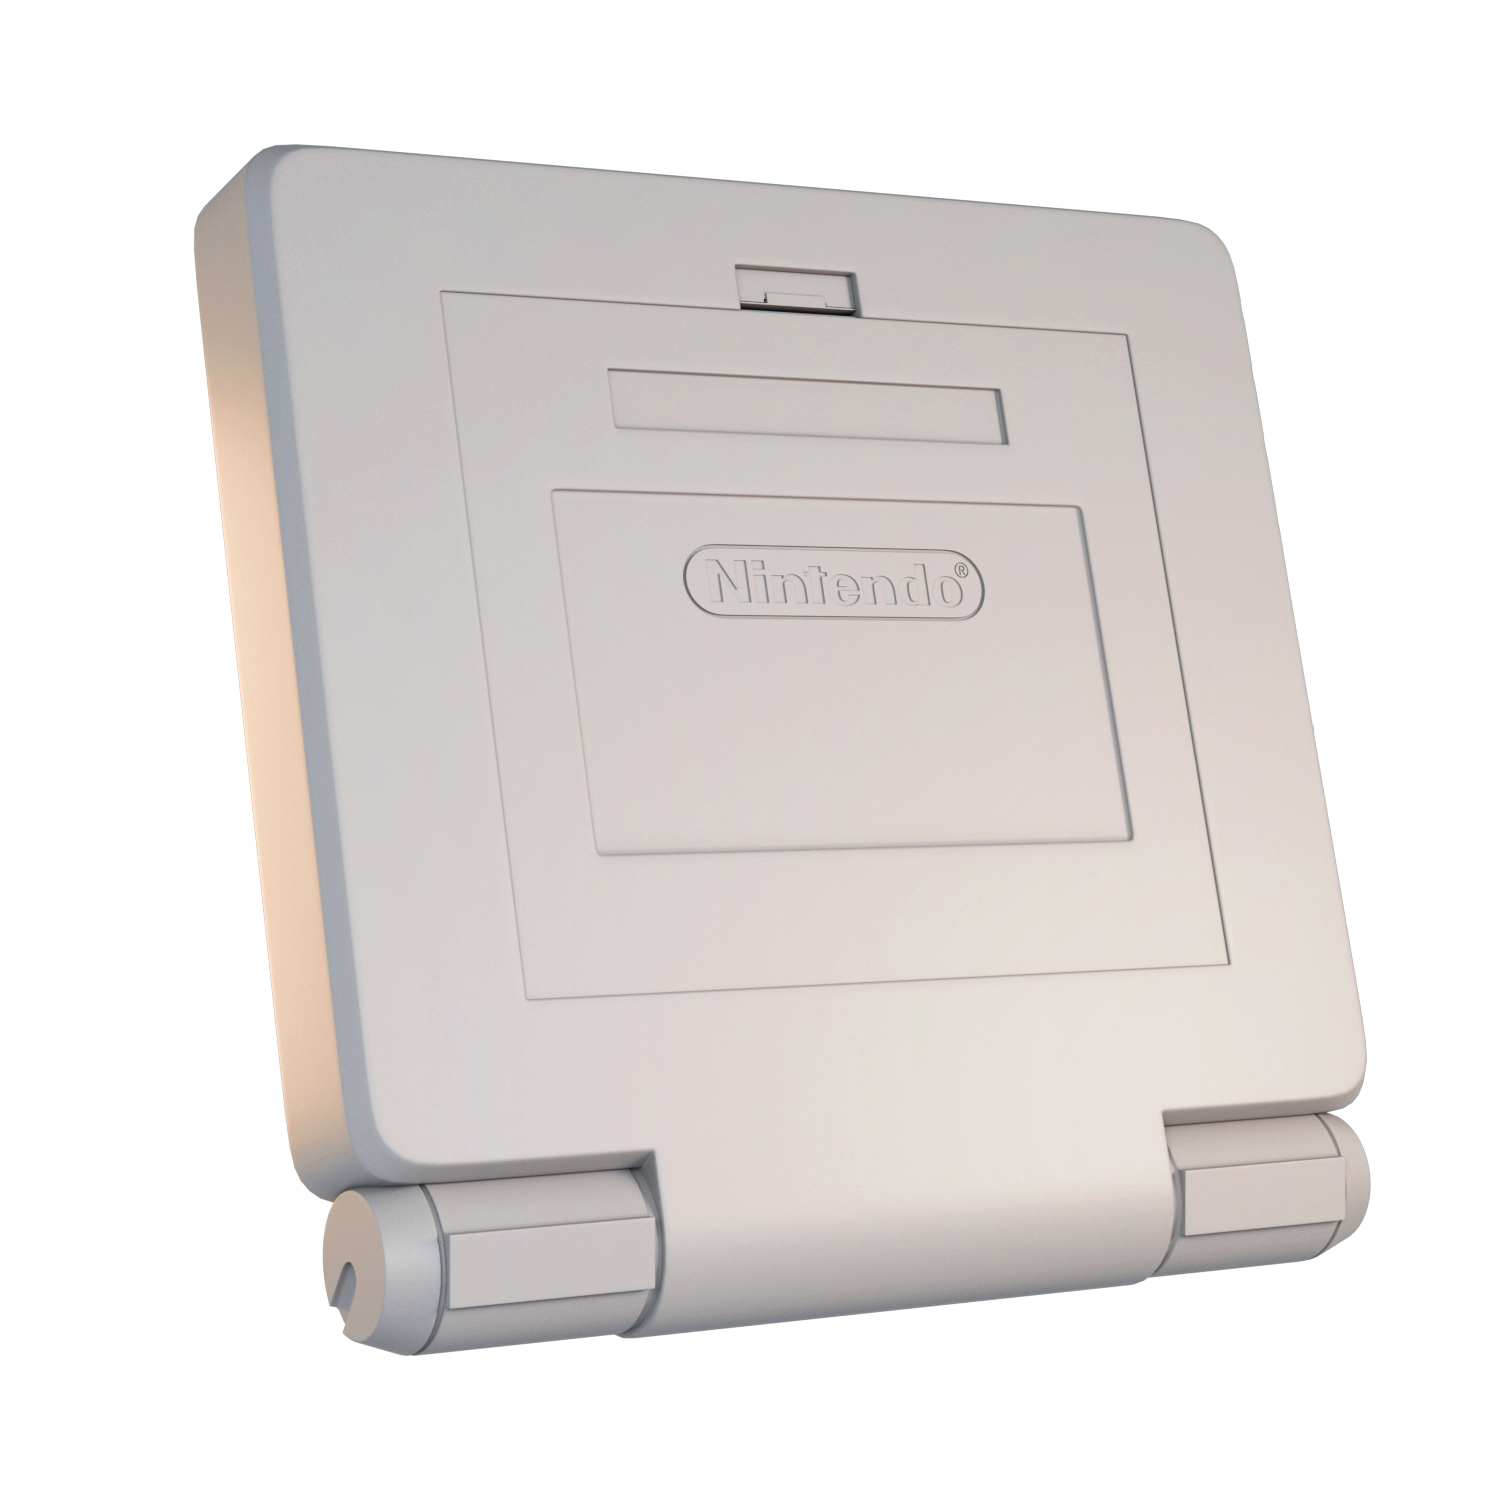
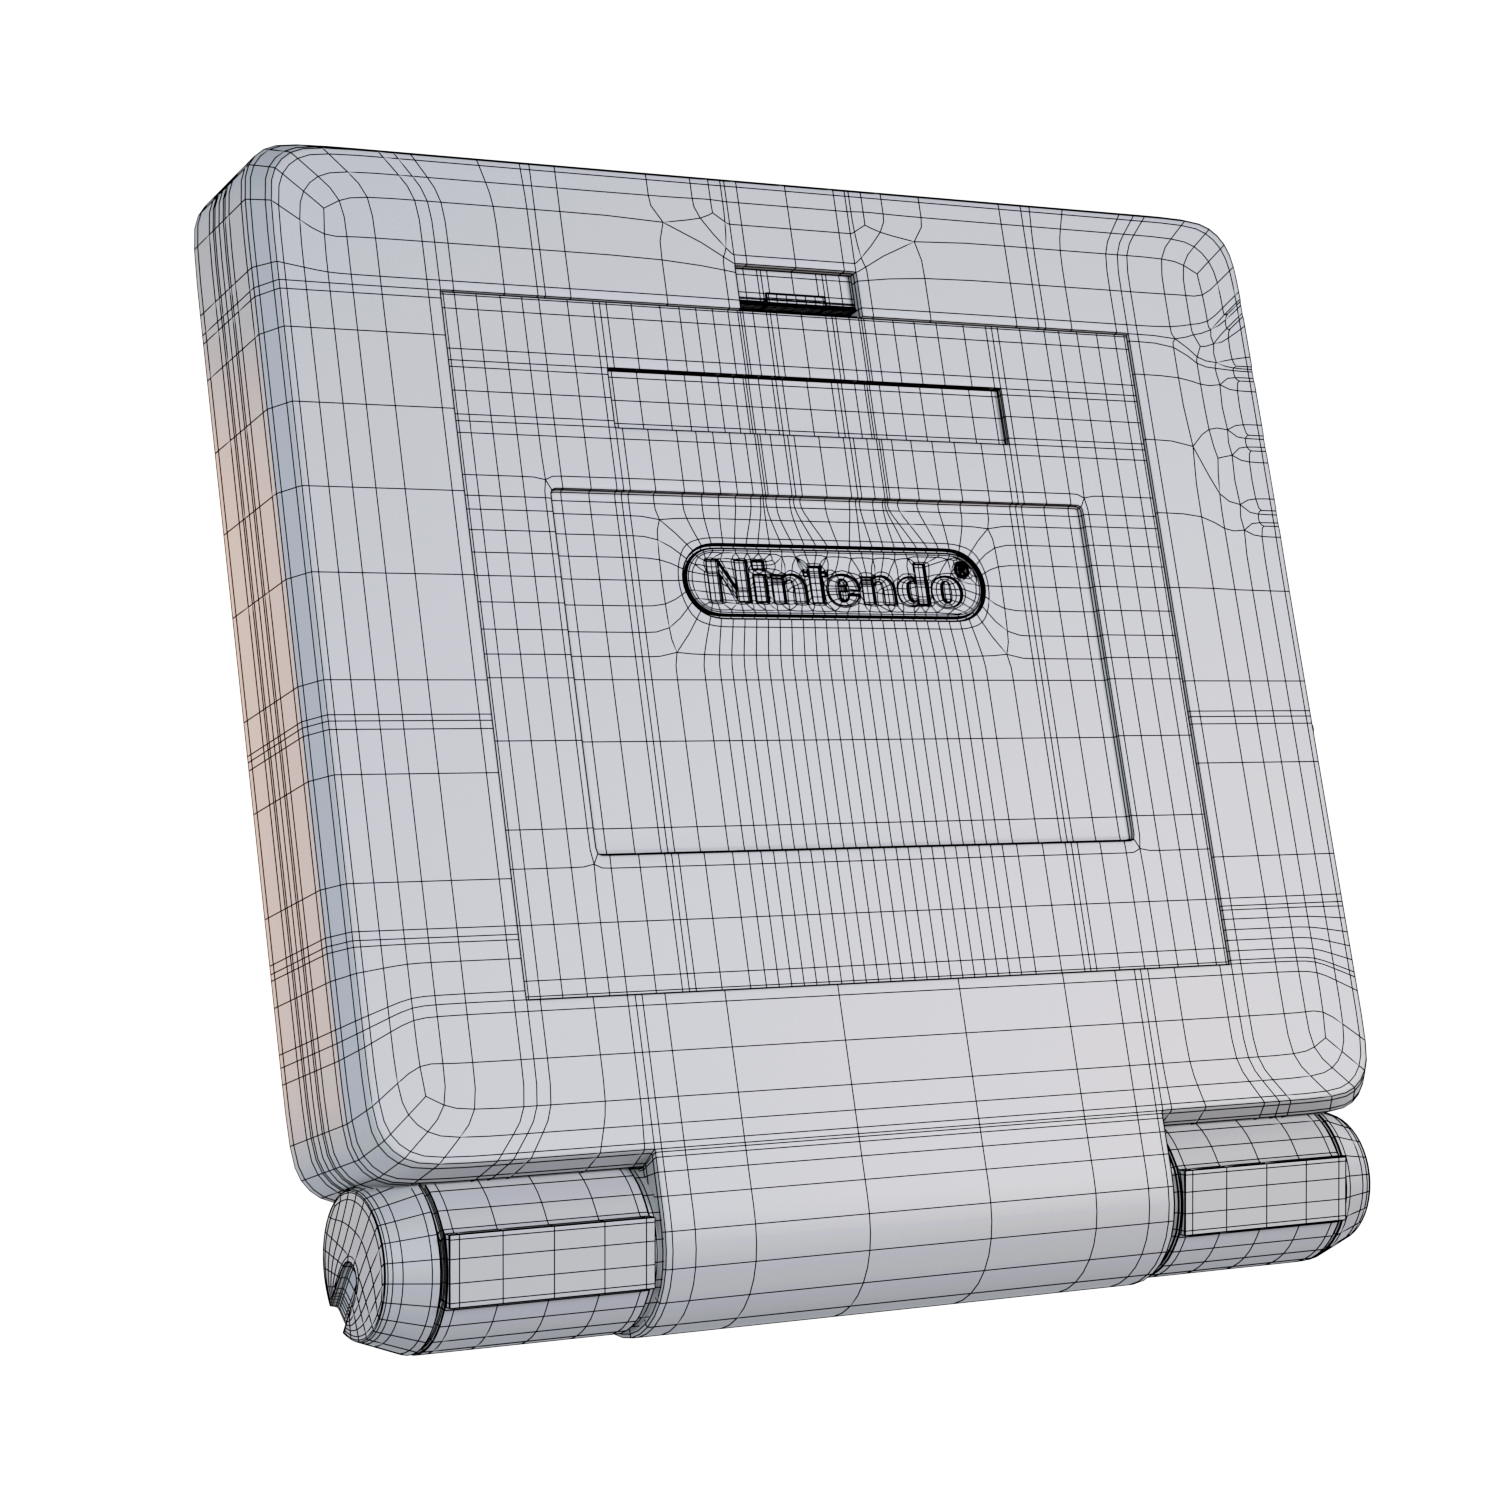
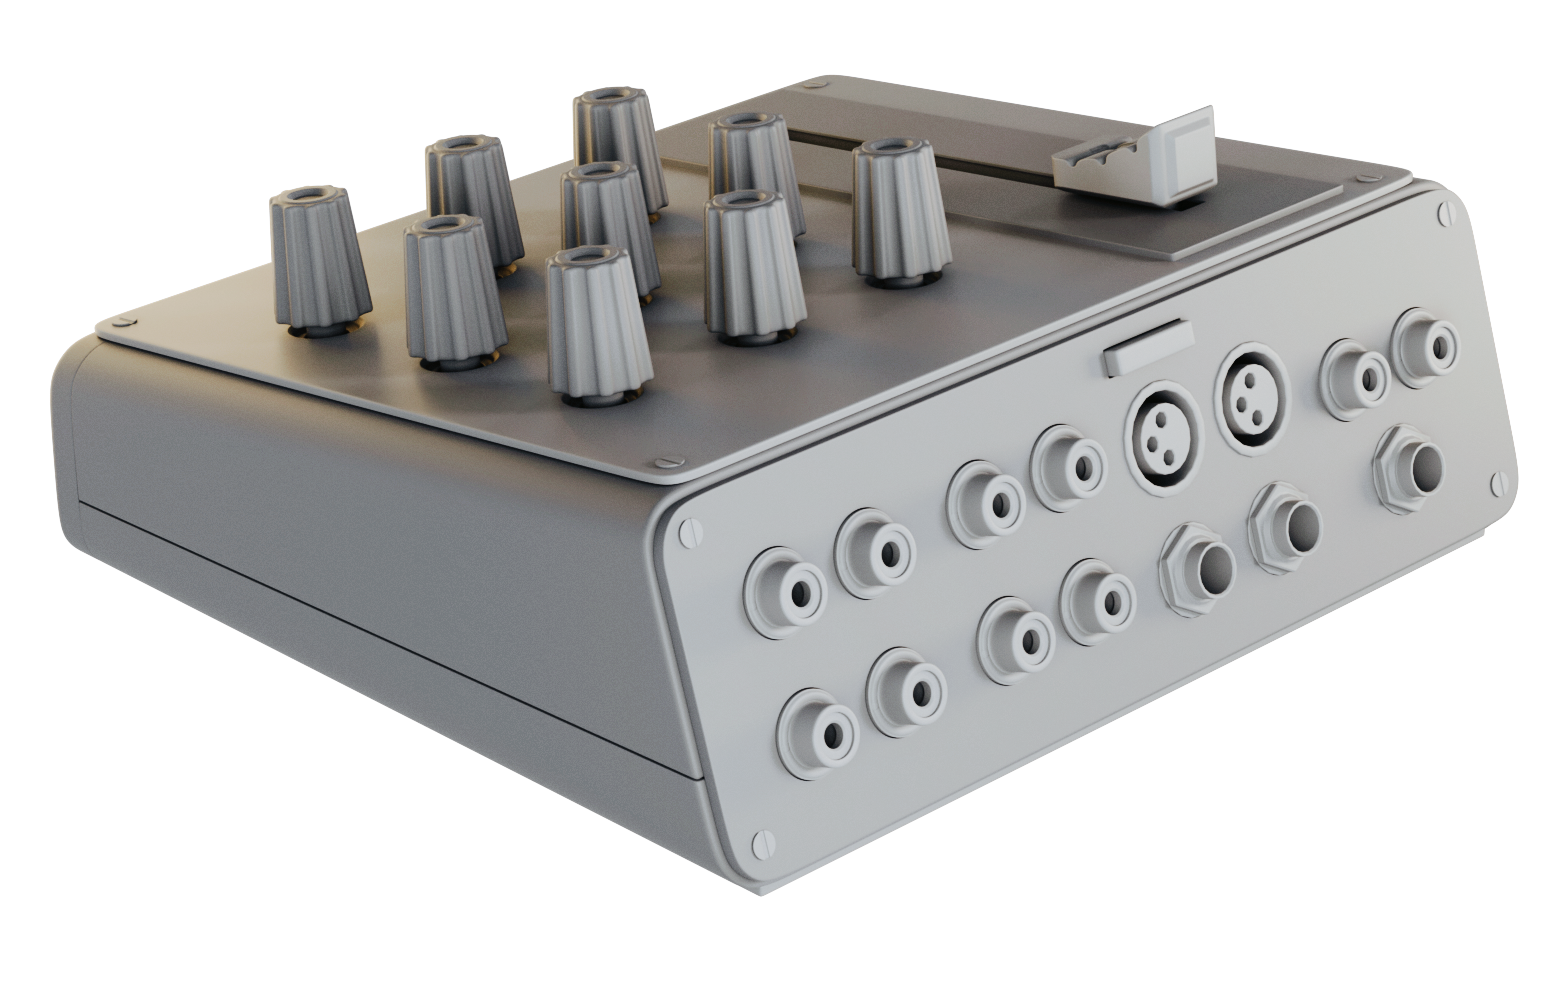
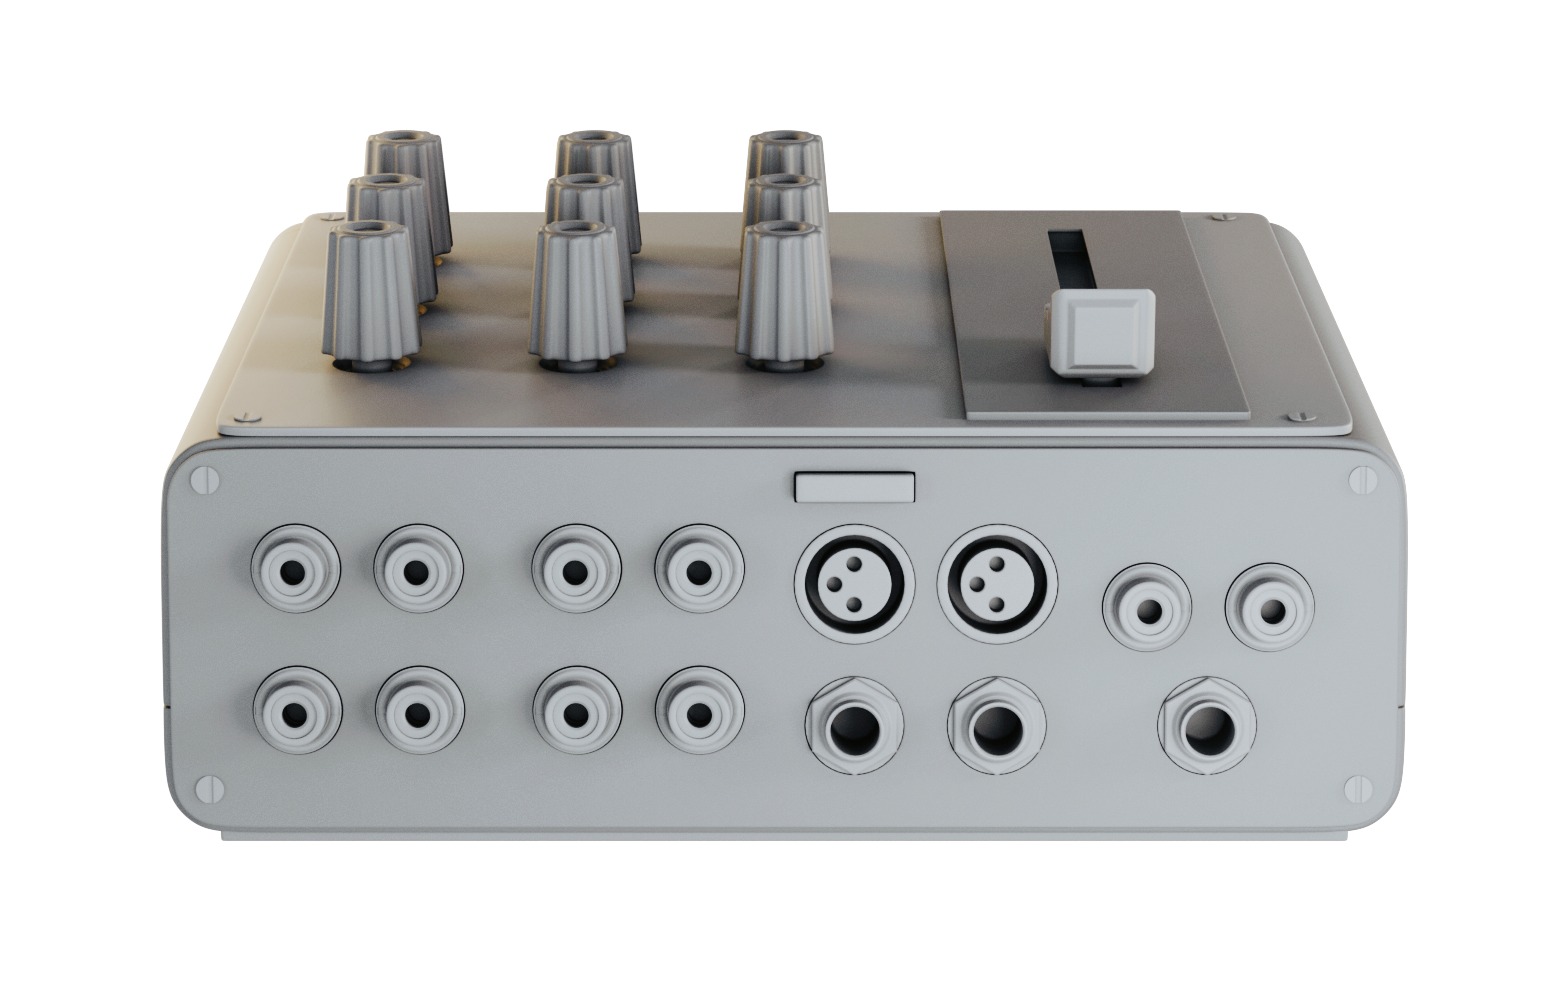
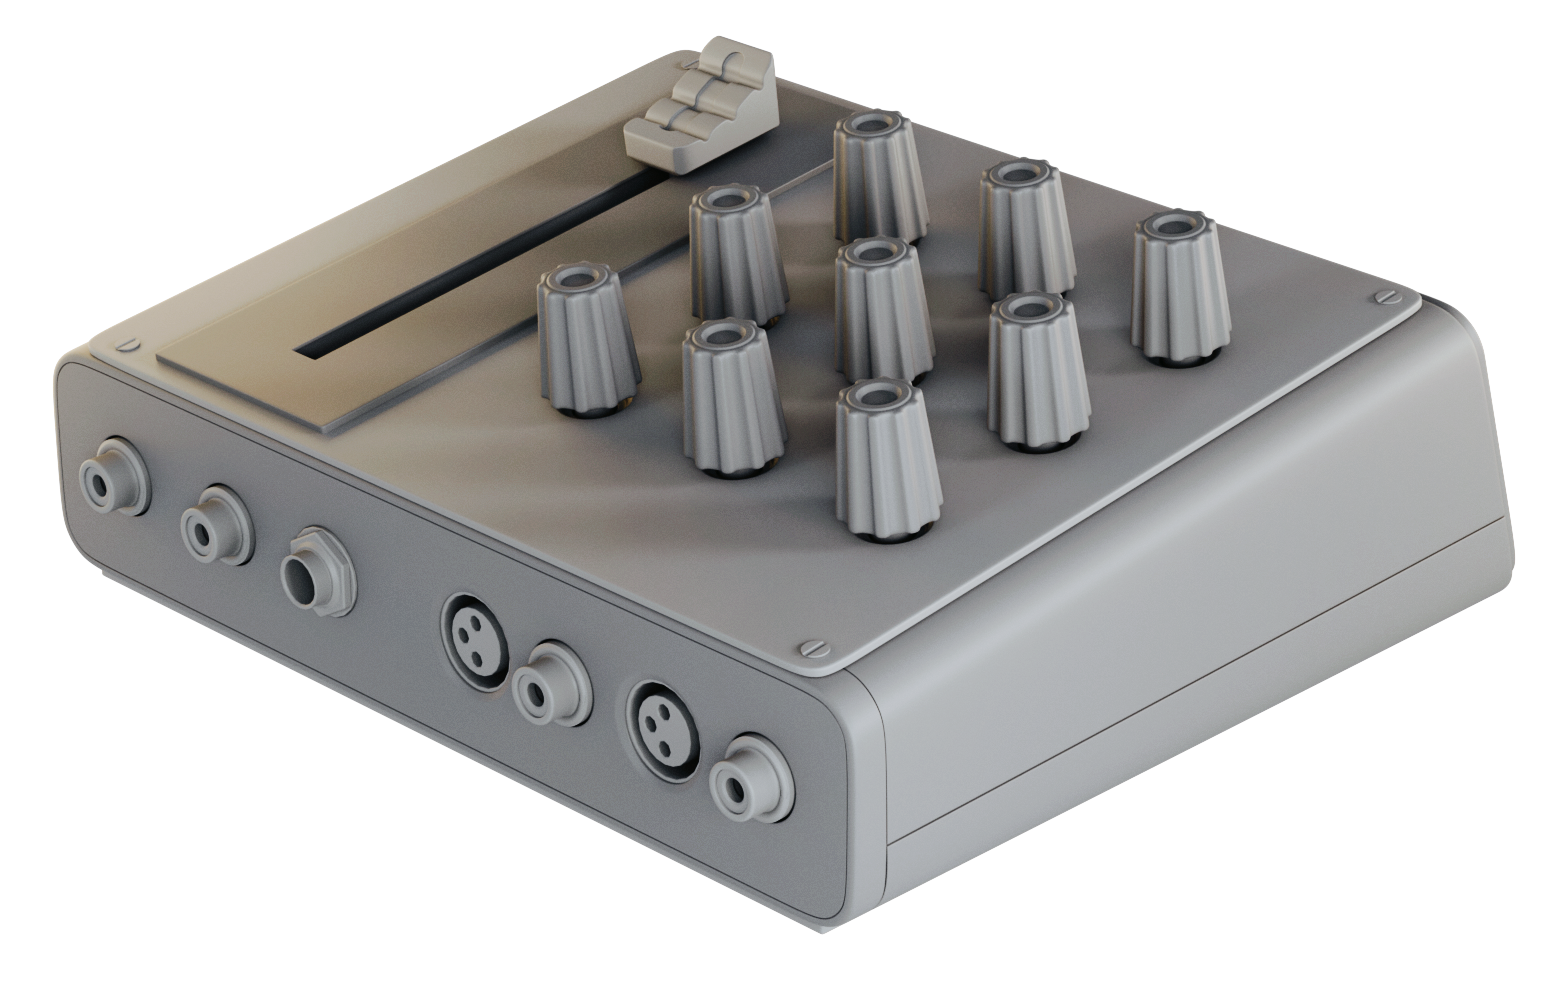
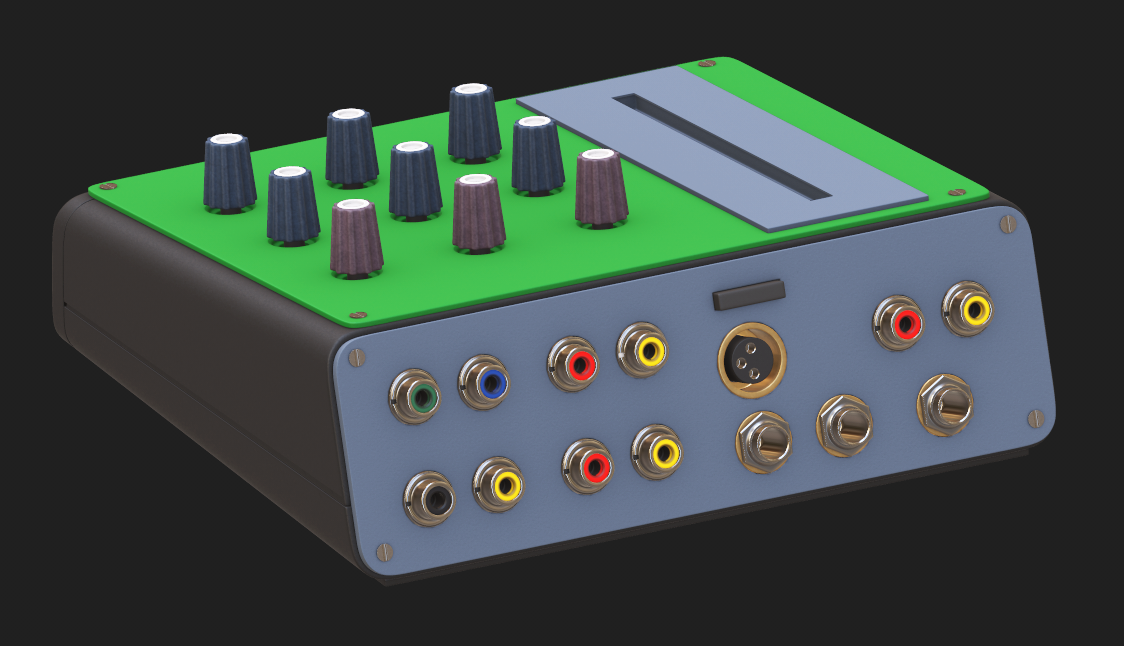
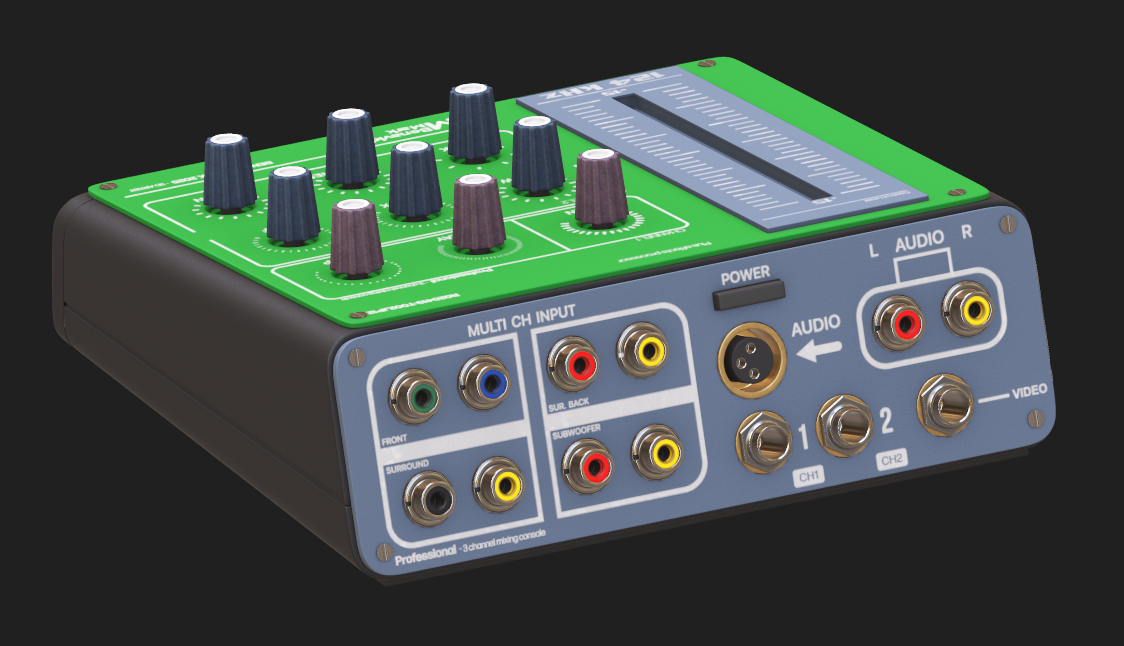
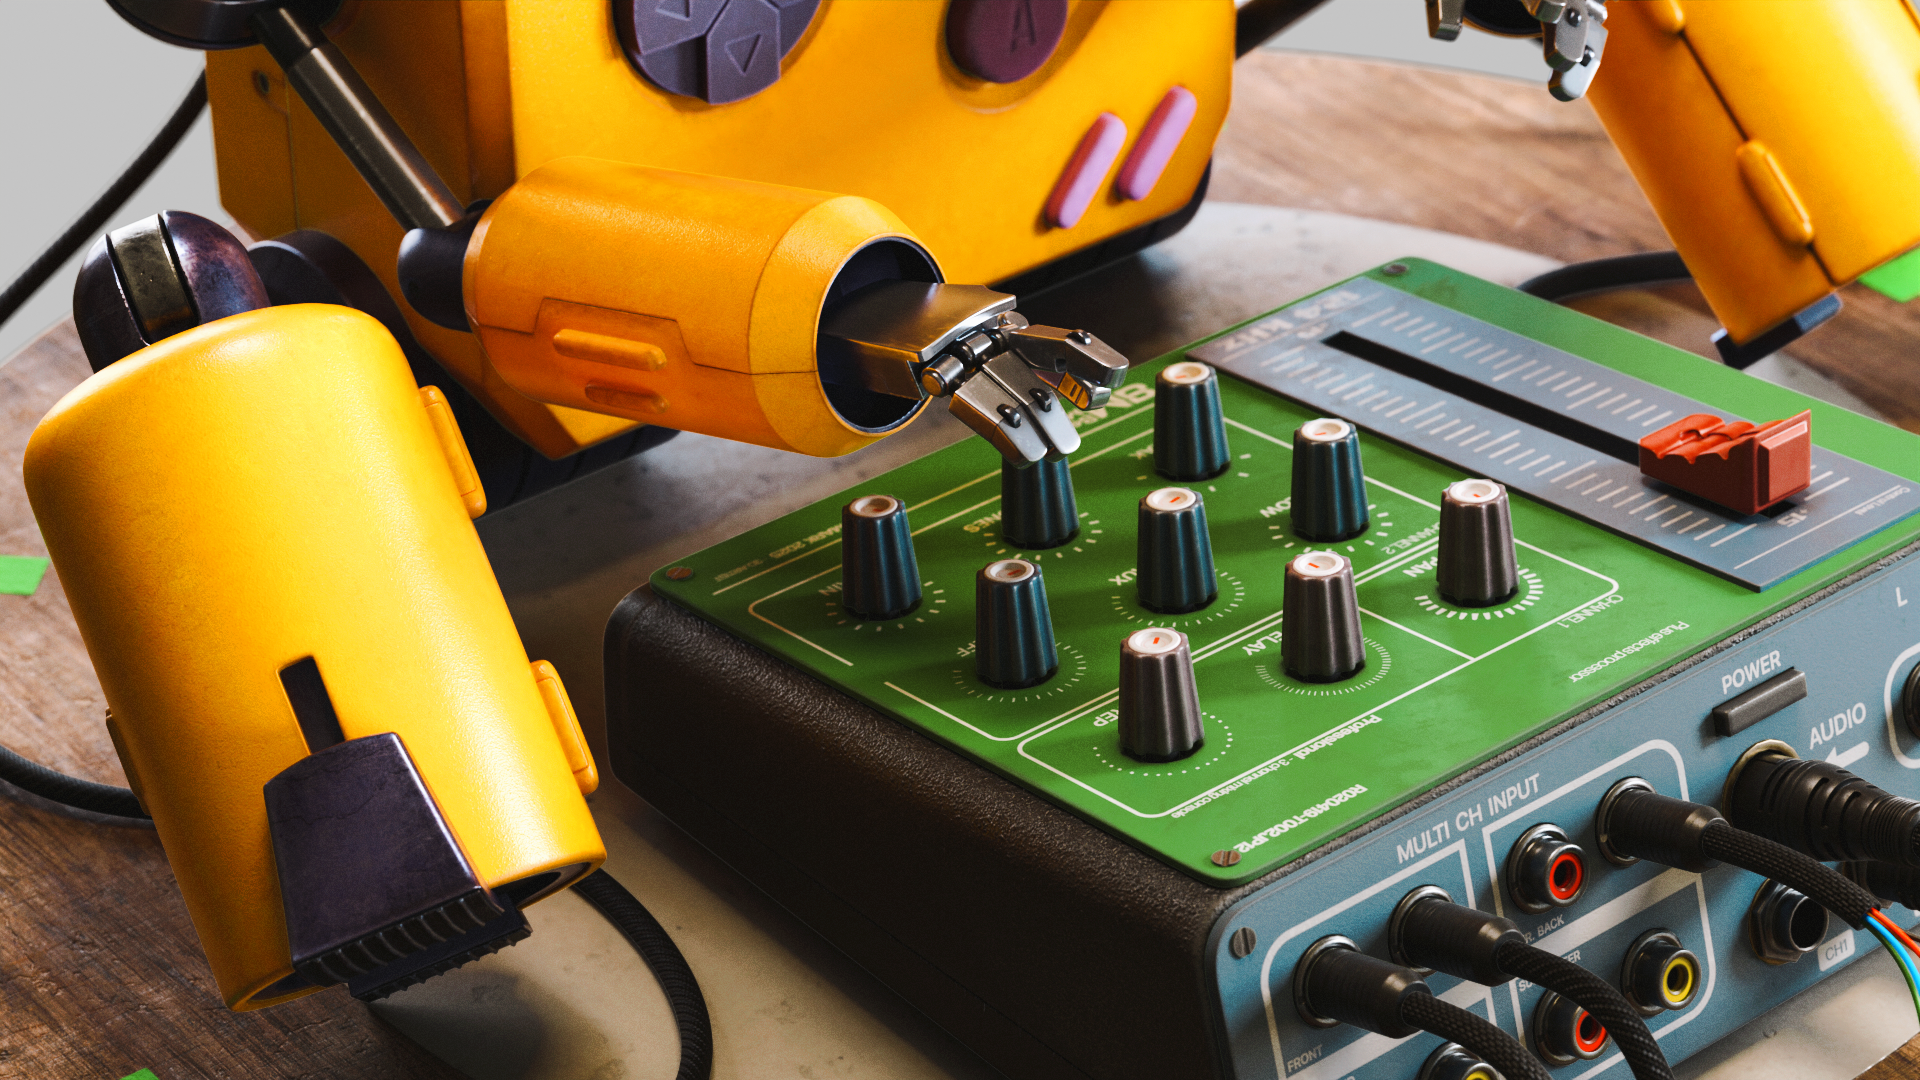
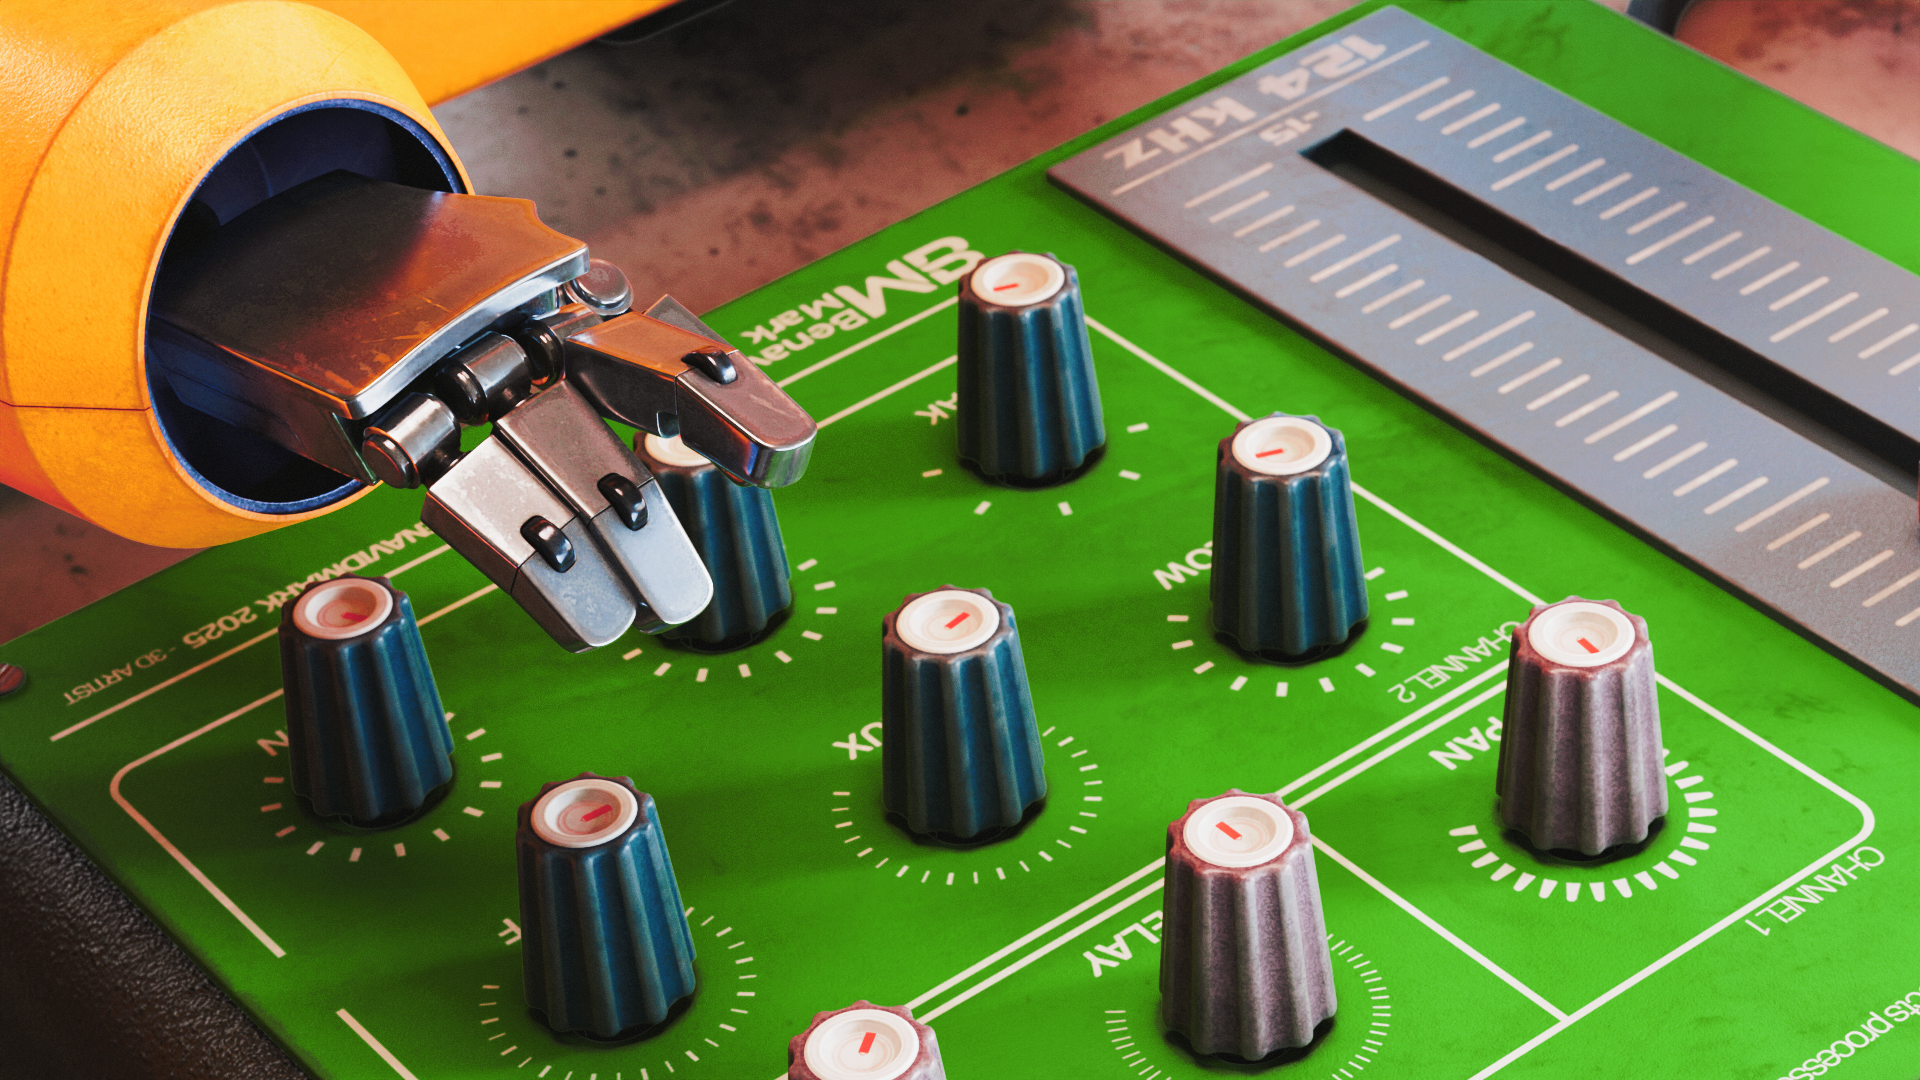
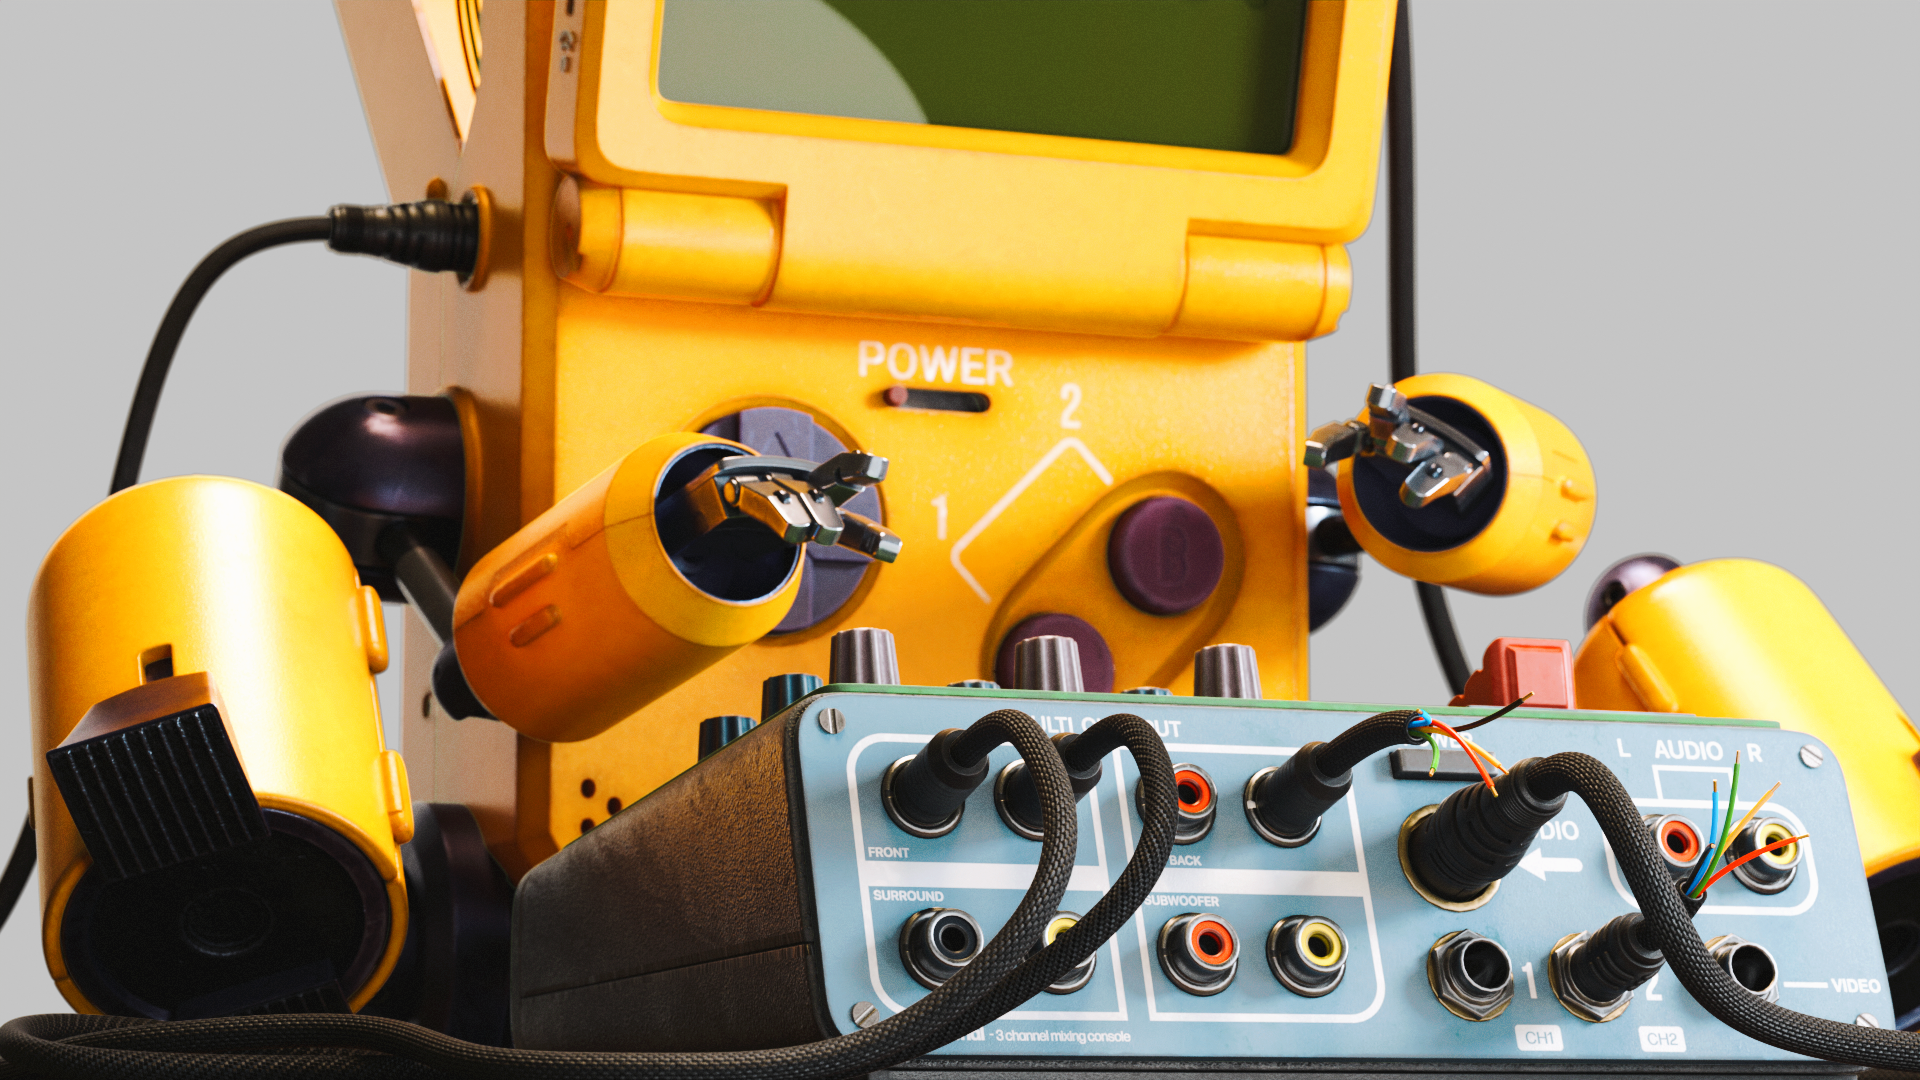
Sound Box final 3D Model
Clay Renders.
Texturing / Substance Painter
Alphas creation
Before creating the textures, I proceed to make the alphas in Illustrator that I will use based on the UVs.
This allows you to generate higher resolution alphas to insert into Substance Painter.

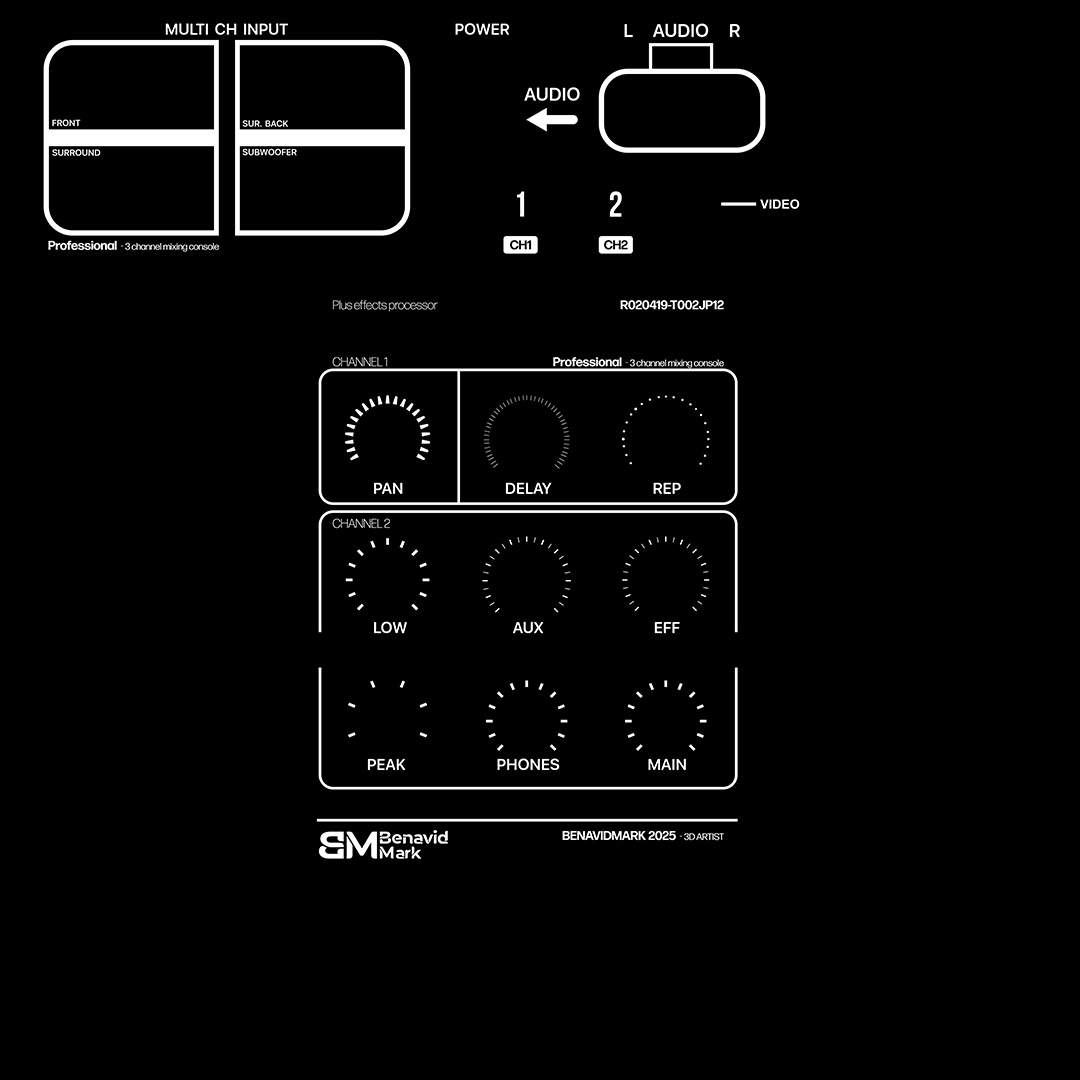

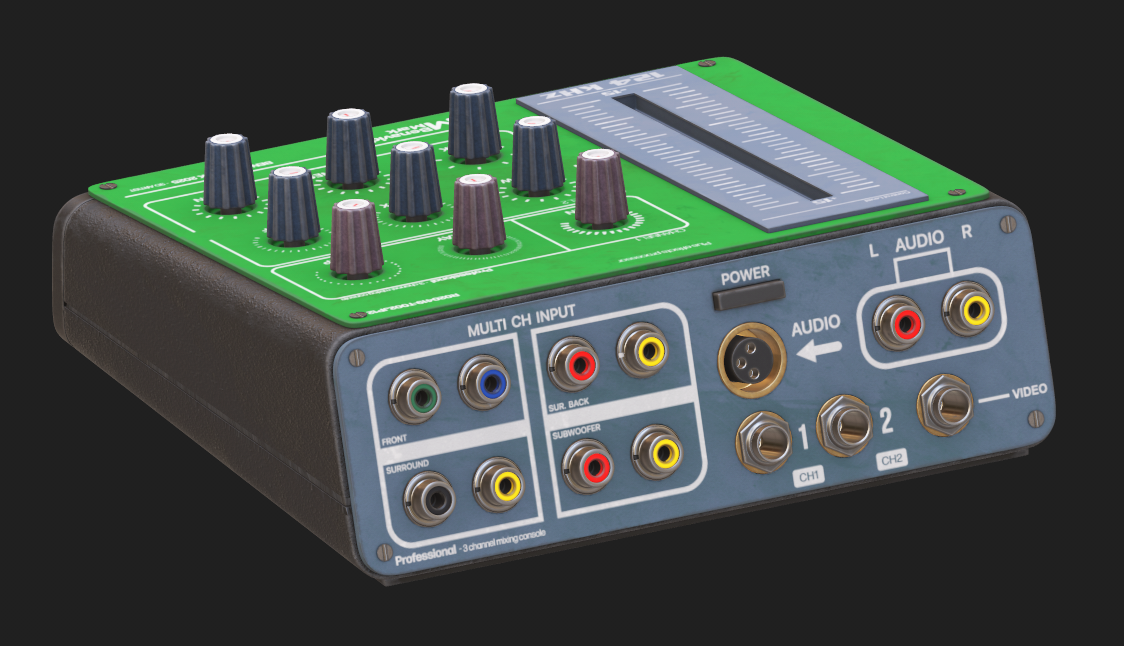
Sound Box Texturing
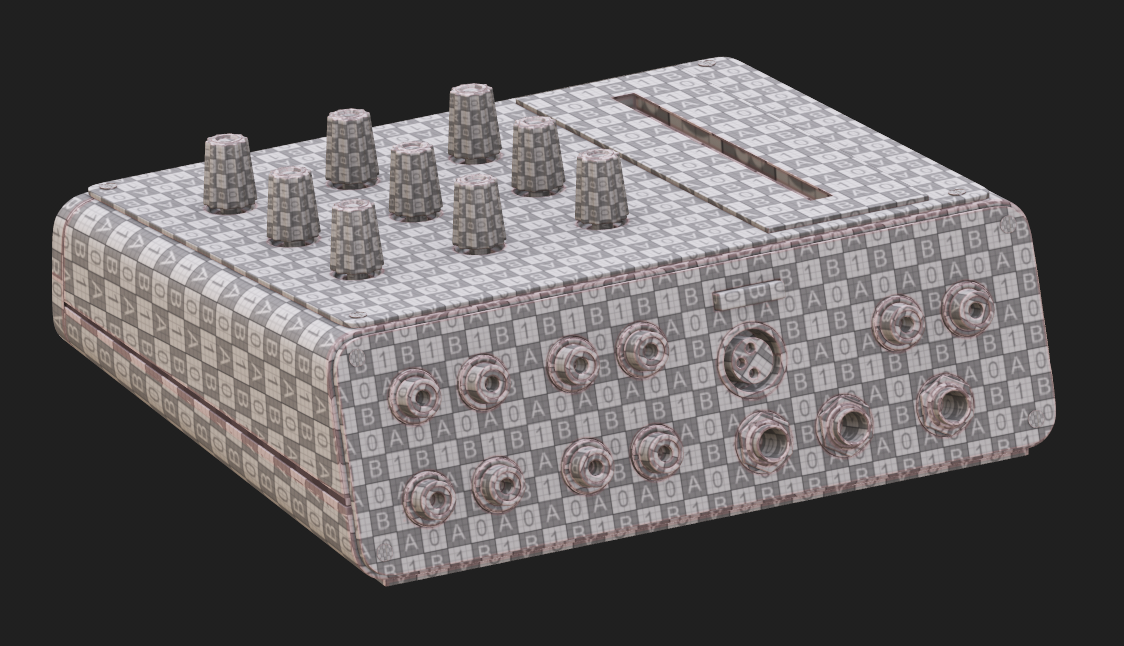
1. We start by importing the model and applying a UV checker material to verify the UV layout. Once confirmed, we apply the base color, add alphas for extra detail, and finish with dirt layers to enhance realism and surface depth.

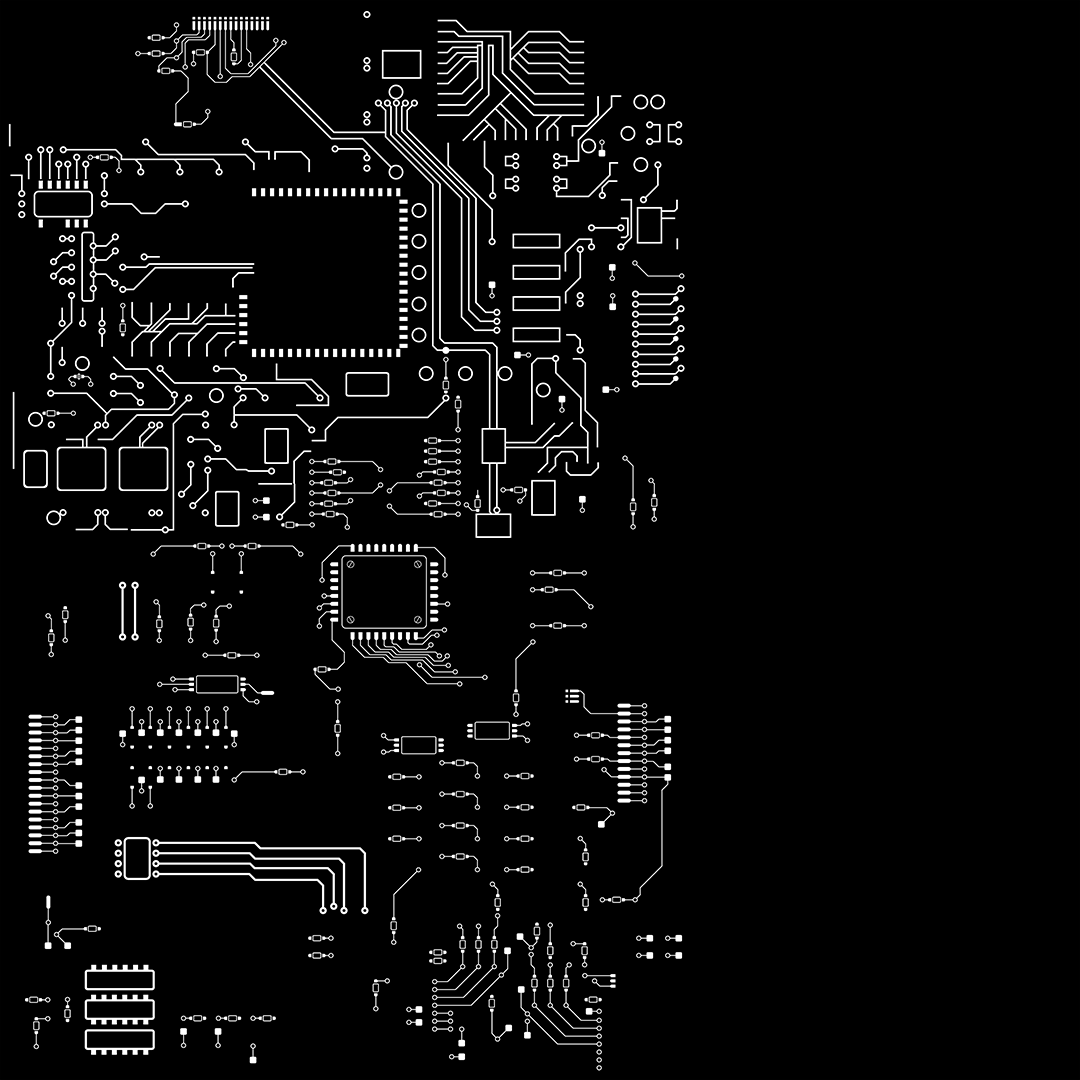
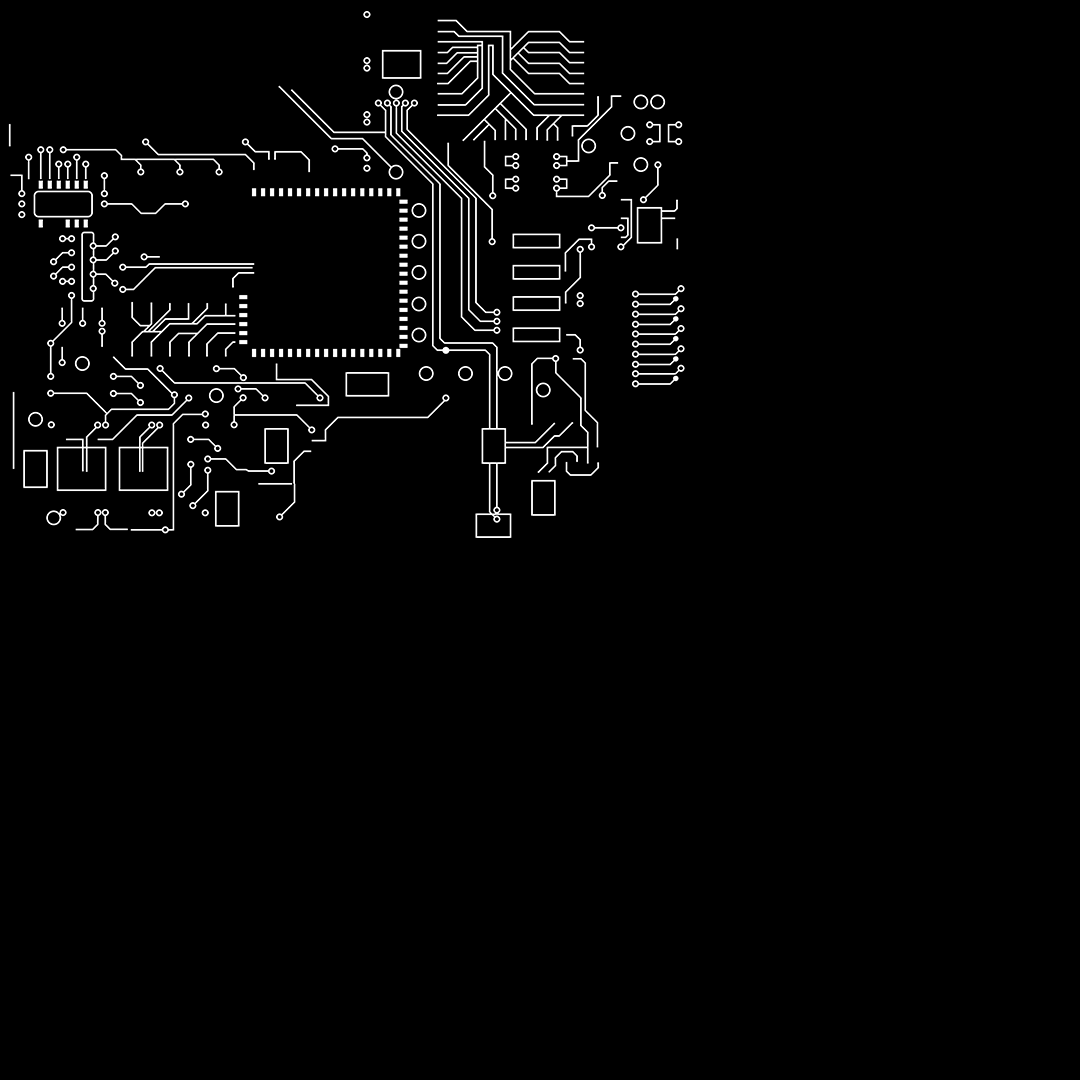
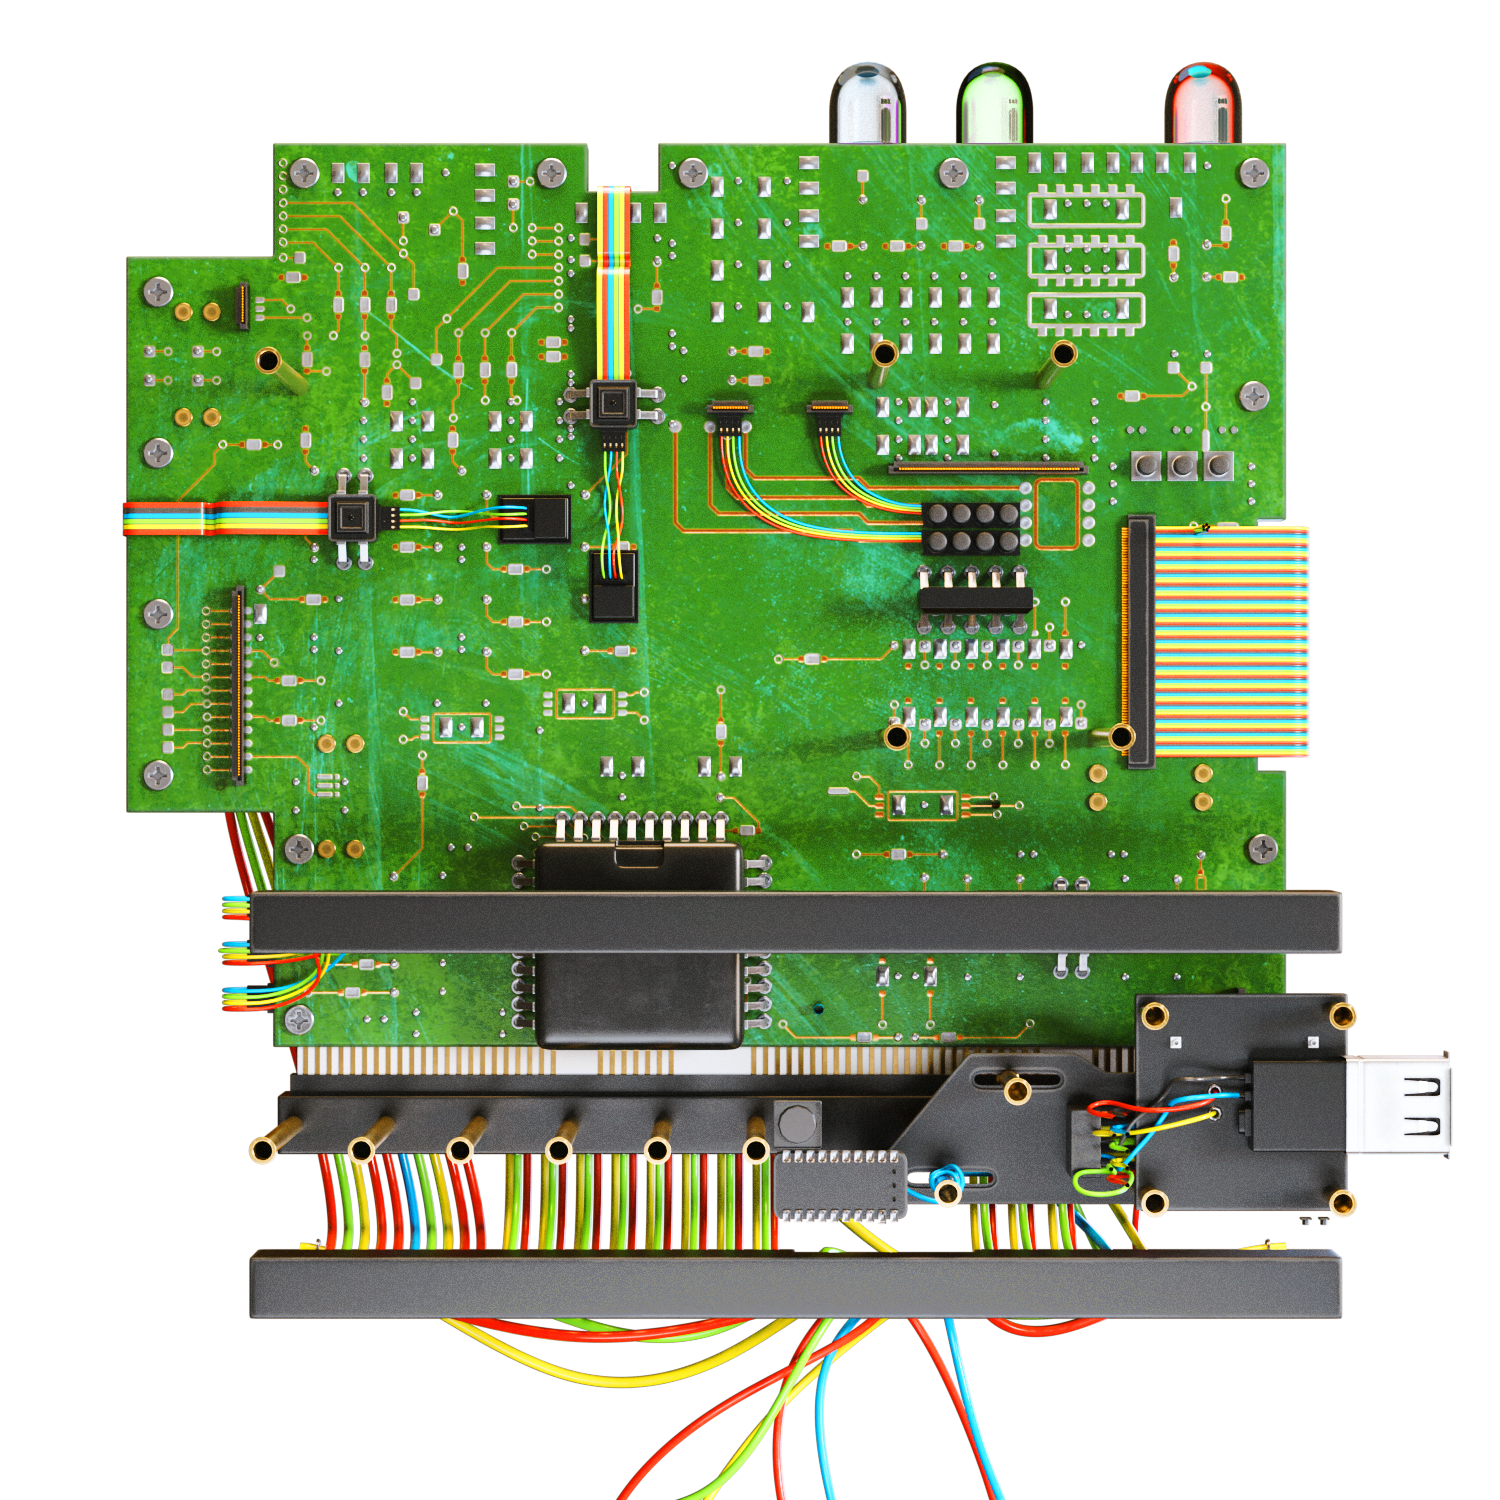
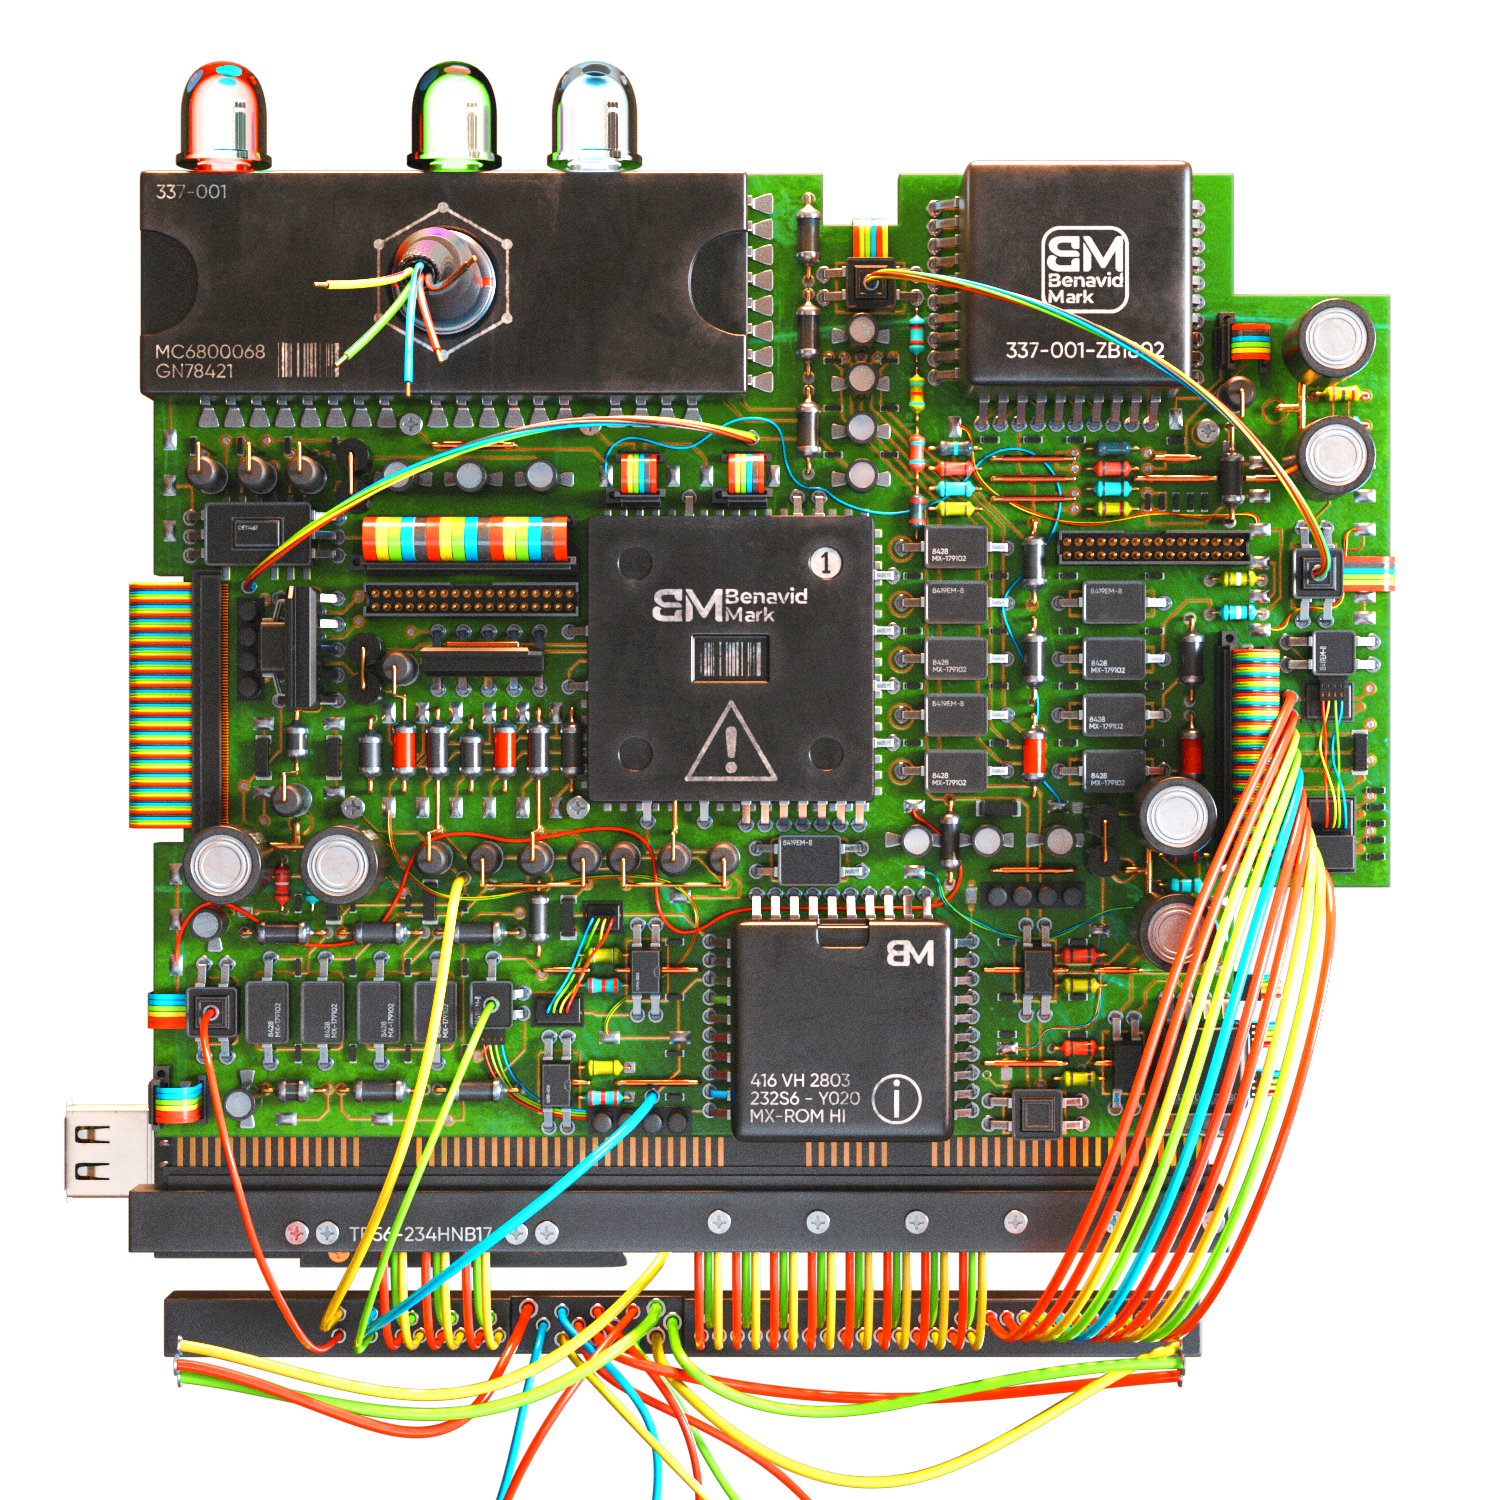
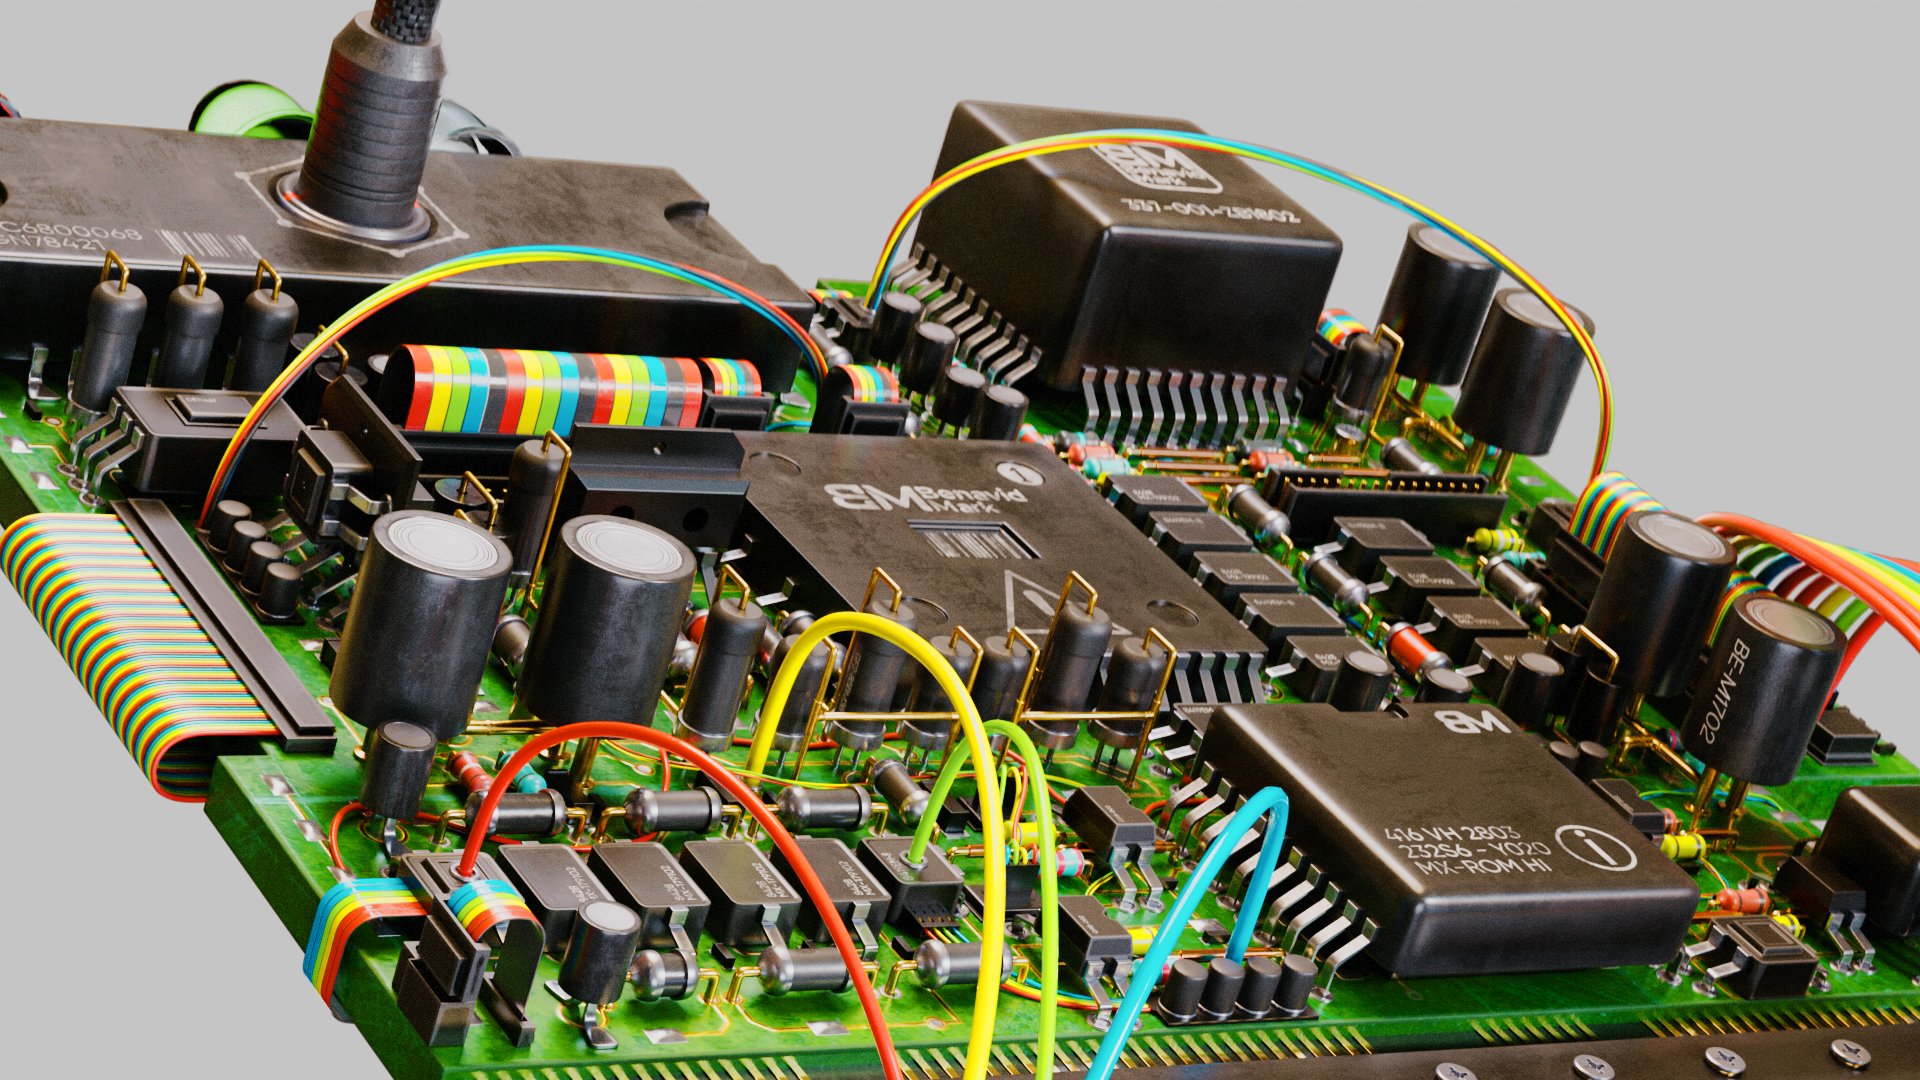
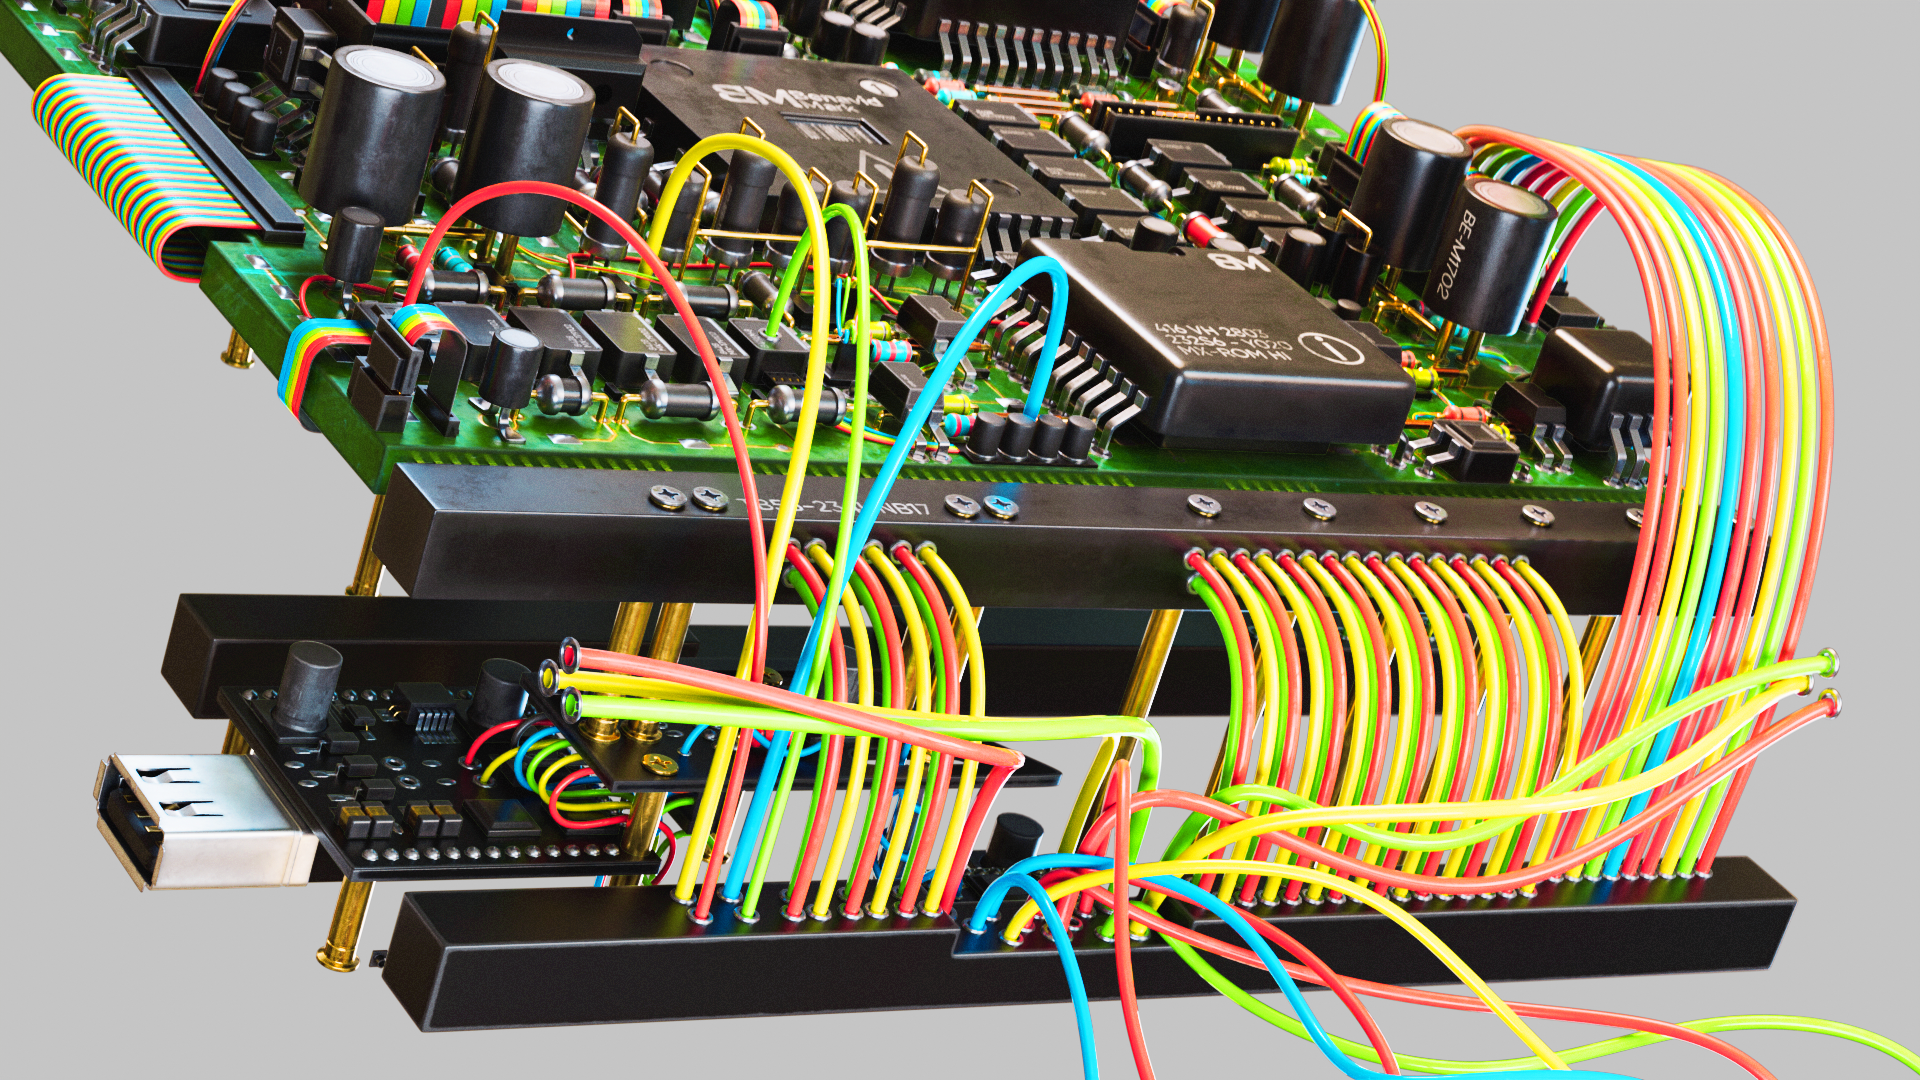
Final Circuit Design
Blender 4.1
ベナヴィドマーク
Blender Viewport
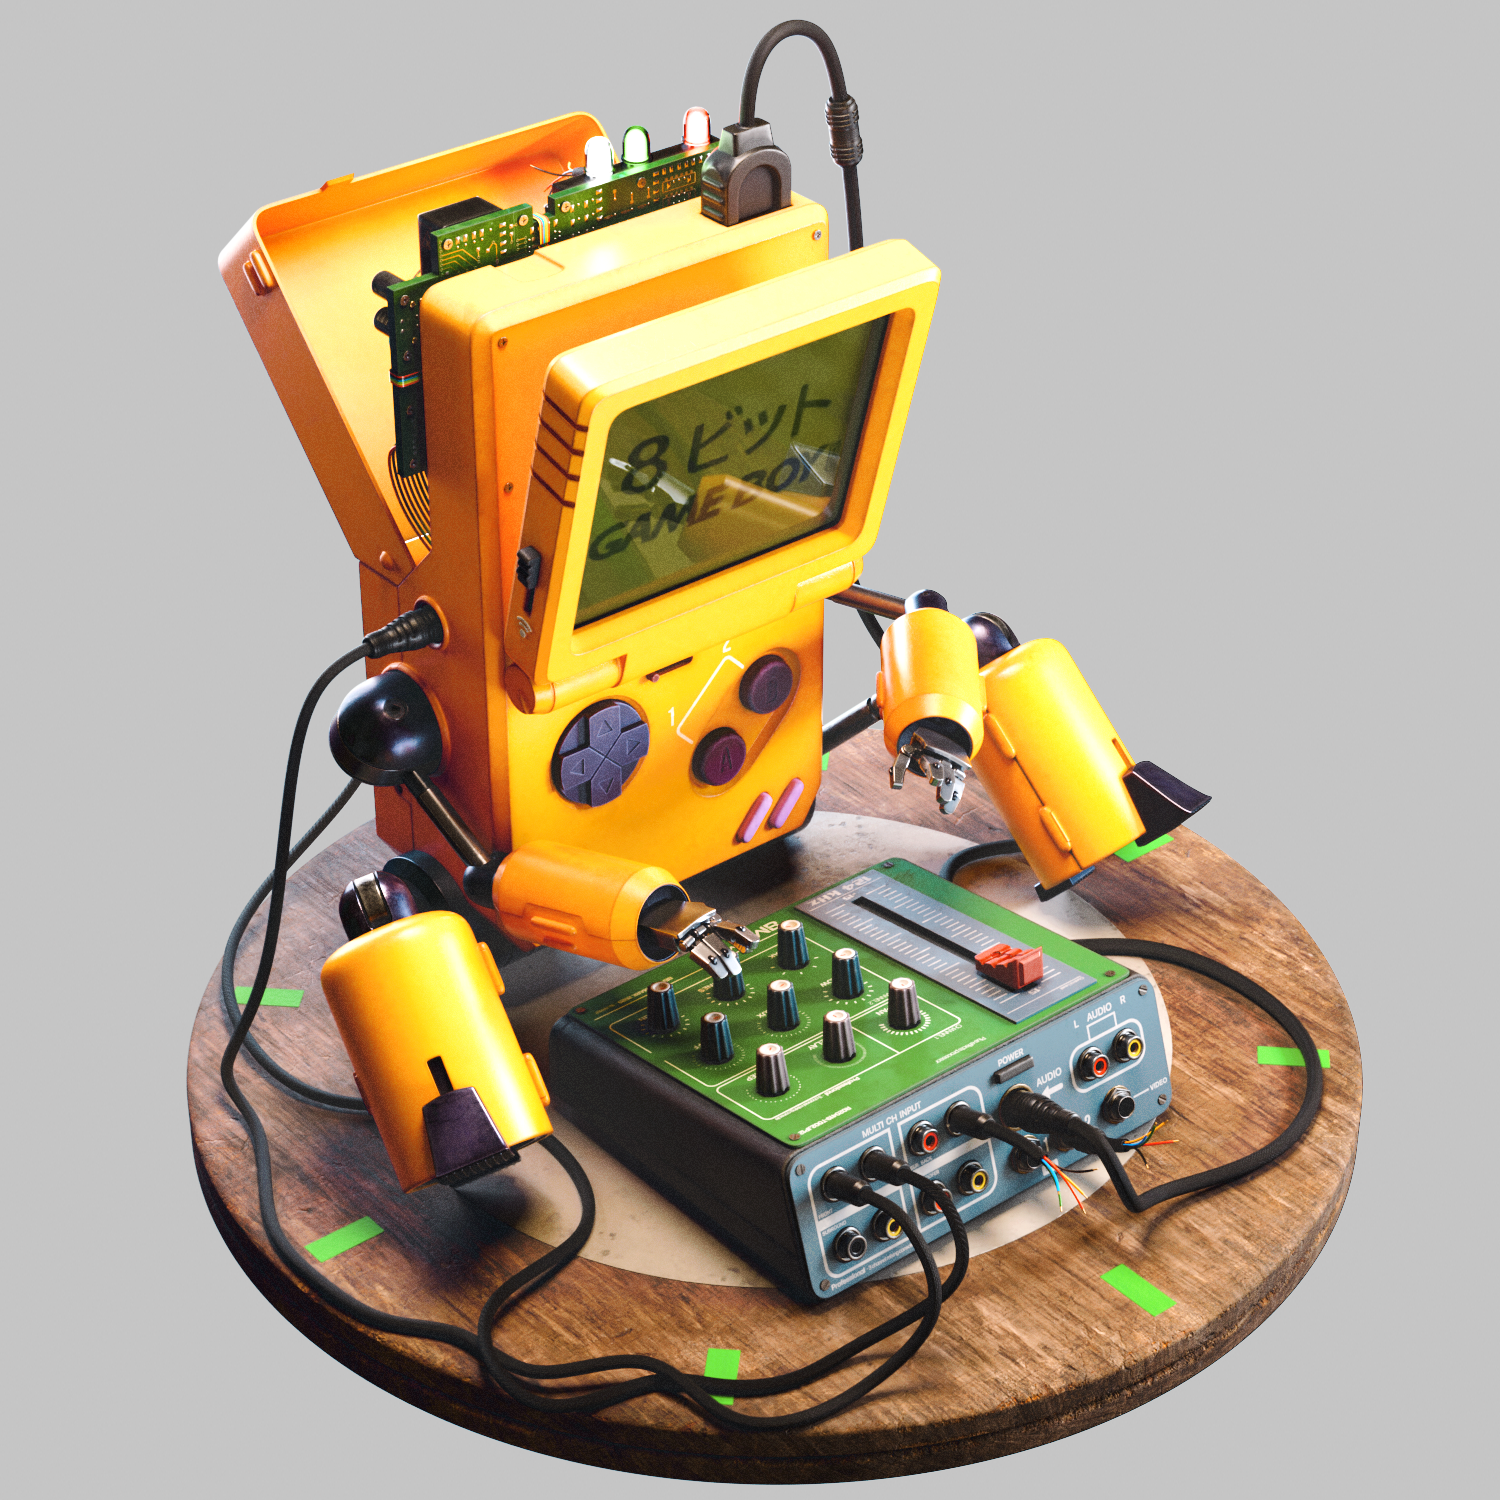
Final Scene / Blender
1. We import the final model into Blender, assigning materials and high-resolution textures with precision. HDRI lighting is set up to enhance realism, all within a clean, organized workflow that allows for efficient updates and creative flexibility.

Final Summary
This project showcases the full 3D pipeline of a stylized Game Boy robot featuring clean hard-surface modeling, optimized quad topology, detailed UV mapping, and layered texturing. From concept to final render, every step was crafted to balance technical precision with creative design. View more on YouTube.
Gumroad
The complete scene is available for download on my Gumroad, perfect for study, reference, or inspiration.
Artstation
Visit my ArtStation to view high-resolution renders, detailed breakdowns, and additional assets from the project.
Gameboy 3d model 8 Bit
This was a personal project, which I created with pleasure to show part of my modeling process from start to finish, if you liked it don't forget to share it!!!
TUTORIALS

Your support helps keep this website running and allows me to continue creating tutorials and sculptures for 3D printing.

